This article may contain links from my partners. I may receive a small commission if you make a purchase through a link. Please read my disclosure and how I make money here.
Last updated on February 19th, 2025 at 07:11 pm
My camper van build guide covers everything you need to know about turning an empty van into a fully functional living space. From van build flooring options to van build insulation, this guide breaks down each step so you can plan your setup with confidence. If you’re tackling a van build from start to finish or focusing on details like a van build sink and windows for vans, you’ll find practical tips and information to help guide you along the way.
Keep reading and get started with this camper van build guide and plan your van setup with confidence!
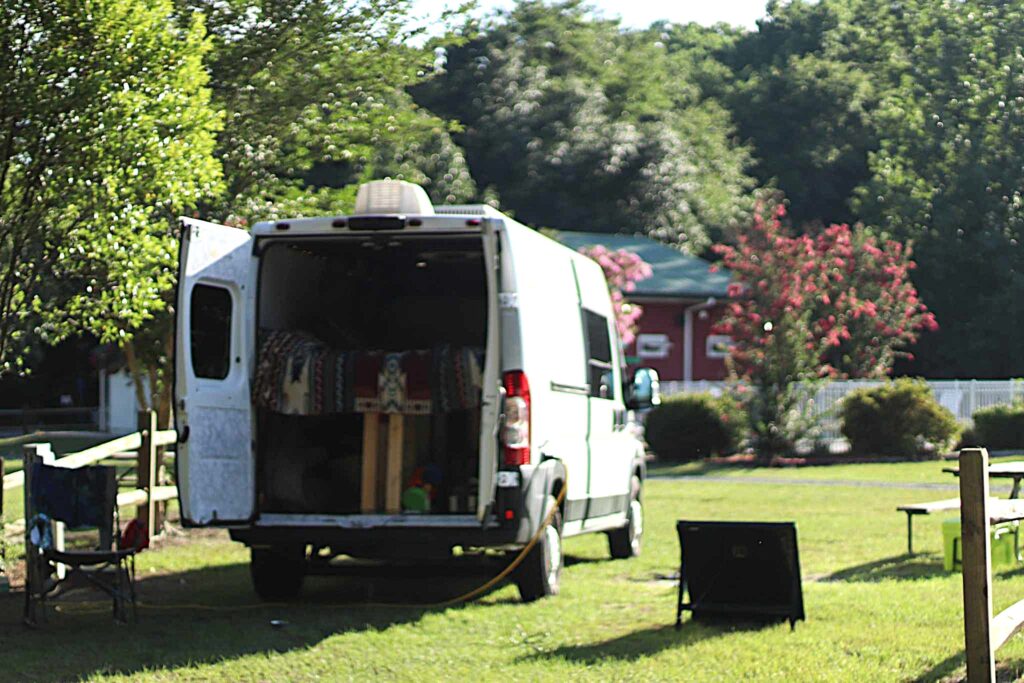
Table of Contents
Planning Your Camper Van Build Guide
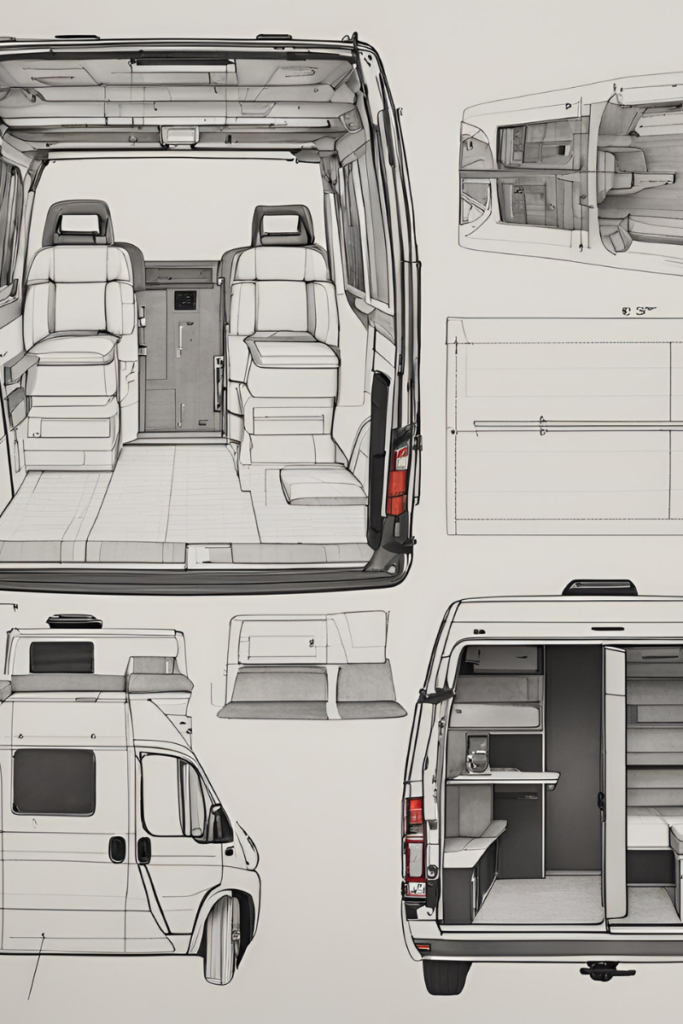
Planning and sketching your van build layout is essential for designing a space that maximizes efficiency, comfort, and functionality.
Taking the time to sketch out your design helps you visualize where key elements like the bed, kitchen, and storage will go, ensuring you make the most of your available space. Whether you’re aiming for a minimalist setup or a fully equipped home on wheels, a well-thought-out layout can save you time, money, and frustration during the build process. If you’re wondering how to build out a van, starting with a solid layout will set the foundation for a successful conversion.
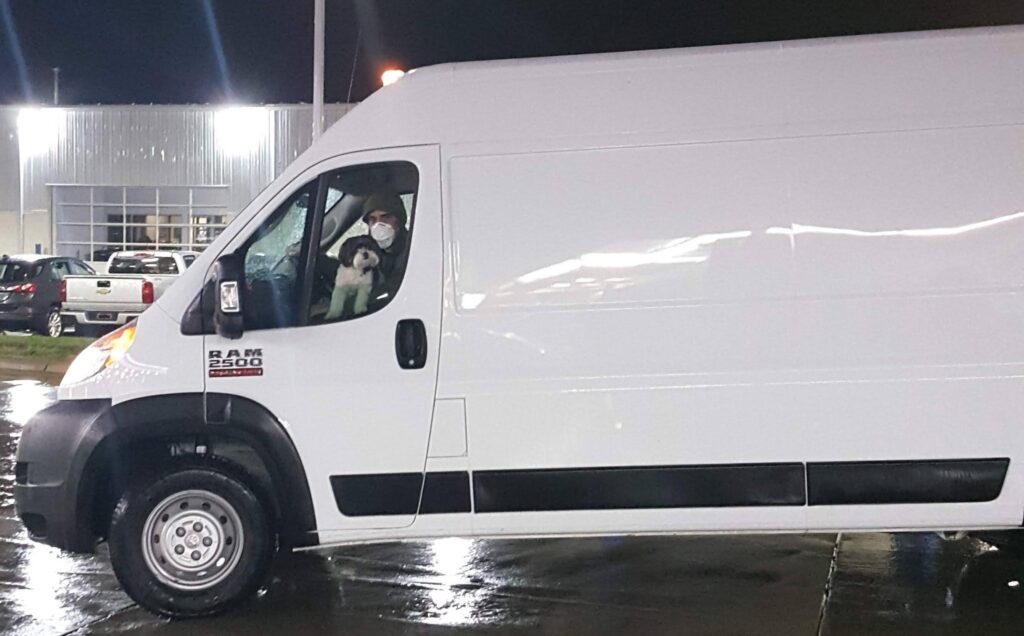
What started as a daunting challenge quickly became a journey of self-discovery, learning, and makeshift craftsmanship. From navigating the van build from start to finish to designing a functional space for a van build for a family of 4, we embraced every obstacle and triumph along the way. Looking back, we had no idea that building your own camper van would be such an incredible and rewarding adventure.
A huge thanks to my brother—whose carpentry skills and all-around expertise were invaluable—and to Tom over at Blue Ridge Adventure Vehicles for his expertise and guidance!
Cleaning
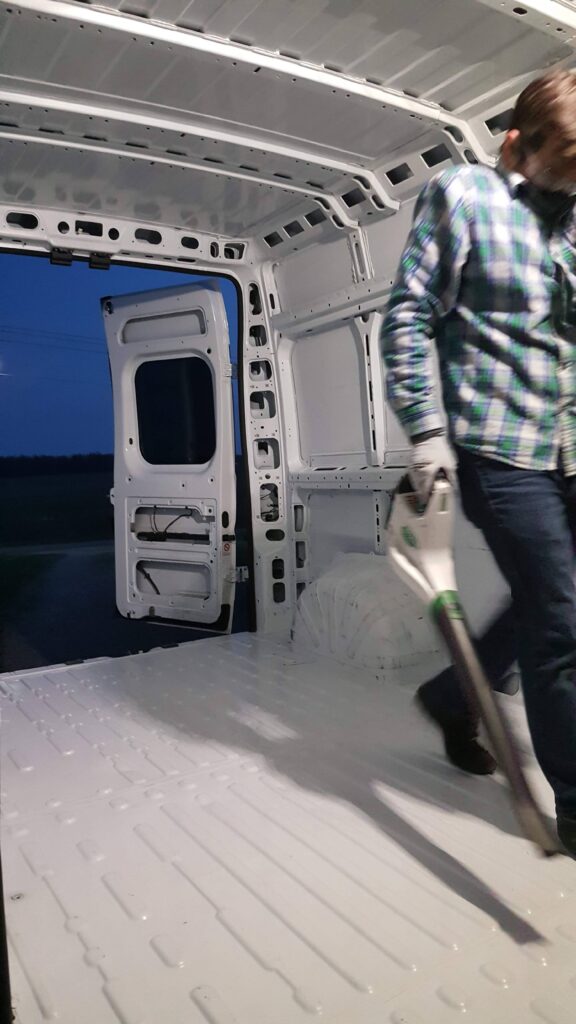
The first step for us was cleaning. The van had been used for landscaping, leaving behind layers of dirt. But beneath it all, we saw potential—a home on wheels for future adventures. With our camper van build guide, we started tackling each step, from choosing a van build layout to making the most of every inch for a van build for a family of 4.
Keep reading as I break down how to build a camper van from scratch—mistakes, lessons, and all!
Preventing Rust
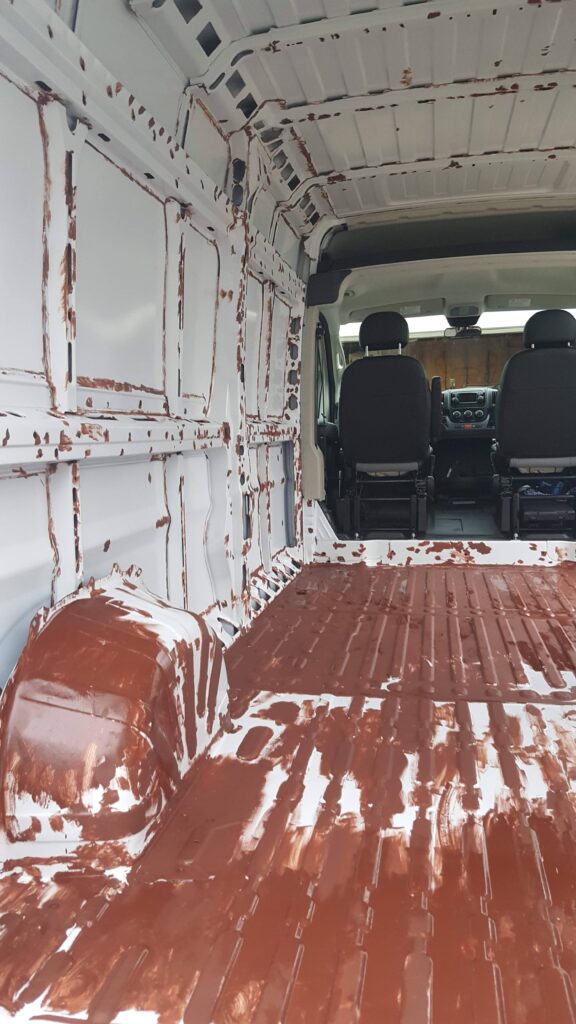
To avoid rust prevention in our van build, we treated all areas with chipped paint using Rust-Oleum to stop rust from forming. After applying the protective layer, we repainted the surface with white to seal it in. If you’re wondering what is the best rust prevention product, using a high-quality rust inhibitor like Rust-Oleum is a great way to protect your van from long-term damage.
Hi, I’m Trisha.
Hi! Welcome friend!
Our kitchen is the heart of our home, and everyone in the family gets involved—even my two little sous chefs! It’s so fun to watch them learn from their dad, the talented chef!
.
While busy creating, you’ll usually catch me behind the lens, capturing the special moments—.
Until then, enjoy these easy desserts with a good cup of coffee!.

Tips to the Perfect Van Build Guide
- Plan Your Van Build Layout – Sketch your design first to maximize space and efficiency.
- Use Havelock Wool for Insulation – It regulates temperature and prevents moisture buildup.
- Start with a Solid Van Build Foundation – Proper planning saves time, money, and stress.
- Install a MaxxAir Fan for Van Ventilation – Keeps air fresh and reduces condensation.
- Building Your Own Camper Van? – Choose materials and features that fit your lifestyle.
- Invest in Solar Panels for Van Build – Reliable power means off-grid freedom.
- Set Up a Simple Water System for Van Life – Easy access to fresh water is a must.
- Optimize Your Campervan Design – Create a functional layout with smart features.
- Use Clever Van Life Storage Ideas – Maximize walls, ceilings, and under-bed space.
- Follow a Van Build Step by Step – Test everything before hitting the road!
Vanlife with Toddlers

Vanlife with toddlers is an incredible way to explore the world together, offering freedom, adventure, and endless outdoor fun. From mountain sunrises to beachside play, every day is a new opportunity for little explorers to learn and grow!
Installing Maxxair Fan For Van
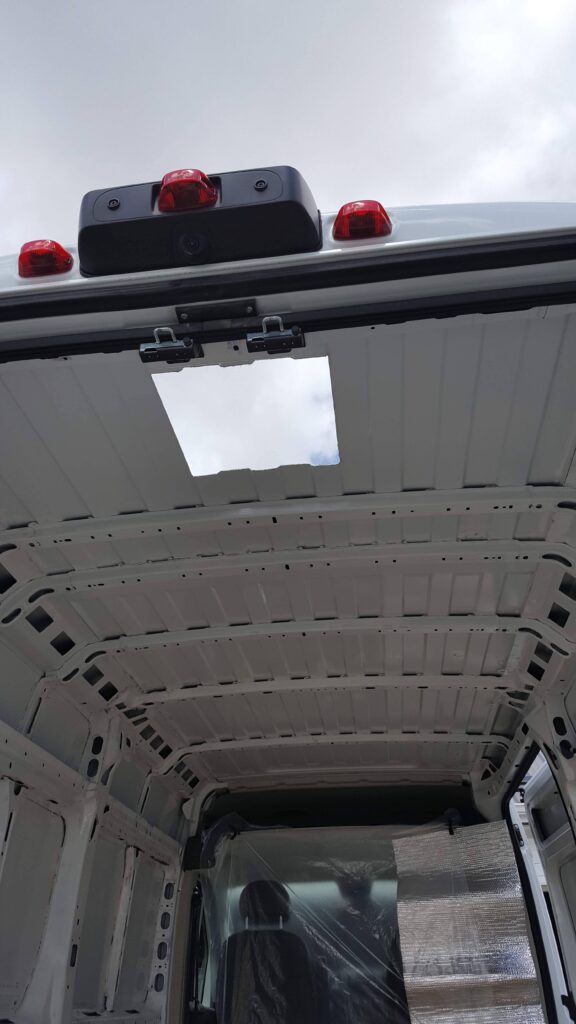
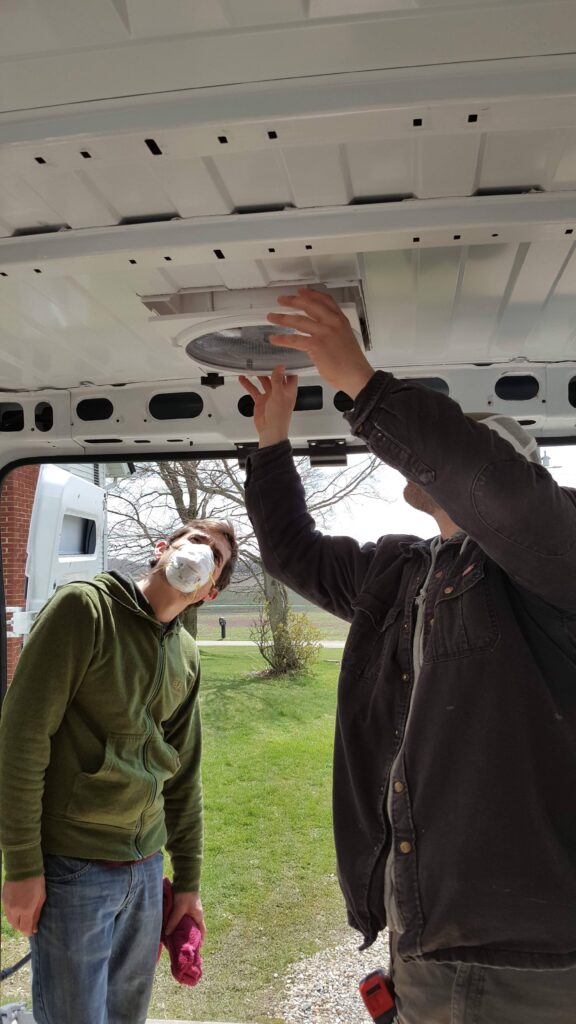
We cut the hole for the Maxxair fan for van ventilation, a crucial step in our build. We opted for the Maxxair Deluxe model because it offers both intake and exhaust features, making it a superior choice over the basic version. Installing a Maxx Air fan in van build ensures better airflow, reducing moisture and keeping the space comfortable in all seasons.
Installing Van Build Flooring with Furring Strips
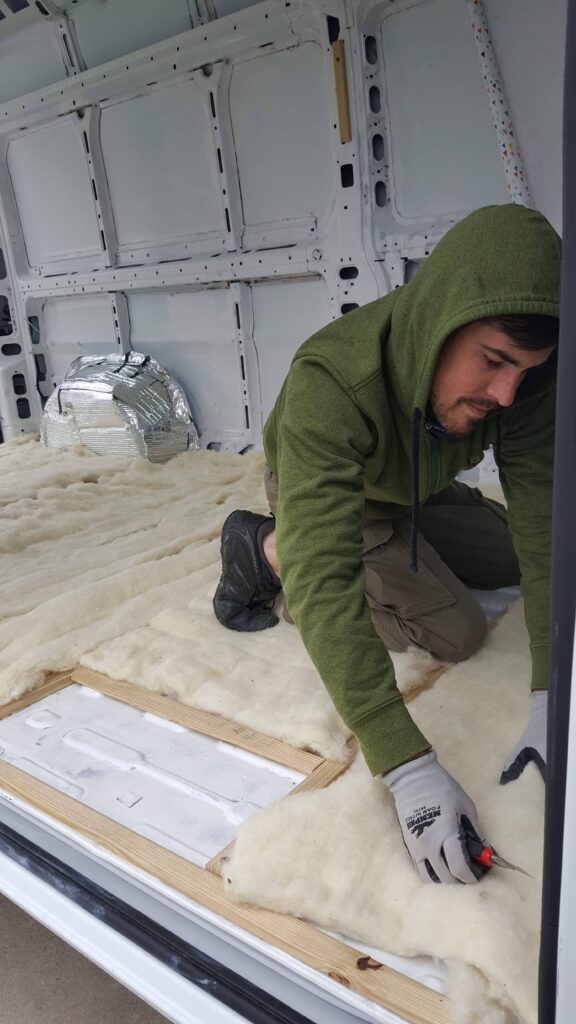
Installing van build flooring in a Promaster van starts with leveling out the uneven ridges on the metal floor. Begin by measuring and cutting furring strips (usually 1×2 wood) to fit the length of the van floor. Secure these strips along the ridges using strong adhesive or self-tapping screws—this creates a flat, stable surface for your subfloor.
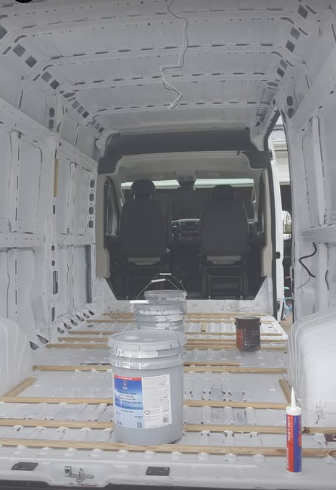
Next, lay down rigid foam board insulation between the furring strips to help with temperature control and soundproofing. Once the base is set, screw a plywood subfloor onto the furring strips to create a smooth, sturdy foundation.
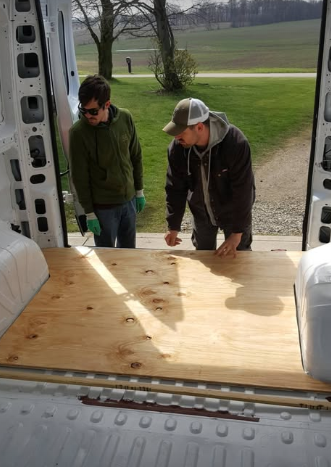
Finally, lay down your chosen material—such as vinyl planks, known as the best flooring for camper van builds due to their durability and easy maintenance. This method not only levels the floor but also enhances insulation and stability, ensuring a high-quality, long-lasting finish for the best flooring for van conversion!
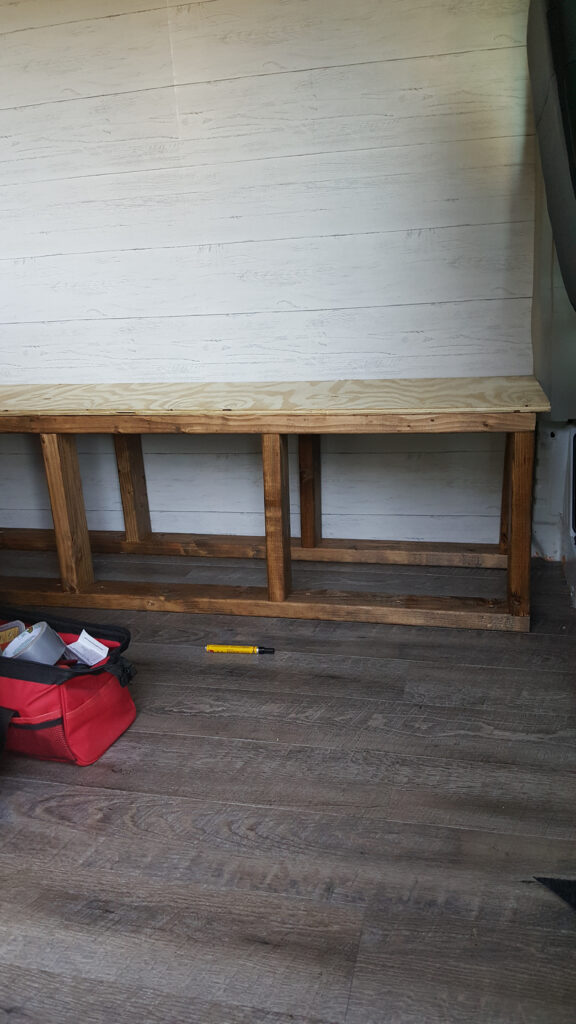
Next, We Insulated with Havelock Wool
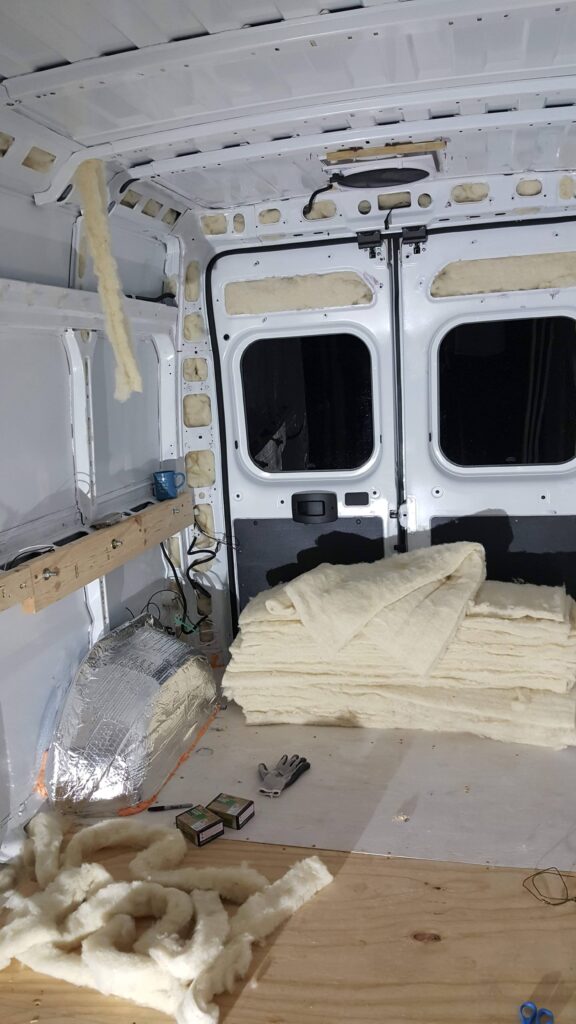
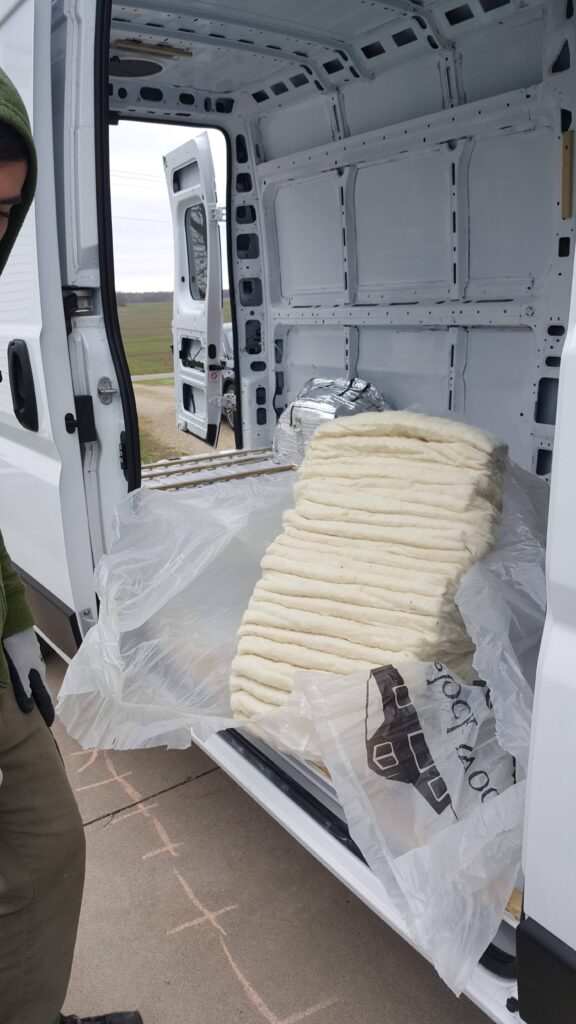
Our Havelock wool order arrived, and we were excited to start the next step in our van build insulation process.
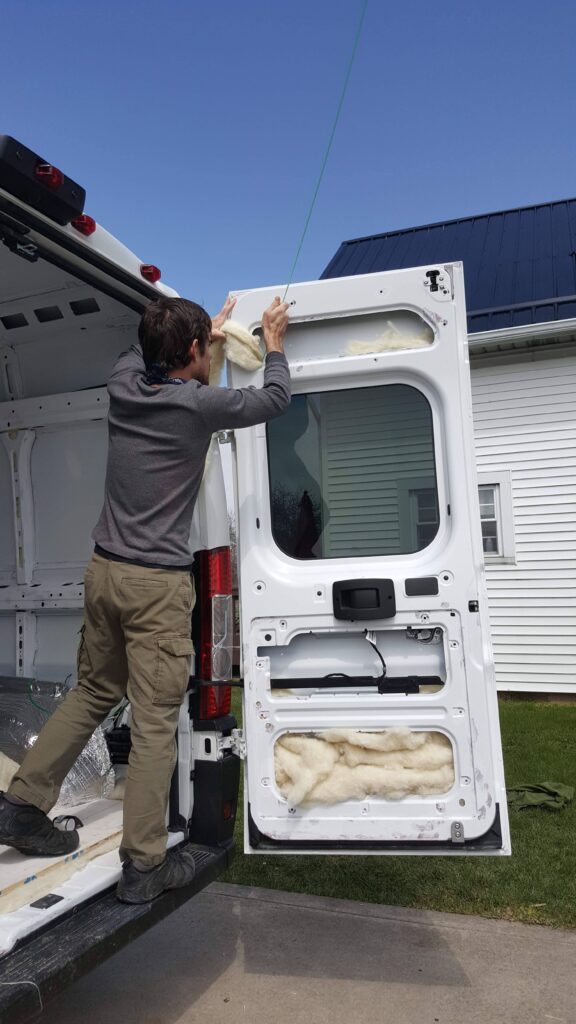
My favorite—but most time-consuming—part of the process was stuffing Havelock wool insulation into every gap we could find. The natural wool smelled amazing, and since it was so easy to tear, the process was surprisingly fun! For the ceiling, we secured the havelock wool by stringing it up, then added furring strips and reflectix tape to improve heat retention and keep our van cozy in all seasons.
Havelock Wool vs Thinsulate
We chose Havelock wool for its natural, low-toxicity properties, making it a healthier option compared to synthetic materials. When comparing Havelock wool vs Thinsulate, we preferred wool for its eco-friendliness, moisture management, and soundproofing benefits.
Where To Buy Havelock Wool
If you’re wondering where to buy Havelock wool, it’s available directly from their website or through select van conversion suppliers.
How Much Does It Cost to Build a Camper Van
The van build cost can vary depending on materials, features, and whether you DIY or hire professionals. Here’s a breakdown of some of our key expenses:
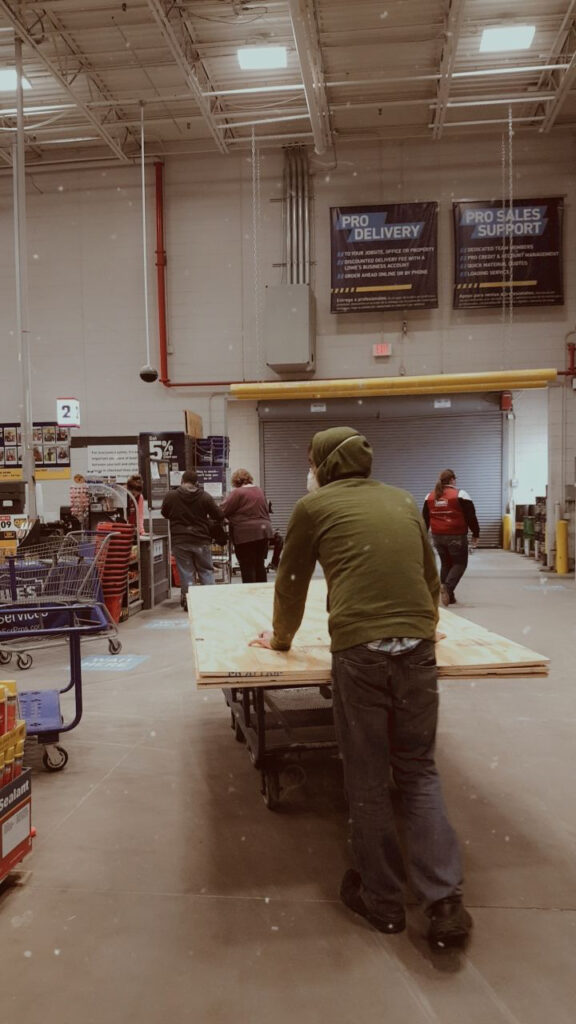
Wood for walls, ceiling, and flooring: ~$400, Lowes
Van build flooring (vinyl): ~$50
Havelock wool insulation: ~$500
Maxxair fan for van ventilation: $330
Coleman Mach 3 A/C unit (professionally installed): $1,200
Double seat from Freeman Seating (installed): $1,000
Van build windows (CRL Lawrence, van windows direct promaster): $800
Cabinets for storage: ~$300, bought locally
Sink for van life (foot pump): $30
Sink basin: $100
Yeti Goal Zero Solar/Battery: $700
Total Van Build Cost: $5,400 (not including electrical,, or labor if hiring out work)
When building your own camper van, costs can range widely depending on customization.
How to Build a Sink in a Van
Installing a van build sink is a crucial step in any camper van build guide, providing easy access to water for cooking and cleaning. To create a functional yet compact setup, start by choosing a sink for van build that fits your space—options range from stainless steel basins to collapsible models.
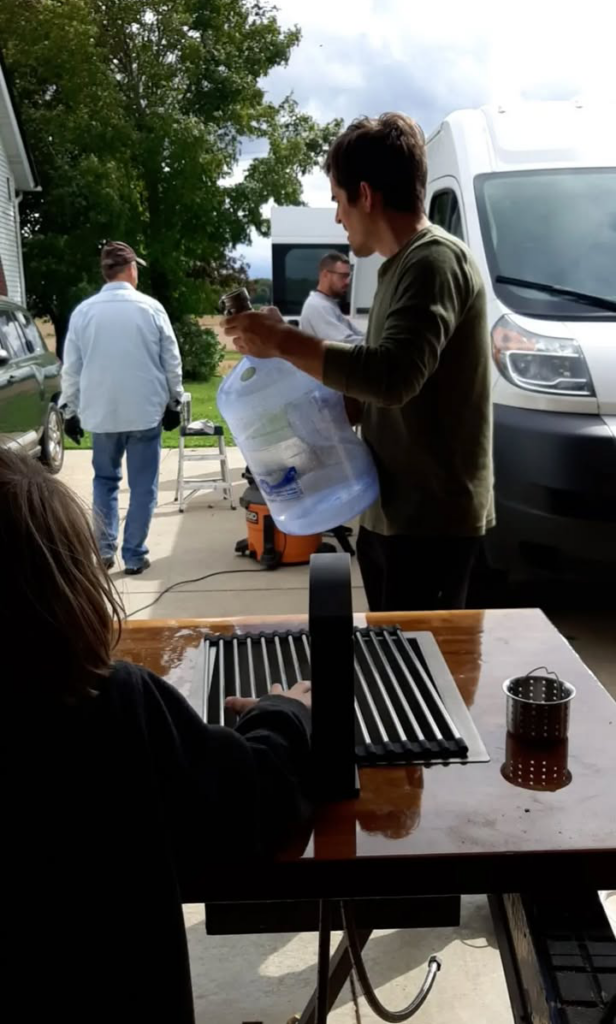
A simple water system for van life typically includes a foot pump or electric pump, a fresh water tank (5-7 gallons), and a gray water tank for drainage. For DIY van sink ideas, mount the sink into a sturdy countertop, secure the plumbing with food-grade tubing, and ensure proper ventilation to prevent odors.
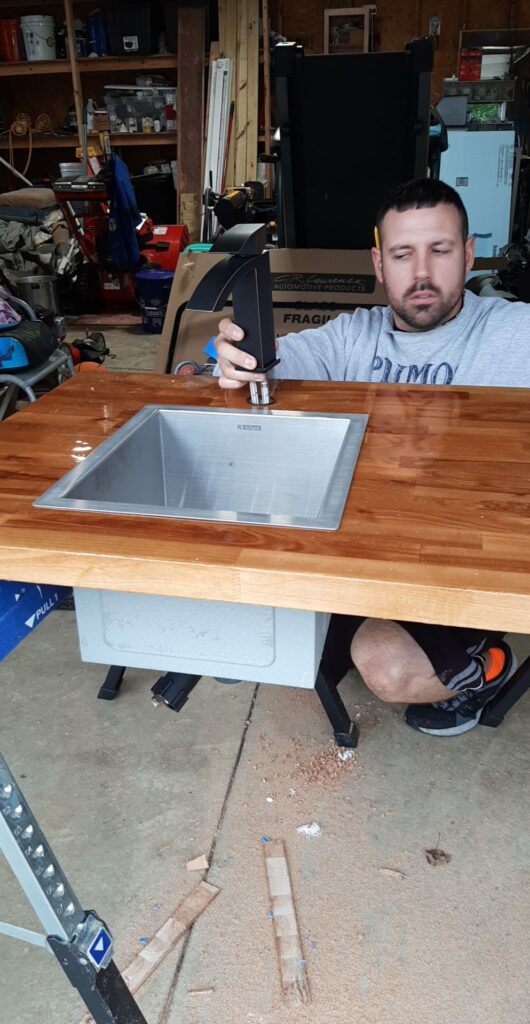
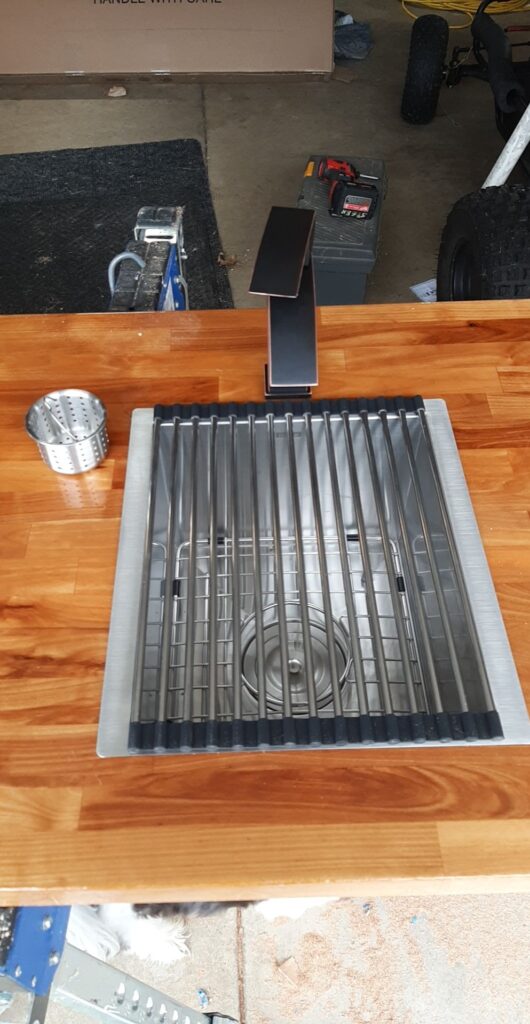
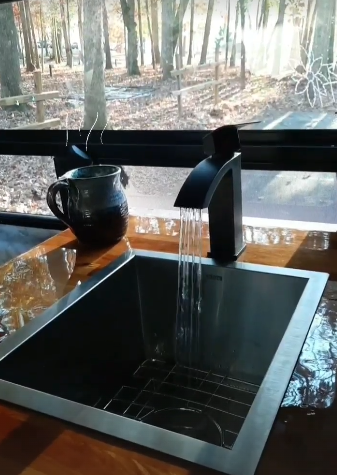
If you’re going for a budget-friendly option or a full plumbing setup, knowing how to build a sink in a van will make life on the road much more convenient!
How to Build Walls in a Van
Building van conversion walls is an essential step in any DIY van build, providing insulation, soundproofing, and a polished interior.
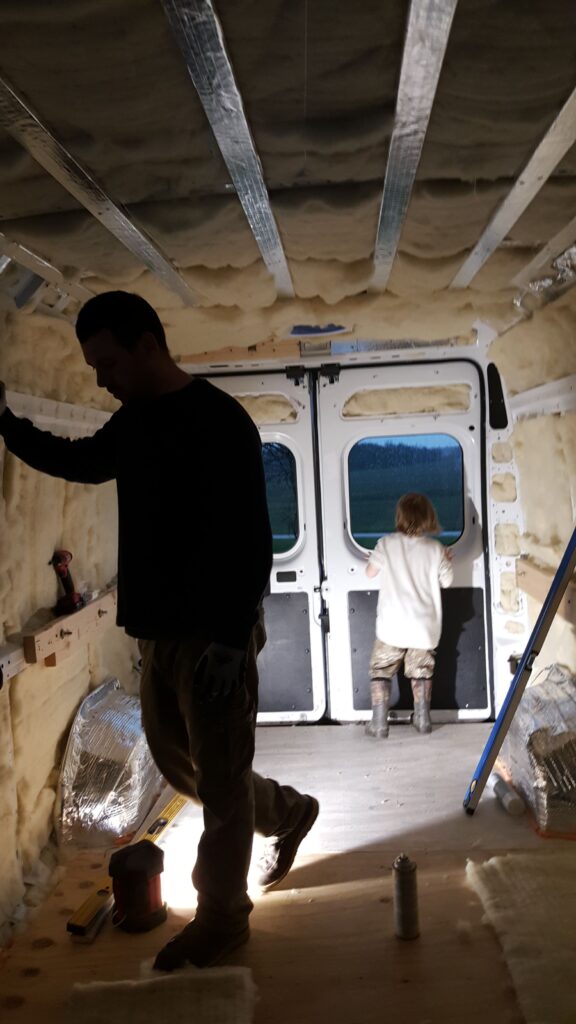
Start by attaching furring strips to the van’s metal ribs to create a solid framework. Next, add insulation, such as Havelock wool or rigid foam, to regulate temperature and reduce noise.
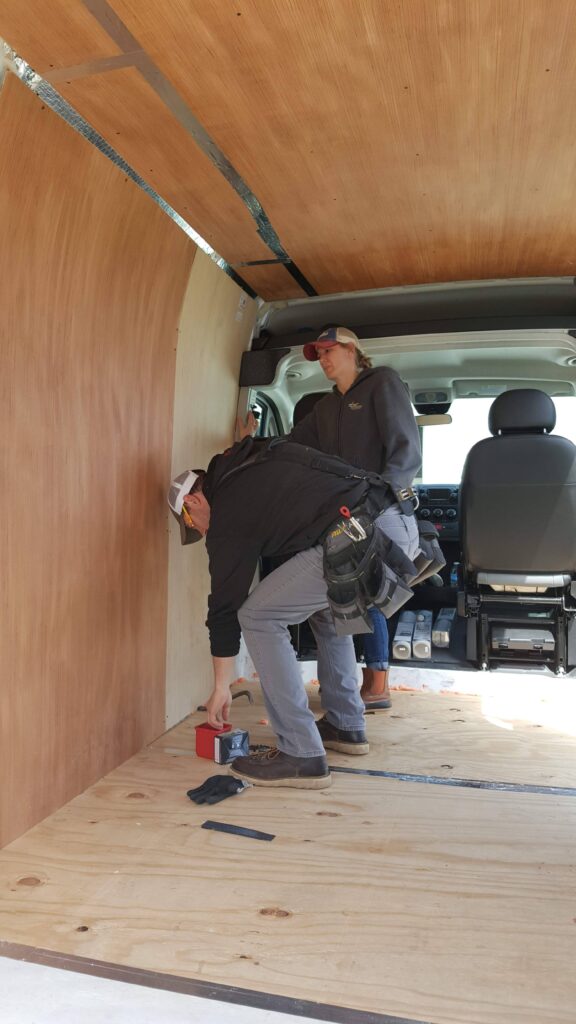
Once insulated, secure plywood or pre-finished panels to the frame using screws. To personalize your space, finish the walls with paint, stain, or fabric. Well-constructed van conversion walls enhance both comfort and style, making your van feel like home!
How to Build a Van Build Ceiling
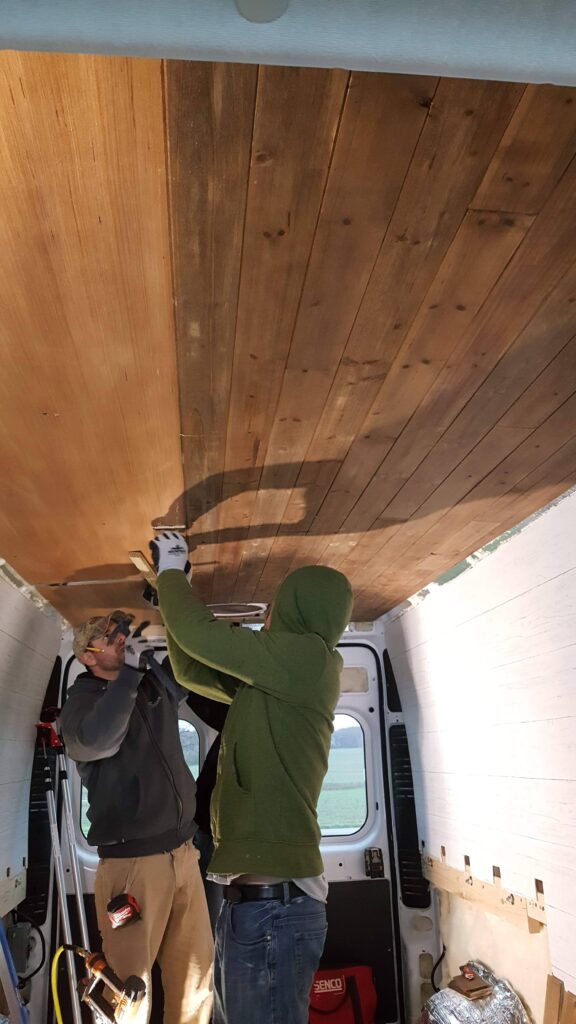
A well-designed van build ceiling adds warmth, insulation, and character to your camper. We chose cedar interlocking planks for their lightweight durability and natural resistance to moisture—perfect for your van build. To enhance the look, we stained the planks, giving them a rich, finished appearance. The result was this beautiful, functional van build ceiling that makes our space feel cozy and inviting.

One Comment