spaghetti squash
Cook Recipes

Deliciously Loaded Spaghetti Squash Boats for the Best Guilt-Free Dinner

This article may contain links from my partners. I may receive a small commission if you make a purchase through a link. Please read my disclosure and how I make money here.

Spaghetti squash boats are the perfect healthy, low-carb dinner idea that are packed with flavor.

The squash strands create a light, creamy spaghetti squash texture that pairs perfectly with melted cheese and a hearty sauce.

Spaghetti squash boats are also incredibly easy to make—just roast, fill, and bake!
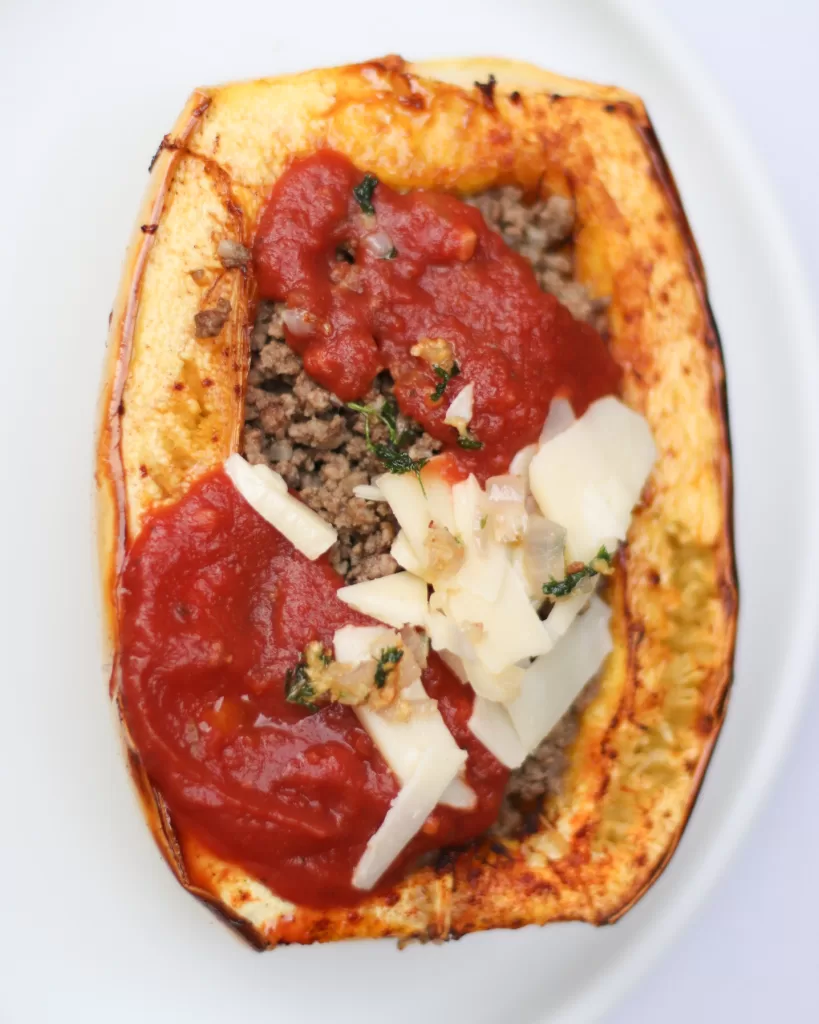
spaghetti squash boats

How to tell if spaghetti squash is ripe?

To tell if a spaghetti squash is ripe, check for a deep yellow color and a firm, hard skin. It should feel heavy and have no soft spots or blemishes.

If the squash is still green or has a pale-yellow hue, it’s likely an unripe spaghetti squash. Unripe squash won’t have developed its full sweetness and may have a tougher, less desirable texture.

What does spaghetti squash taste like?

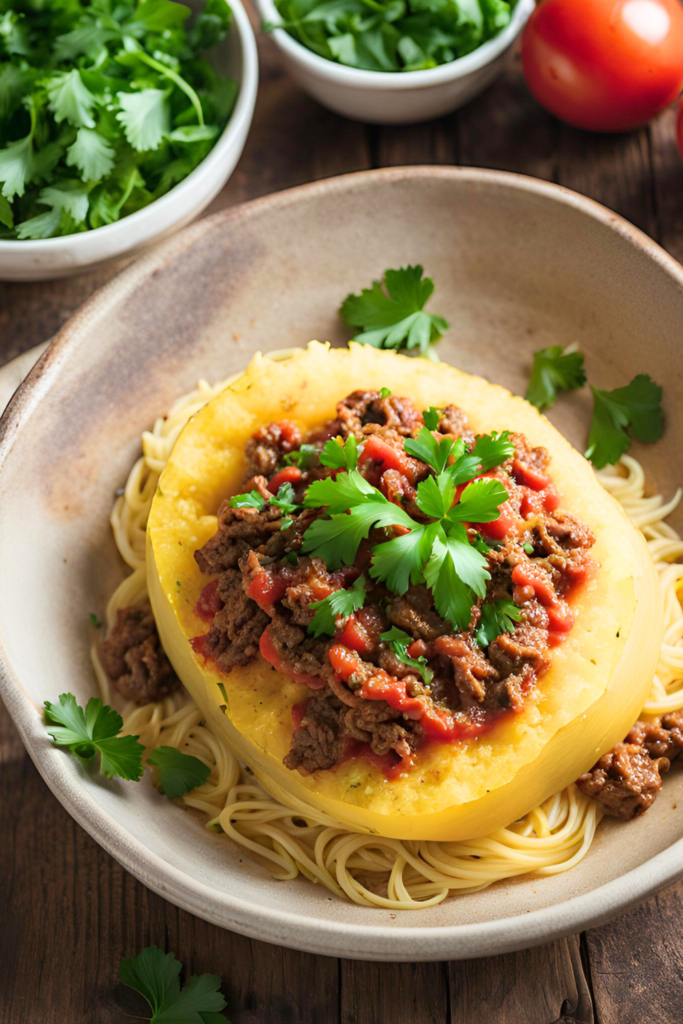
It’s slightly sweet flavor and has a texture similar to al dente pasta, making it perfect for absorbing the flavors of whatever it’s paired with.

When you make stuffed spaghetti squash, the squash itself takes on the savory richness of the fillings, whether it’s hearty ground turkey, marinara sauce, or roasted vegetables, while still maintaining a light, slightly nutty taste.
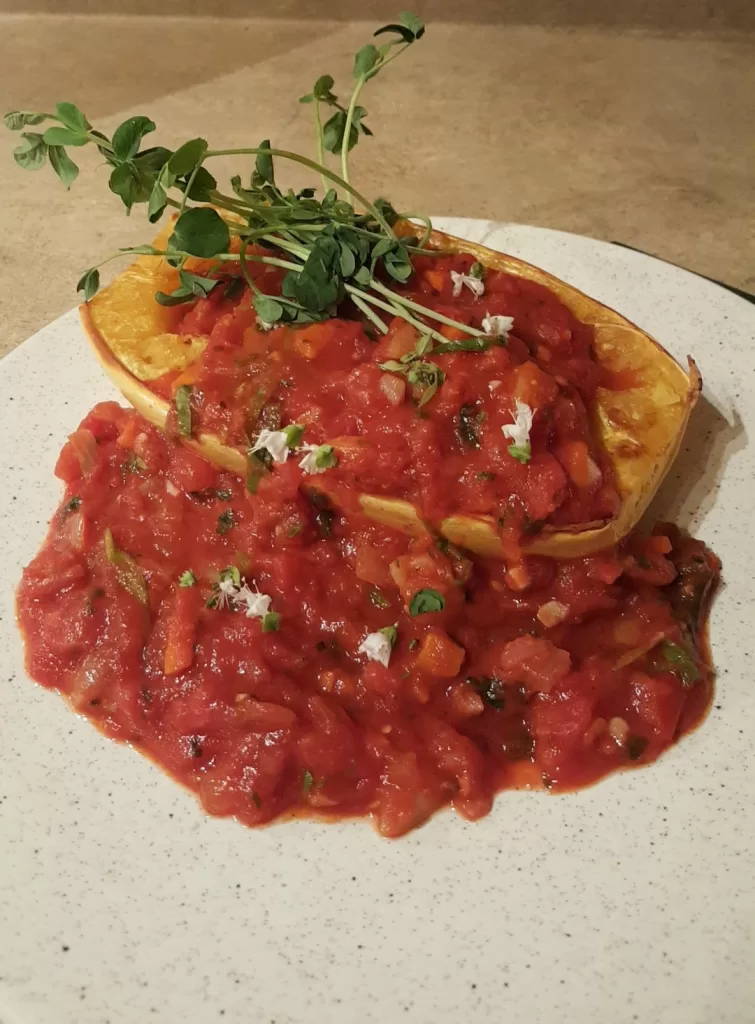
spaghetti squash boats

Spaghetti Squash Boats

Spaghetti squash boats are just as savory and make for great lazy Sunday ideas, just like my easy gluten free meatballs, poblano burritos, or crispy chaffle pizza.
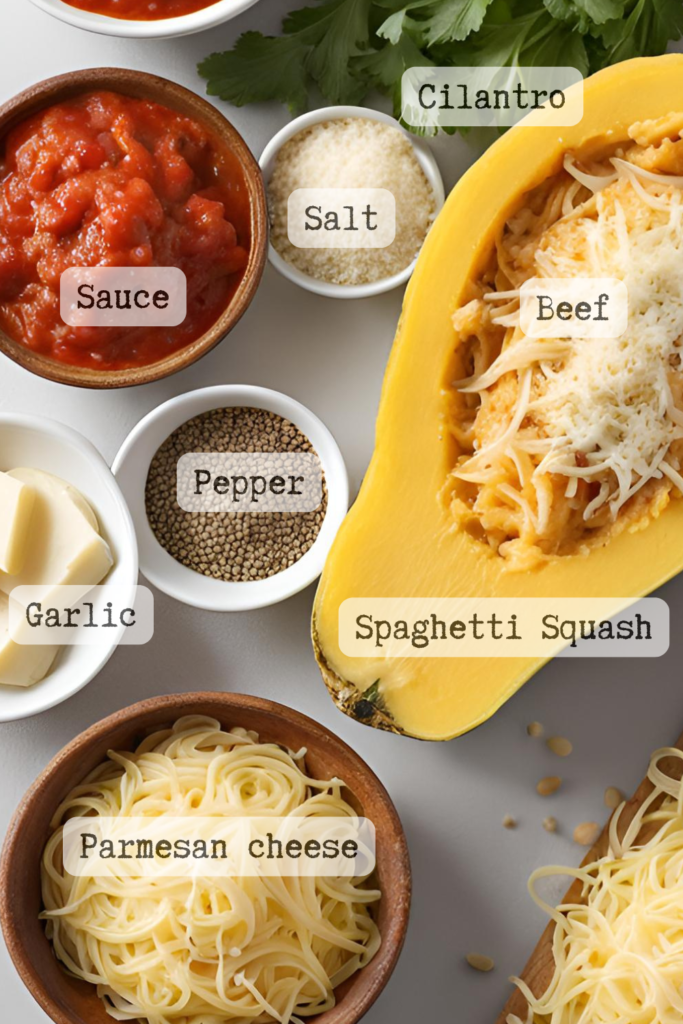
Grilled spaghetti squash

Recipe for spaghetti squash boats:

Spaghetti squash: Their slightly sweet, mild flavor makes a perfect low-carb alternative to traditional pasta.

Ground beef: Ground beef adds a savory, satisfying base, and when cooked, it absorbs the seasoning for a balanced, meaty filling.

Marina sauce: A classic tomato-based sauce made with tomatoes, garlic, onions, and herbs. Marinara sauce brings a tangy, slightly sweet, and savory component that complements the squash and beef.

Mozzarella cheese: This soft, melty cheese is mild and creamy, perfect for topping the dish. As it melts, it creates a gooey, golden layer that ties all the ingredients together.

Garlic: Enhances the flavor of the beef and sauce, creating a more robust, savory flavor.

Olive oil: Adds richness and prevents sticking.

Salt and pepper: Helps with flavoring and spice.

Parsley: Fresh flavor to balance the rich, savory elements of the dish
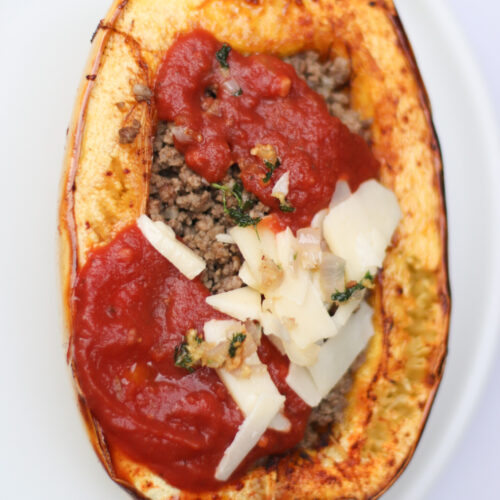
spaghetti squash

Loaded Spaghetti Squash Boats

Spaghetti squash boats are so easy to make, perfect for a busy mom meal planning, gluten free fall recipes and fall recipes kids will love!
Prep Time 10 minutes
Cook Time 40 minutes
Total Time 50 minutes
Course Dinner, Main Course
Cuisine Italian
Servings 2 people

Ingredients
  

  • 2 medium spaghetti squash
  • 1 lb ground beef
  • 1 ½ cups marina sauce
  • 1 cup mozzarella cheese shredded
  • 2 cloves garlic
  • 1 tbsp olive oil
  • salt and pepper to taste
  • fresh parsley

Instructions
 

  • Preheat the oven to 400℉
  • Drizzle the cut sides of the spaghetti squash with olive oil, and sprinkle with salt and pepper.
  • Place the squash halves cut-side down on a baking sheet. Roast for 35-40 minutes or until the flesh is tender and easily scraped with a fork to form "spaghetti-like" strands.

Cook the ground beef.

  • While the squash is roasting, heat olive oil in a skillet over medium heat.
    Add minced garlic and sauté for 1-2 minutes.
  • Add the beef and cook until browned, breaking it up as it cooks.
  • Season with salt and pepper.
  • Stir in the marinara sauce and let it simmer for 5-7 minutes until heated through.
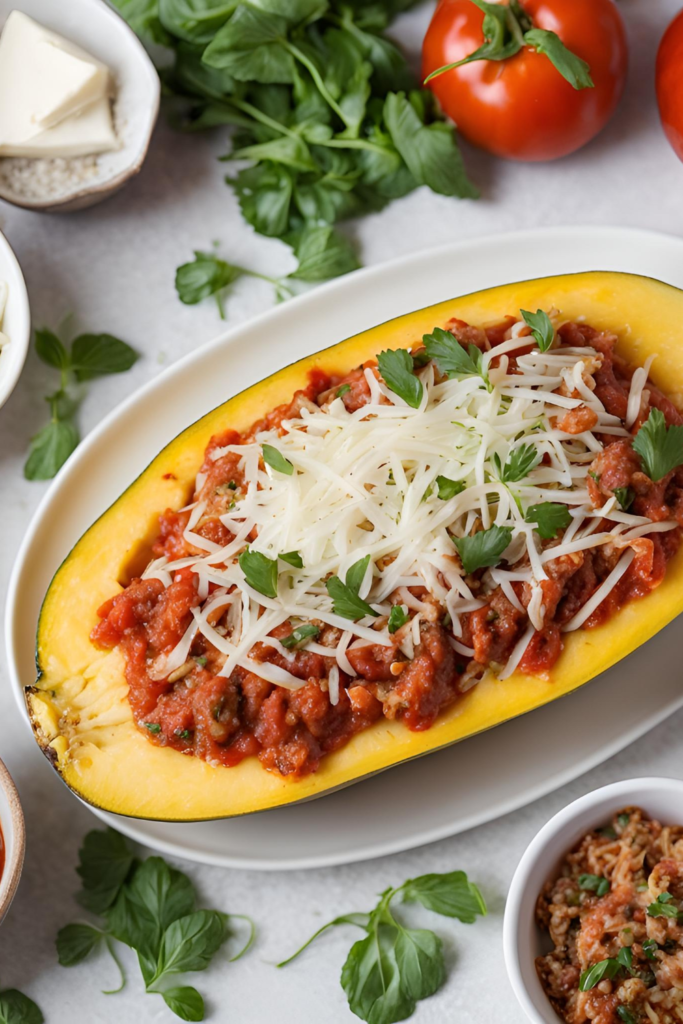
  • Fill each spaghetti squash half with the beef marinara mixture.
  • Sprinkle with mozzarella and Parmesan cheese.
  • Return the filled squash boats to the oven and bake for an additional 10 minutes, or until the cheese is melted and bubbly.
  • Remove from the oven and garnish with chopped parsley if desired.
Keyword butternut squash spaghetti, spaghetti squash boats, spaghetti squash ground turkey

Roasted spaghetti squash boats instructions:

Preheat the oven to 400℉

Drizzle the cut sides of the spaghetti squash with olive oil, and sprinkle with salt and pepper.

Place the spaghetti squash boats with halves cut-side down on a baking sheet. Roast for 35-40 minutes or until the flesh is tender and easily scraped with a fork to form “spaghetti-like” strands.

Cook the ground beef.

spaghetti squash boats

While the squash is roasting, heat olive oil in a skillet over medium heat.

Add minced garlic and sauté for 1-2 minutes.

Add the ground beef and cook until browned, breaking it up as it cooks.

Season with salt and pepper.

Stir in the marinara sauce and let it simmer for 5-7 minutes until heated through.

Fill each spaghetti squash half with the beef marinara mixture.

Sprinkle with mozzarella and Parmesan cheese.

Return the filled squash boats to the oven and bake for an additional 10 minutes, or until the cheese is melted and bubbly.

Remove from the oven and garnish with chopped parsley if desired.

Cutting spaghetti squash tips:

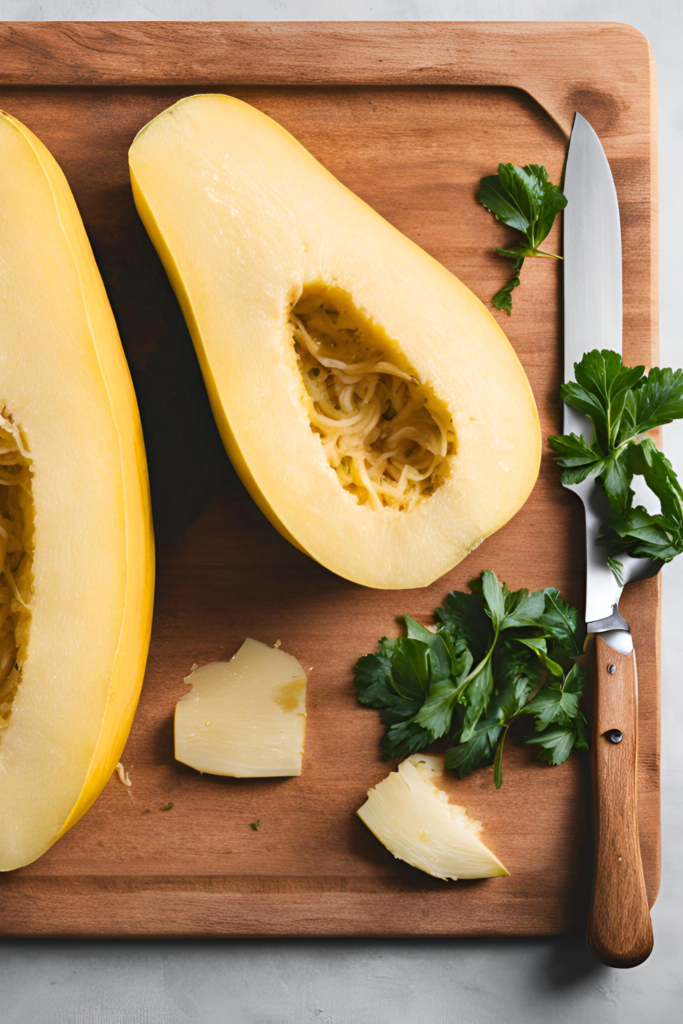
Cutting into these spaghetti squash boats can be tricky because of their tough skin, but these tips will help make it easier and safer:
creamy spaghetti squash

Soften it in the microwave:

  • Poke a few holes in the squash with a fork.
  • Microwave it for 3–5 minutes (depending on size) to slightly soften the skin, making it easier to cut.

Stabilize the squash:

  • Lay the squash on a stable cutting board with a damp towel underneath to prevent slipping.
  • If the squash is too round, trim off a small section of one end to create a flat surface to keep it stable.
spaghetti squash carbs

Use a sharp, sturdy knife:

  • A sharp chef’s knife will help cut through the hard skin more smoothly.
  • Carefully insert the tip of the knife into the squash first, then rock the knife back and forth to cut through.

Cut lengthwise

  • For long strands: Cut the squash lengthwise from stem to end to get longer spaghetti-like strands.
  • For shorter strands: Cut it crosswise into rings, which results in shorter strands.
spaghetti squash ground turkey

Oh, hey there!

Welcome! I’m an aspiring foodie who loves sharing adventures, hikes, local finds, and all things delicious. Wife to an incredible chef and mama to two adorable sous chefs, I’m always creating, sharing and enjoying every bite along the way!

Read more and subscribe to get my most tried and loved recipes delivered straight to your inbox!

imageedit 1 7887394045 1024x1024 2

Can you freeze cooked spaghetti squash?

Yes, you can freeze cooked spaghetti squash! Here’s how to do it properly to preserve its texture and flavor:

Steps to freezing spaghetti squash:

  • Cook the squash: Roast, bake, or microwave the spaghetti squash as usual. Once cooked, scrape the strands out of the shell using a fork.
  • Cool completely: Let the cooked squash cool to room temperature before freezing this helps prevent squishiness.
  • Portion it out: Divide the spaghetti squash into portion sizes that you will use later.
  • Drain excess moisture: If the squash is particularly watery, press it gently with a paper towel or drain it in a colander before freezing.
  • Store in airtight containers: Place the portions in airtight freezer-safe bags or containers. If using freezer bags, remove as much air as possible before sealing to prevent freezer burn.

How long does spaghetti squash last?

Frozen spaghetti squash can last up to 6-8 months in the freezer.

Thawing and reheating:

  • Thaw: Place the frozen squash in the fridge overnight or thaw it in the microwave.
  • Reheat: Warm it up on the stovetop or microwave, and it’s ready to use!

Freezing spaghetti squash is a great way to save time and enjoy it later without losing much of its texture or flavor.

spaghetti squash boats

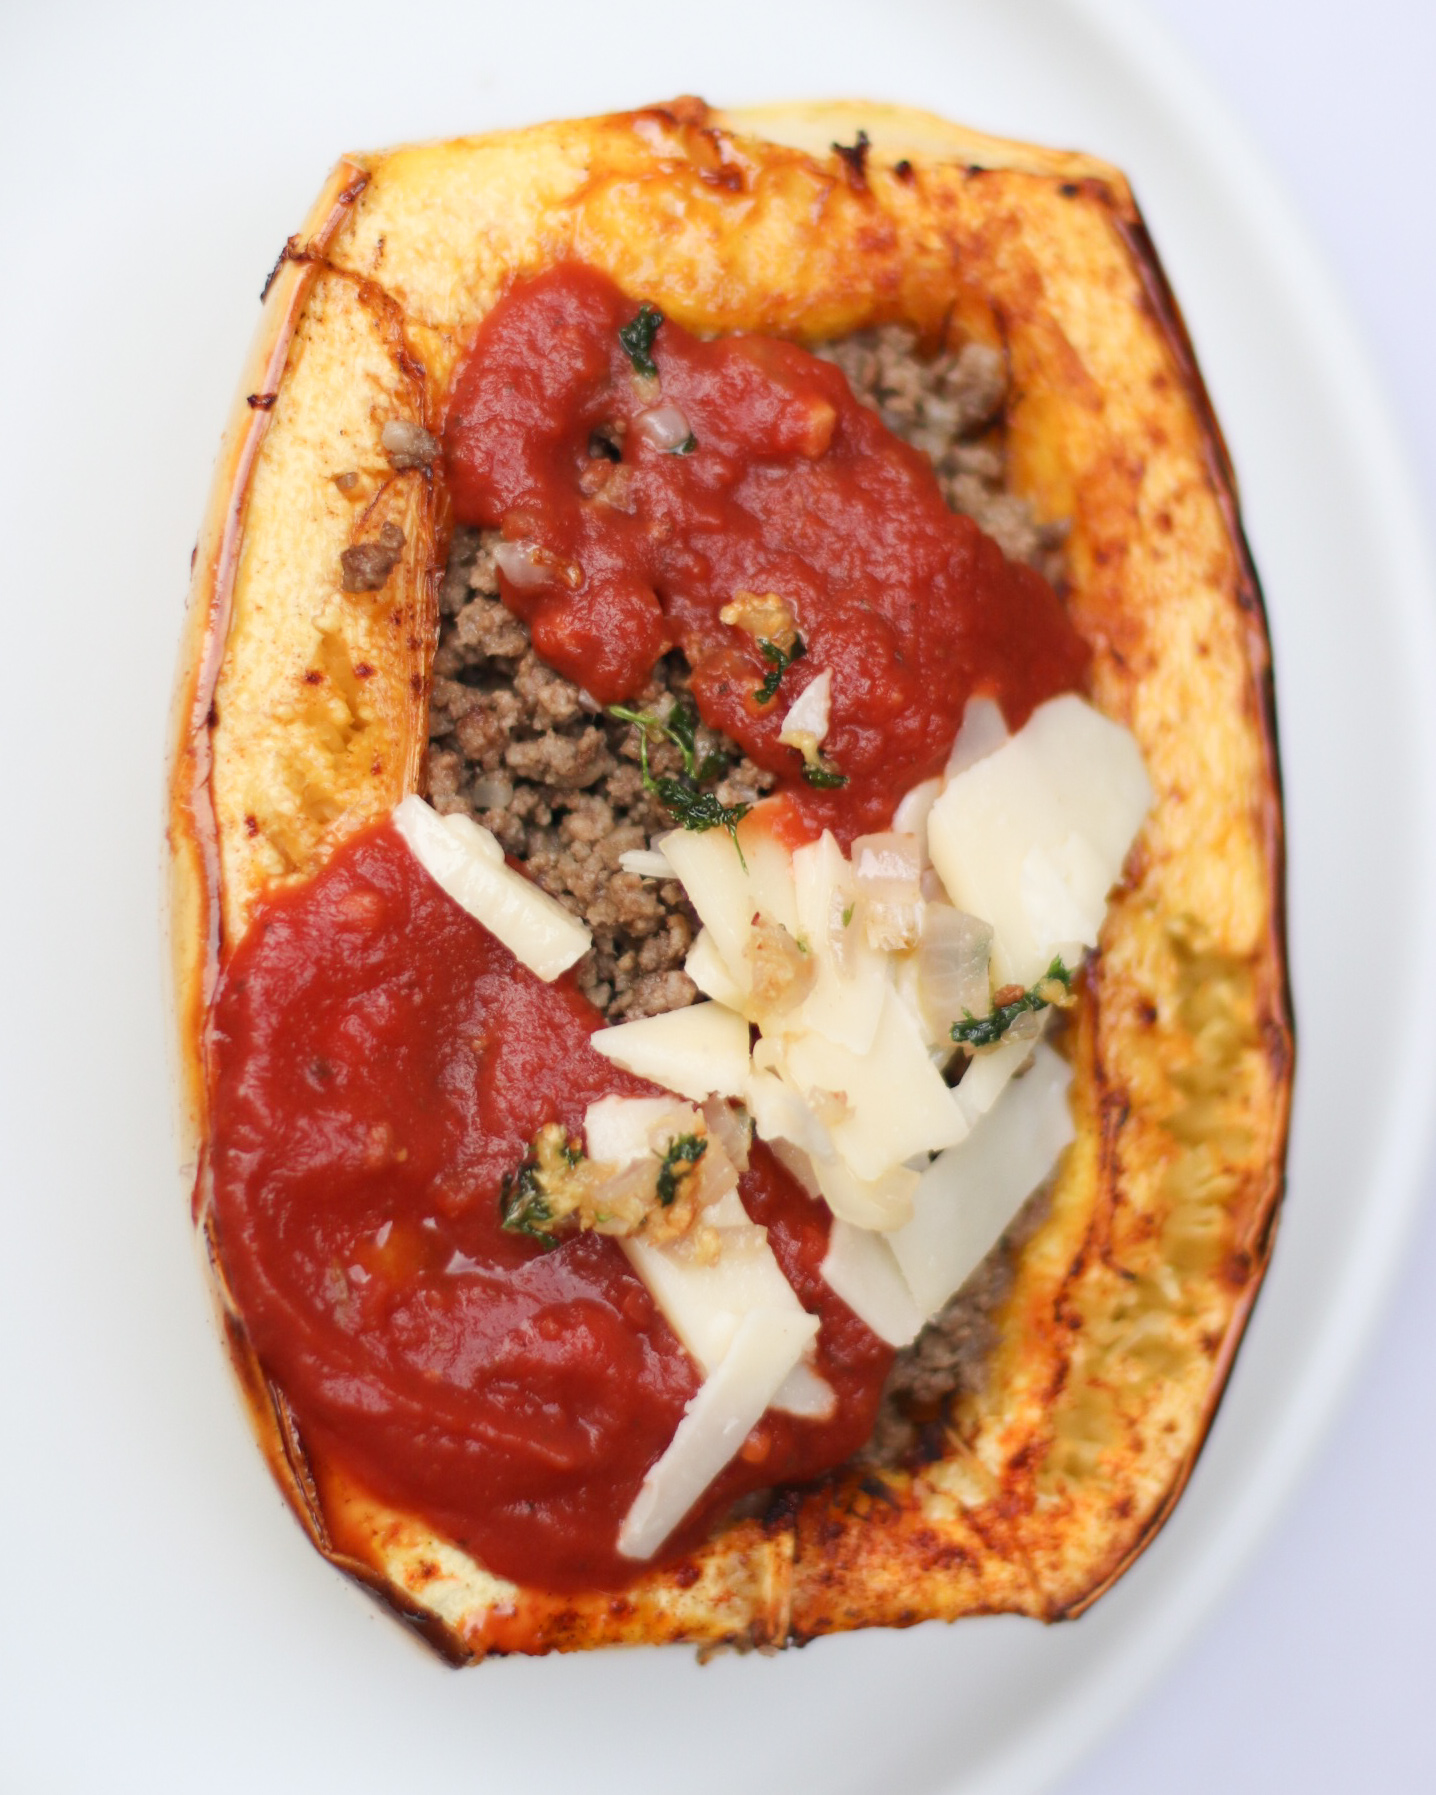
If you’re looking for the best spaghetti squash recipe, these loaded spaghetti squash boats are a must-try.

Packed with savory ground beef, marinara sauce, and melty mozzarella cheese, they’re the perfect combination of healthy and delicious.

The spaghetti squash strands mimic pasta, but with fewer carbs, making this dish a guilt-free, satisfying meal.

pin
dinner keto recipes
Cook Recipes

Quick and Delicious Last Minute Dinner Recipes

This article may contain links from my partners. I may receive a small commission if you make a purchase through a link. Please read my disclosure and how I make money here.

Need some inspiration for last minute dinner recipes? You’re in the right place! Whether you’re craving a comforting bowl of creamy zucchini pasta, a perfectly cooked beef sirloin steak sous vide, a low-carb twist with crispy chaffle pizza, or flavorful poblano enchiladas, these quick and delicious meals are here to save your evening.

Really easy, last minute dinner recipes

Chicken Poblano Enchiladas

This chicken poblano enchiladas recipe is a favorite, it’s one of my best, quick last minute dinner ideas, very tasty and delicious!

1
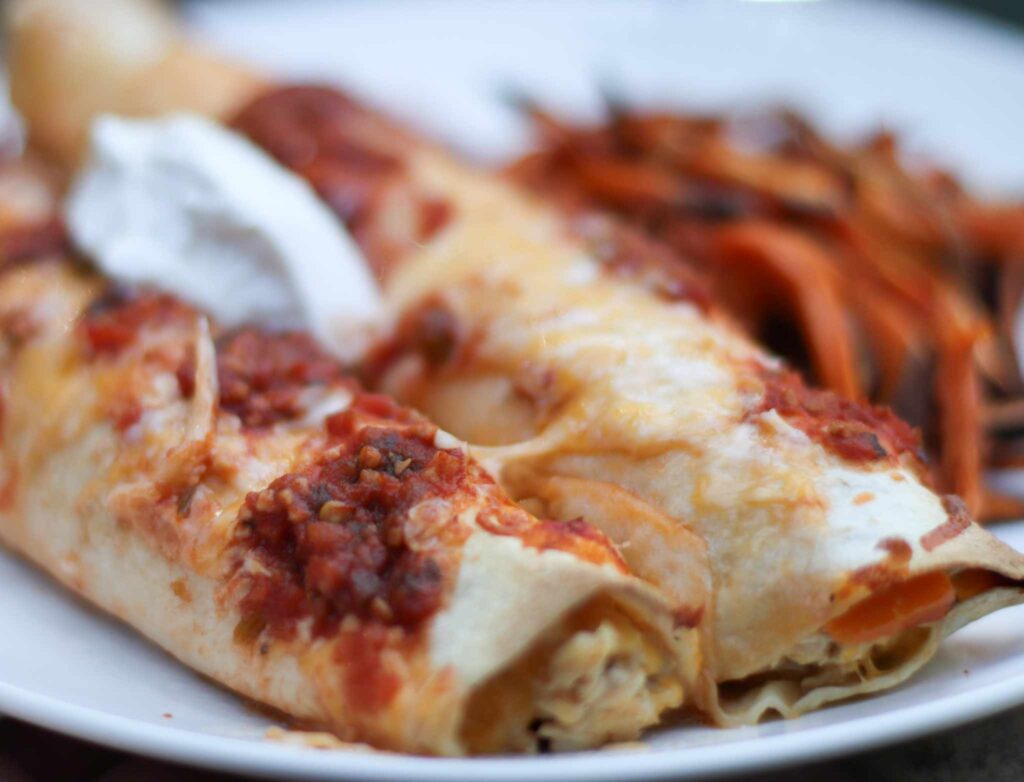
chicken poblano enchiladas
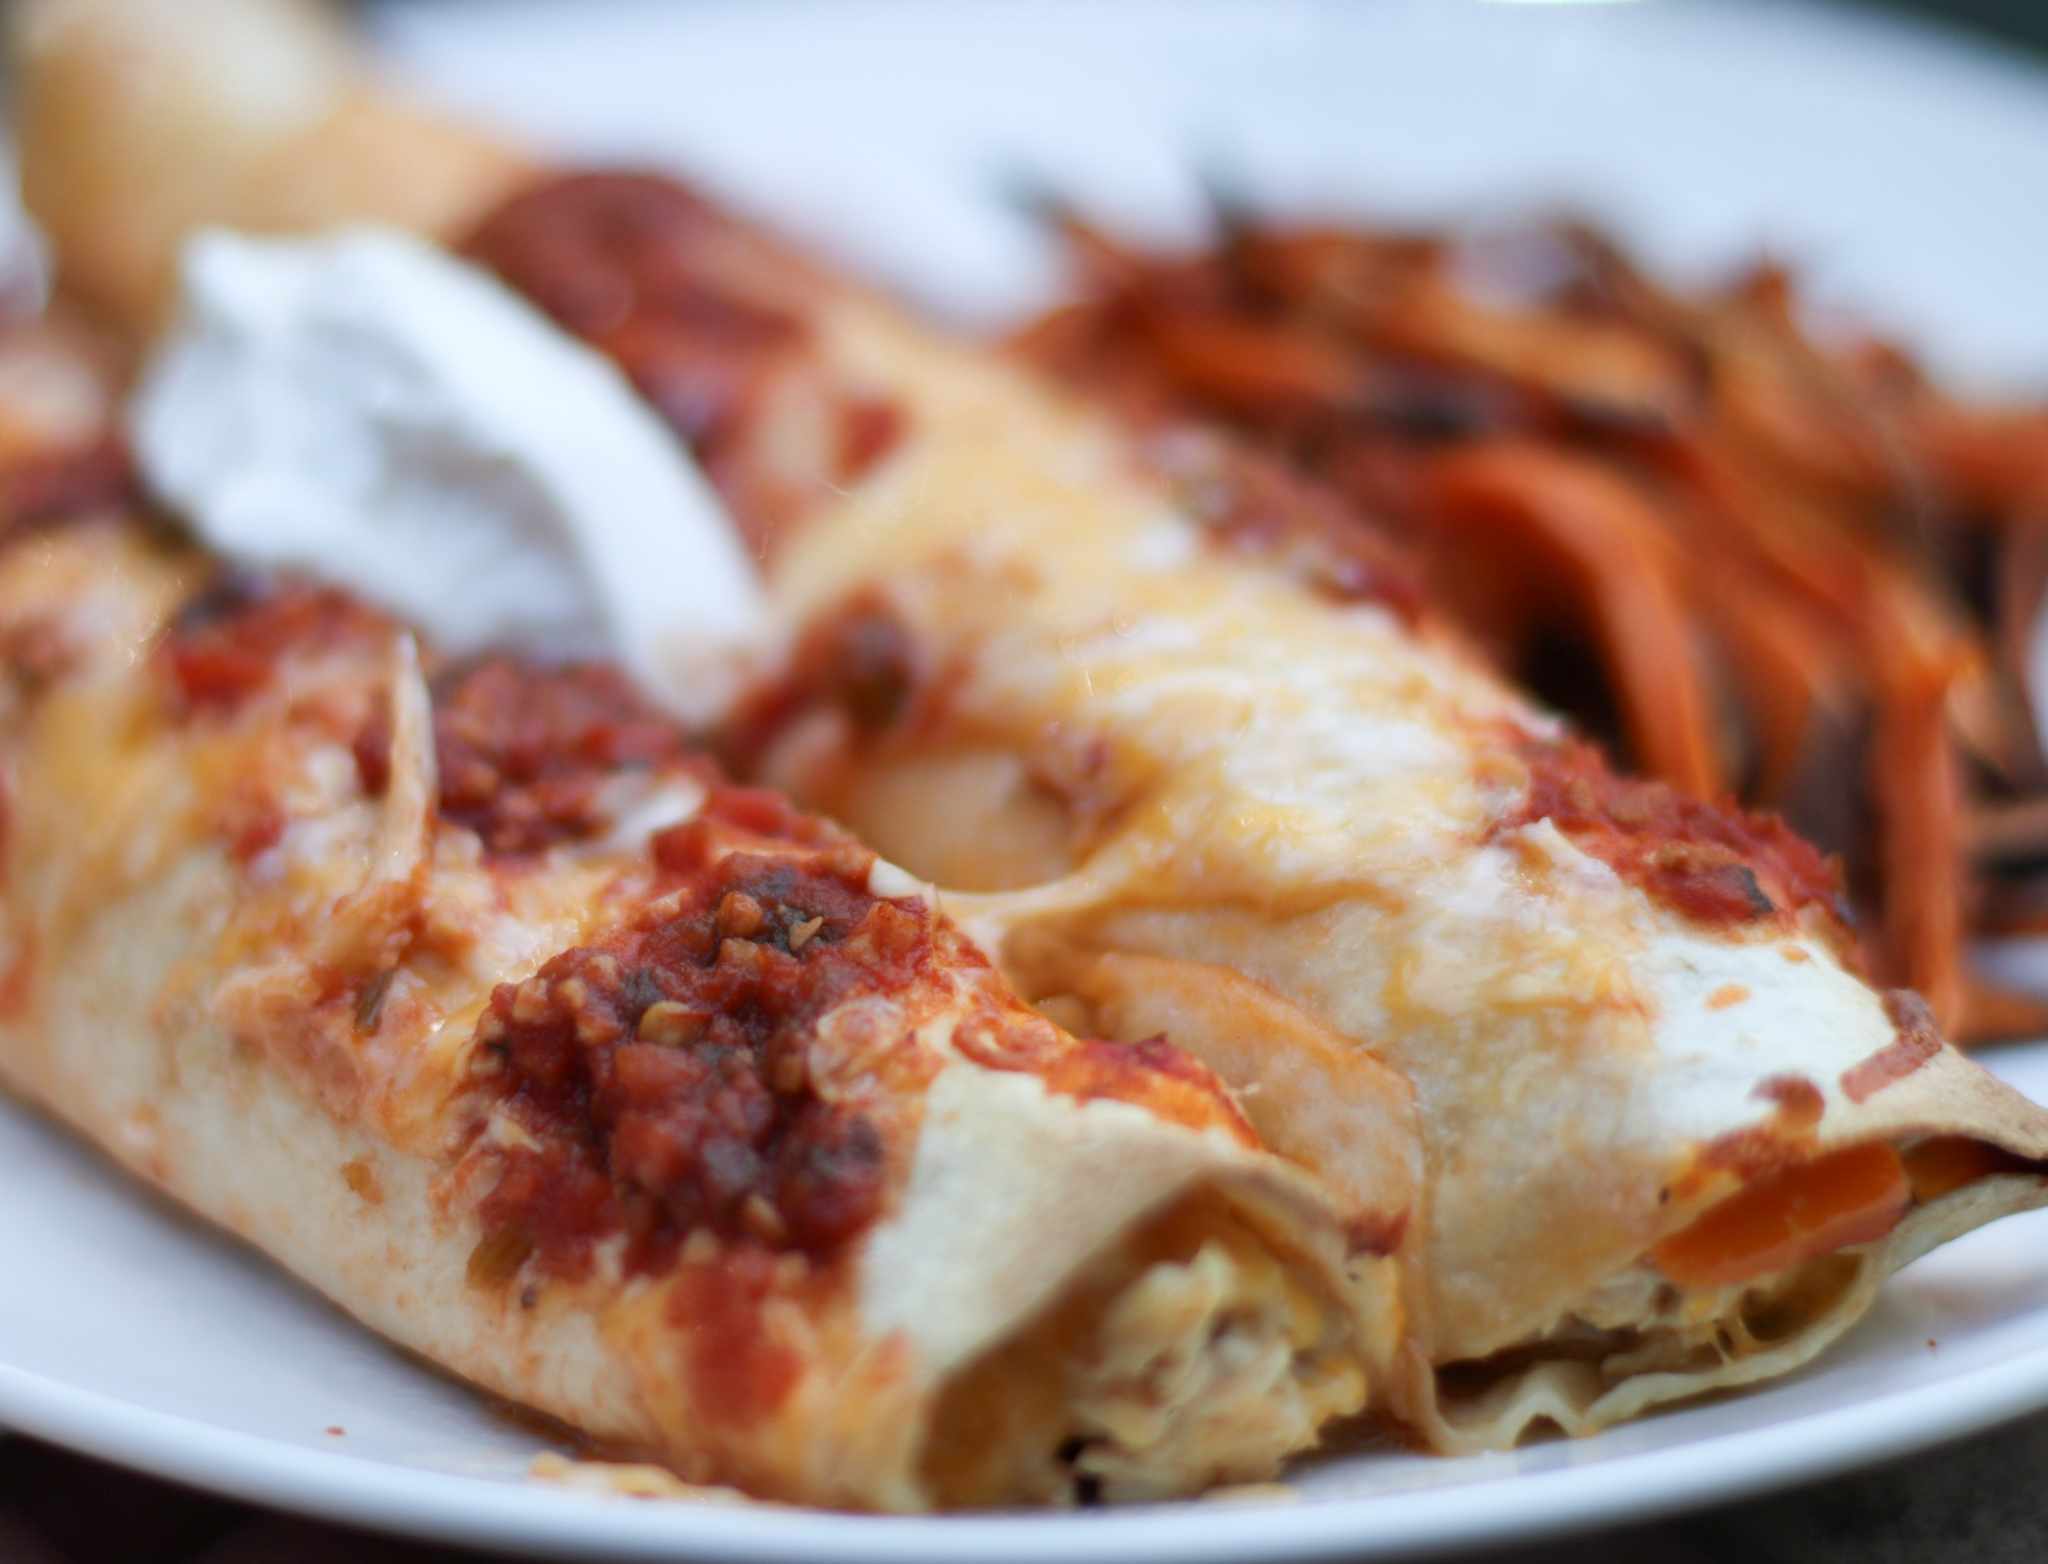
Cheesy Chicken Poblano Enchiladas
This savory chicken poblano enchiladas with tender shredded chicken, smoky roasted poblano peppers and sweet bell peppers wrapped in soft tortillas and topped with rich, melty cheddar cheese, making every bite of these creamy poblano chicken enchiladas the best.
Check out this recipe

Spaghetti Squash Boats

Try out this easy spaghetti squash ground turkey recipe for an easy last minute dinner recipe.

2
spaghetti squash
Deliciously Loaded Spaghetti Squash Boats for the Best Guilt-Free Dinner
Check out this recipe
last minute dinner recipes

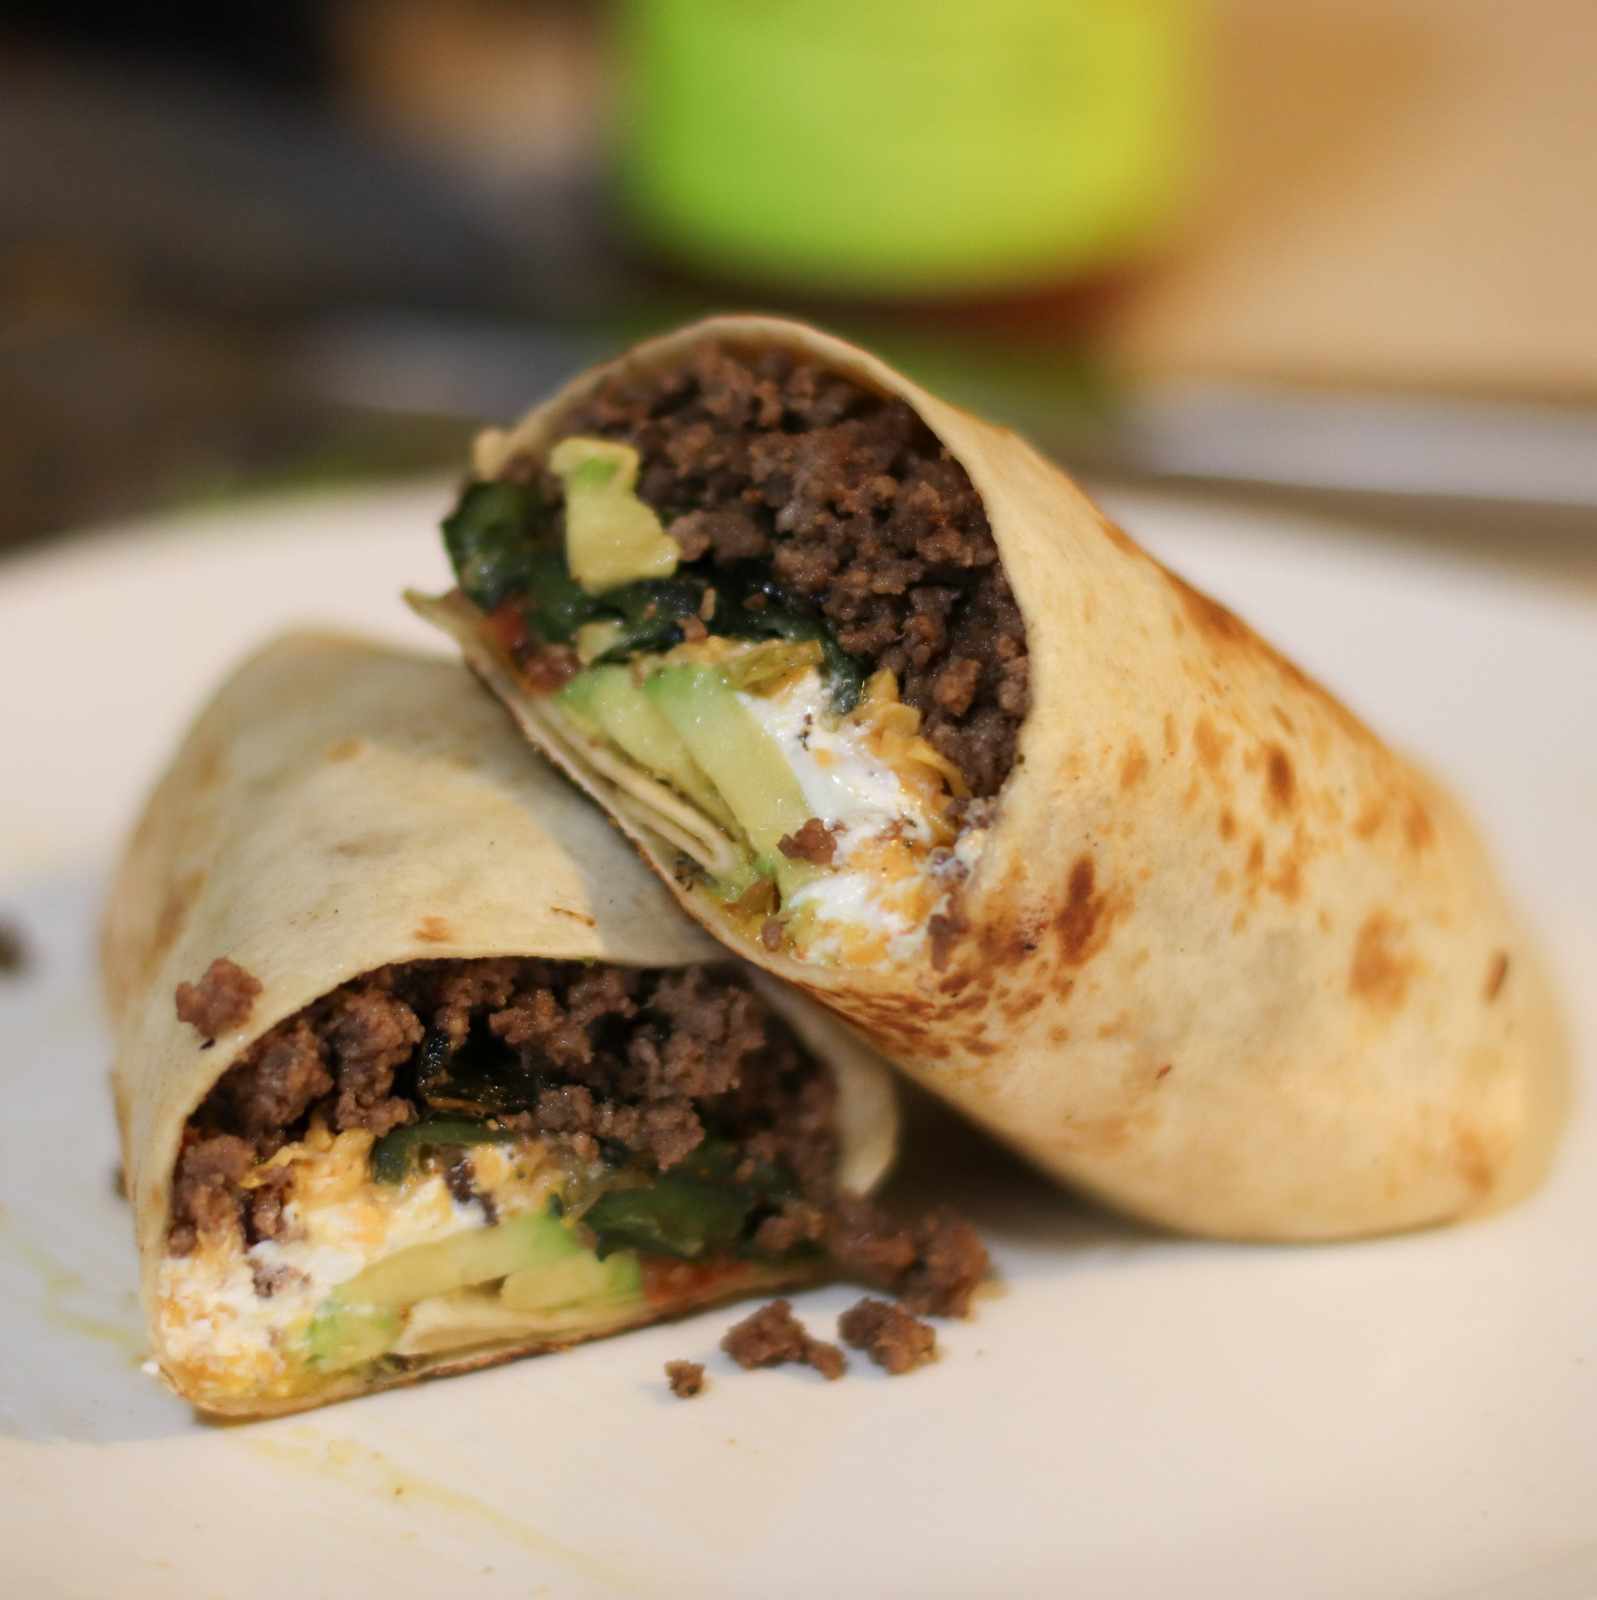
Beef burritos are a favorite last minute dinner idea, you can really add ingredients in and make it tasty to any one’s preference.

3
poblano avocado burrito
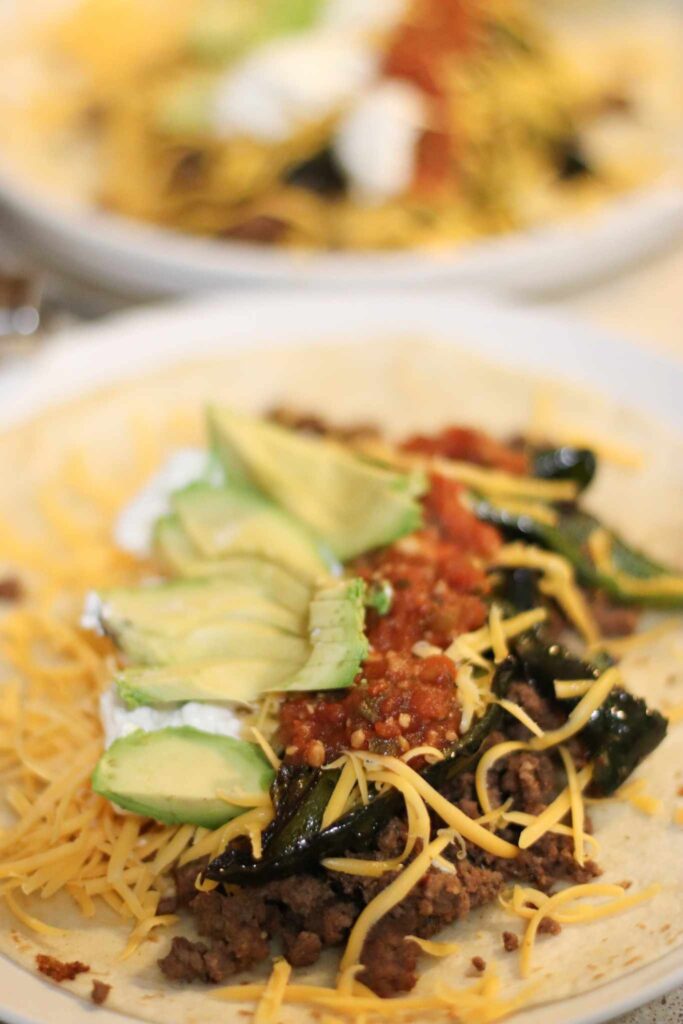
Cheesy Poblanos Burritos
Cheesy, spicy beef poblano avocado burrito featuring crispy tortillas filled with salsa, yogurt, beef, avocado, poblanos, and cheese.
Check out this recipe

Oh, hey there!

Welcome! I’m an aspiring foodie who loves sharing adventures, hikes, local finds, and all things delicious. Wife to an incredible chef and mama to two adorable sous chefs, I’m always creating, sharing and enjoying every bite along the way!

Read more and subscribe to get my most tried and loved recipes delivered straight to your inbox!

imageedit 1 7887394045 1024x1024 2

I was featured in

4
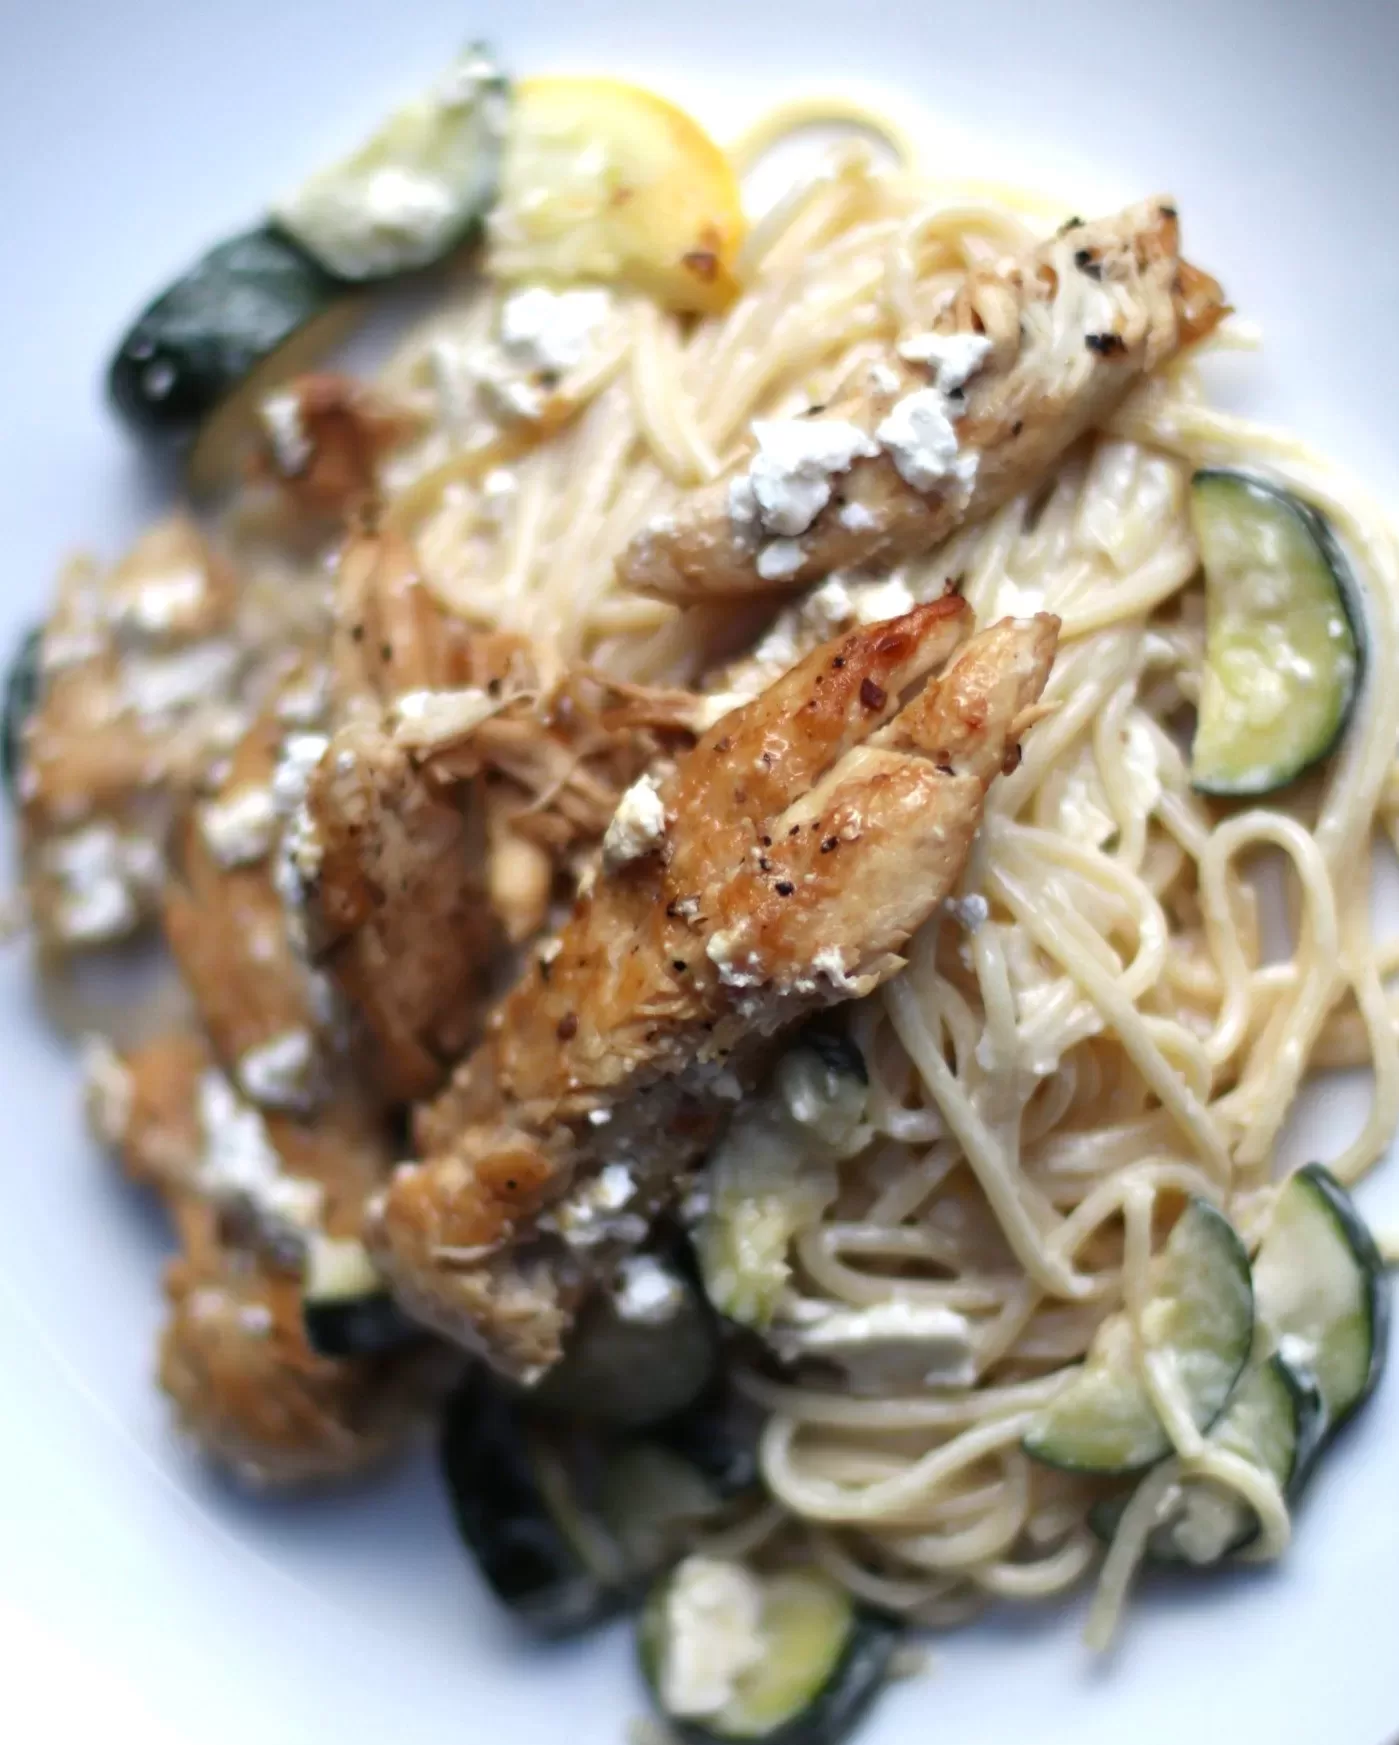
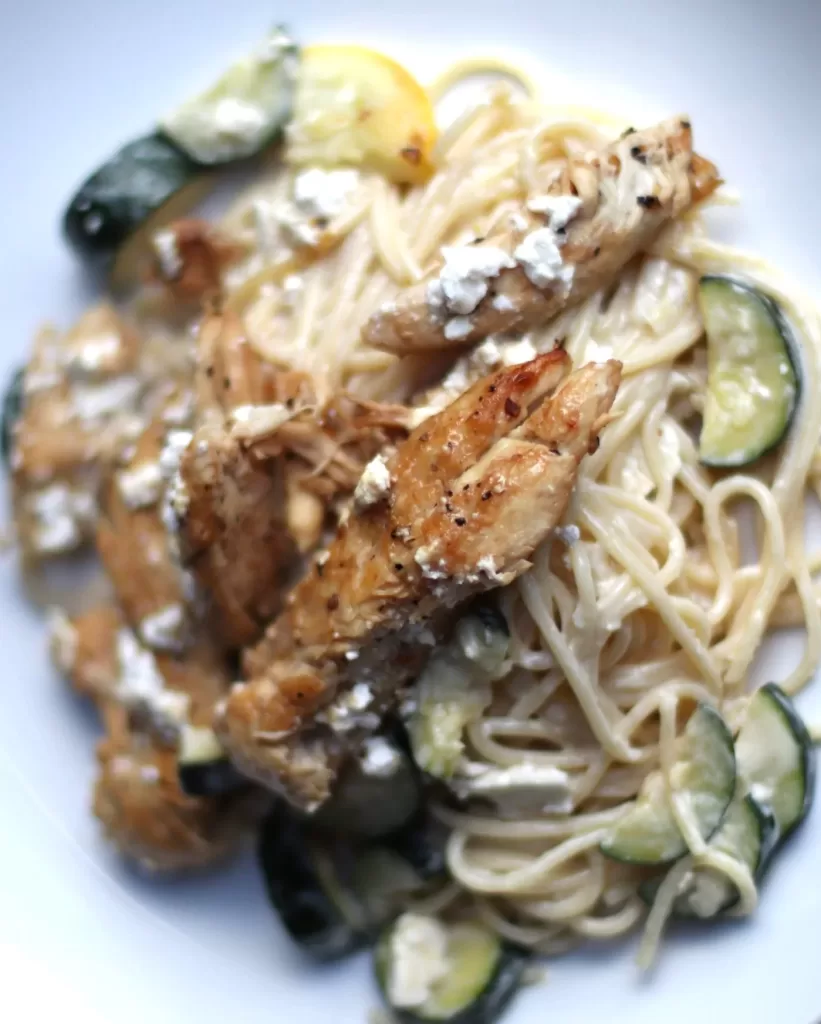
cheesy lemon chicken pasta
Creamy Lemon Chicken Pasta
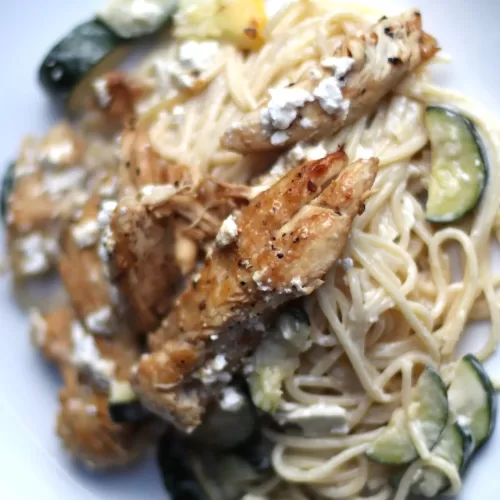
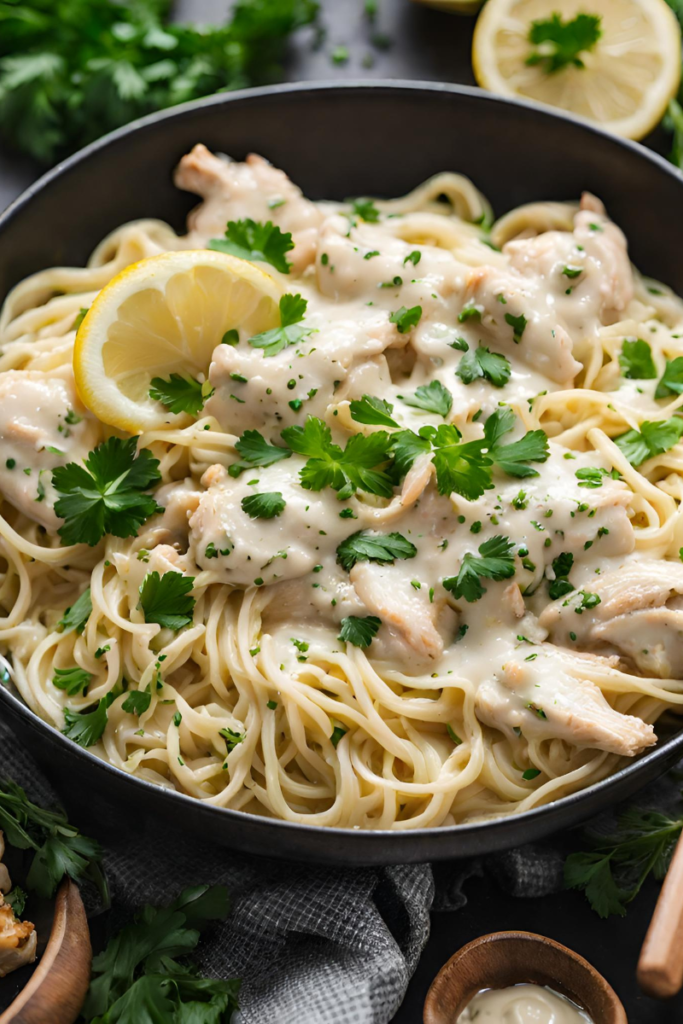
The best creamy lemon chicken pasta marinated in zesty lemon, sweet zucchini and squash with a slight nutty flavor paired with al dente pasta and tossed in a lemon-infused creamy sauce.
Check out this recipe
5
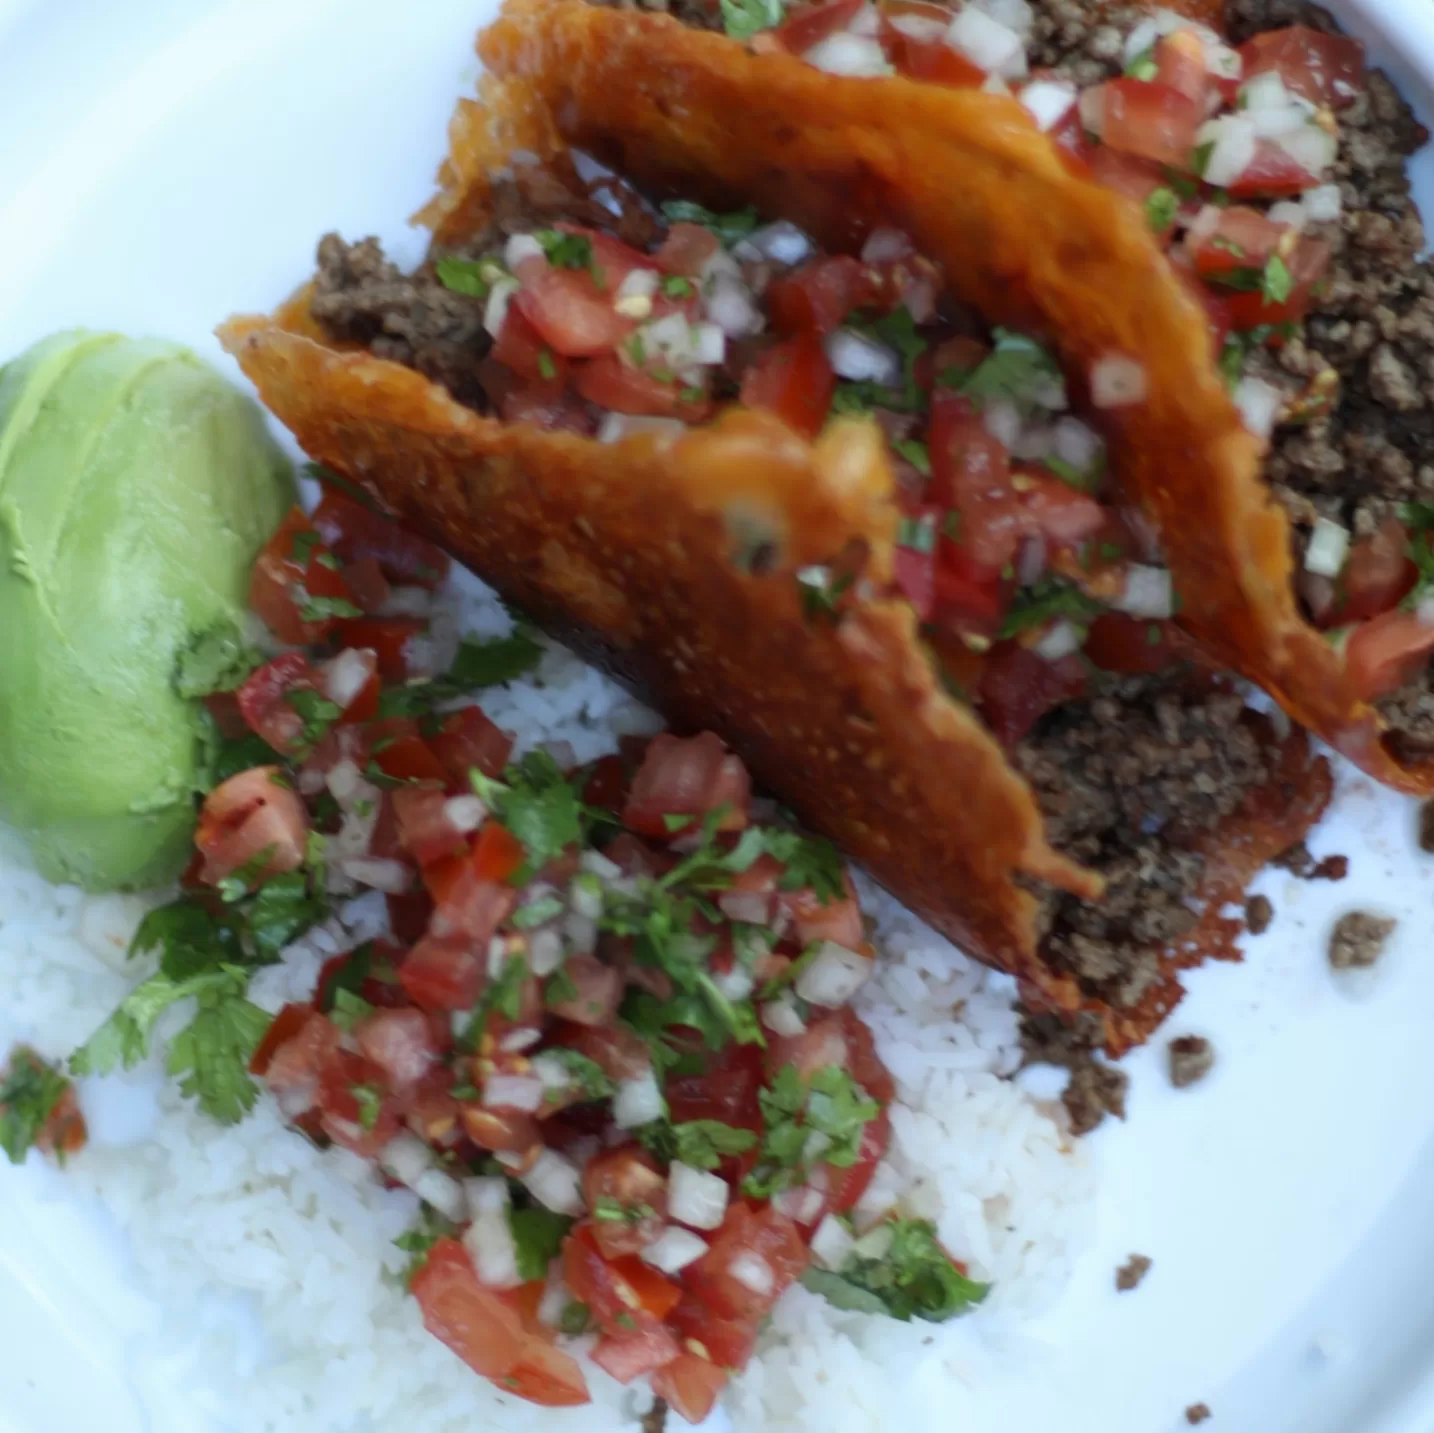
beef tacos healthy
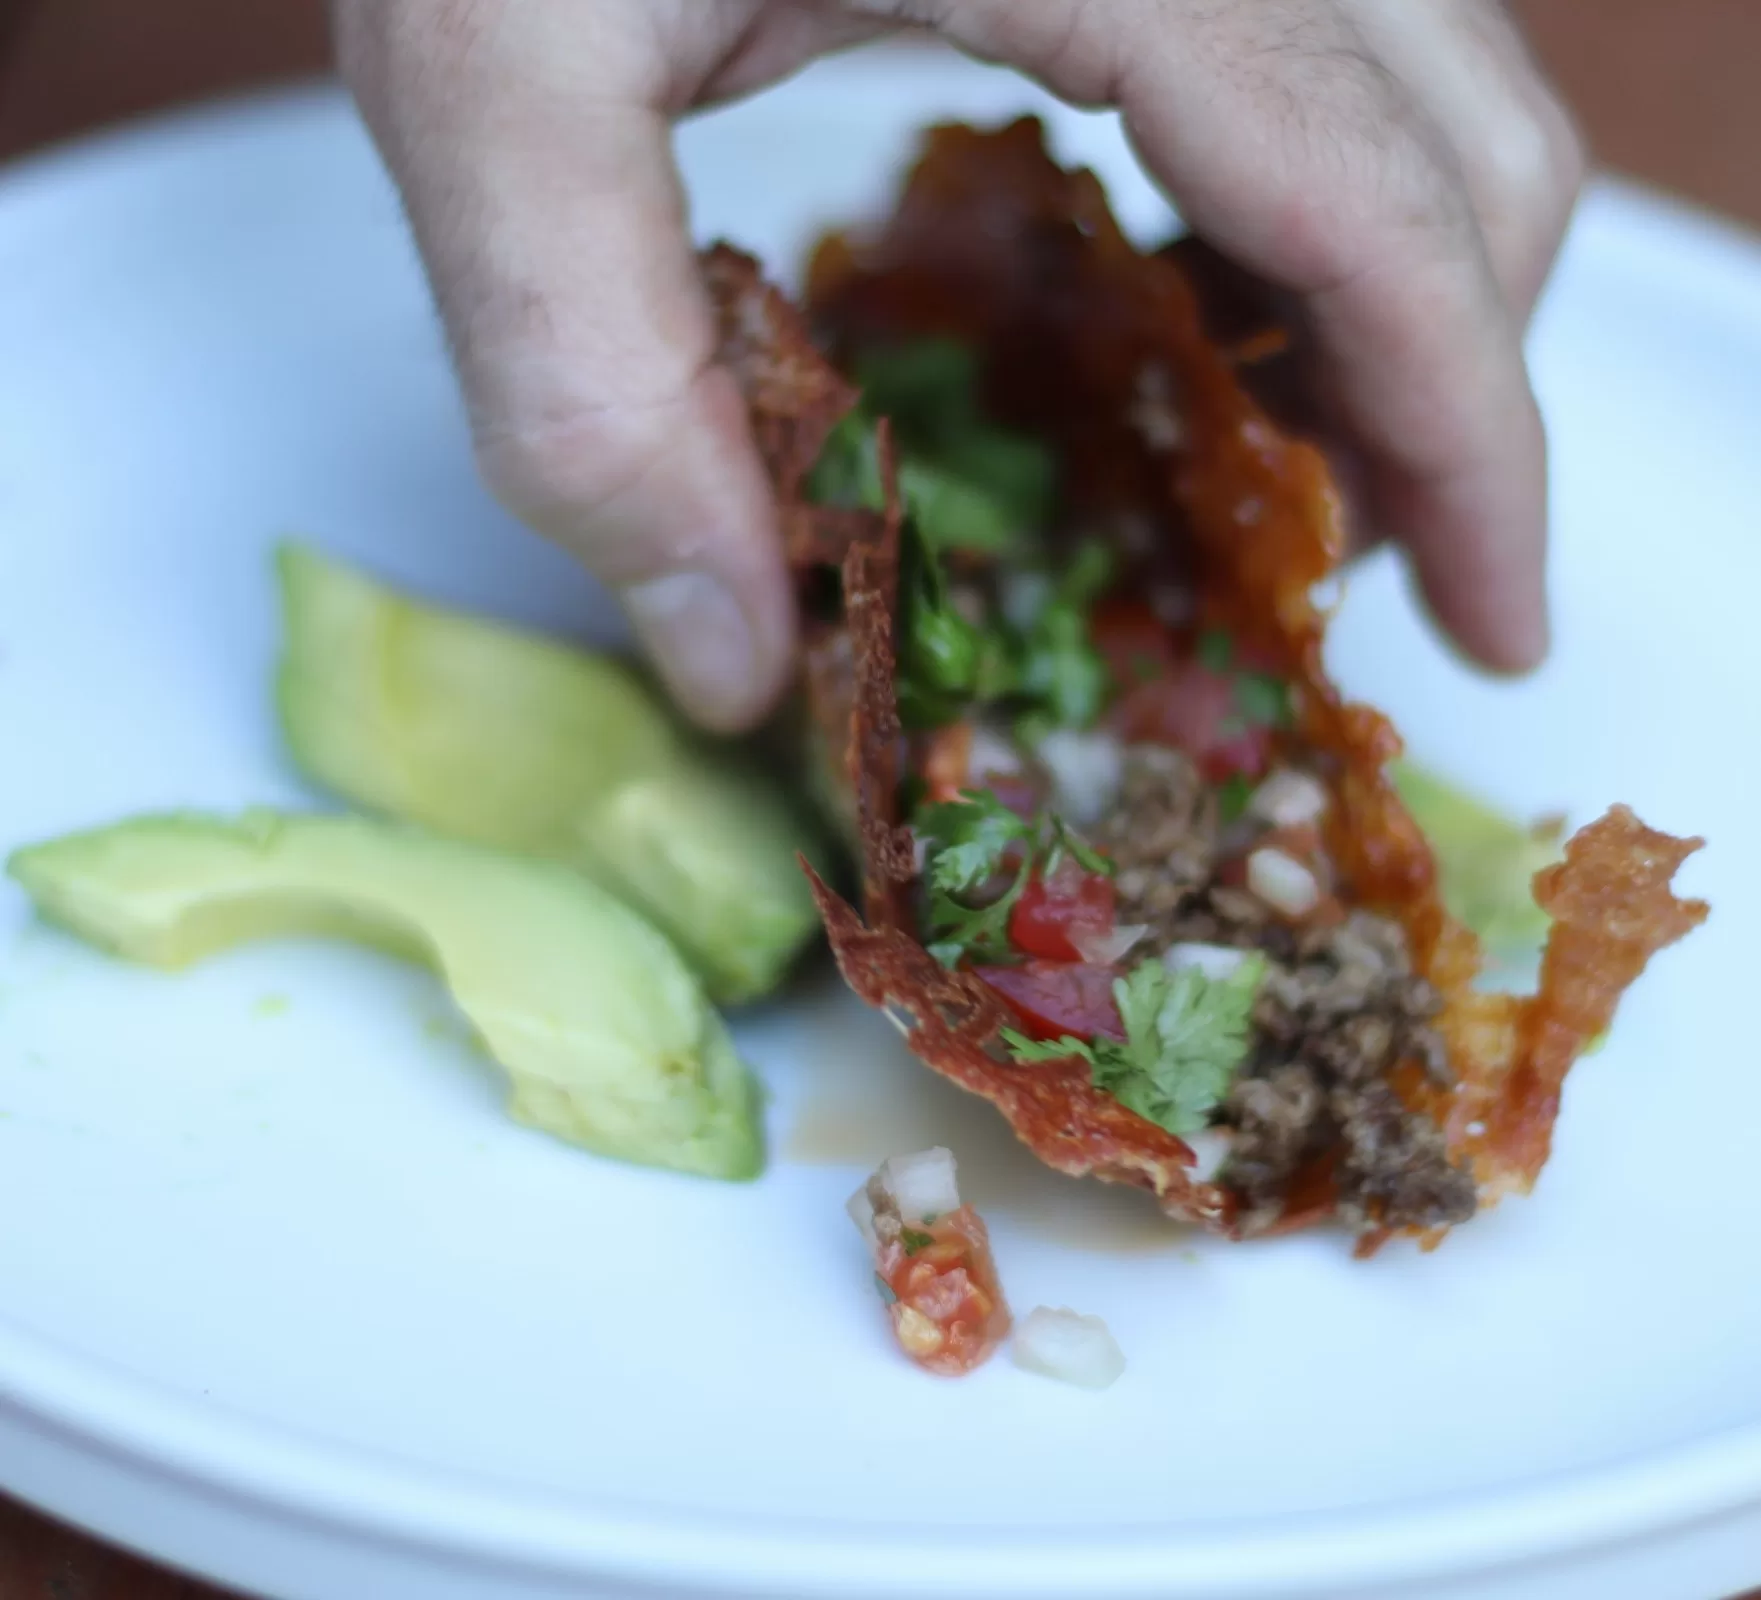
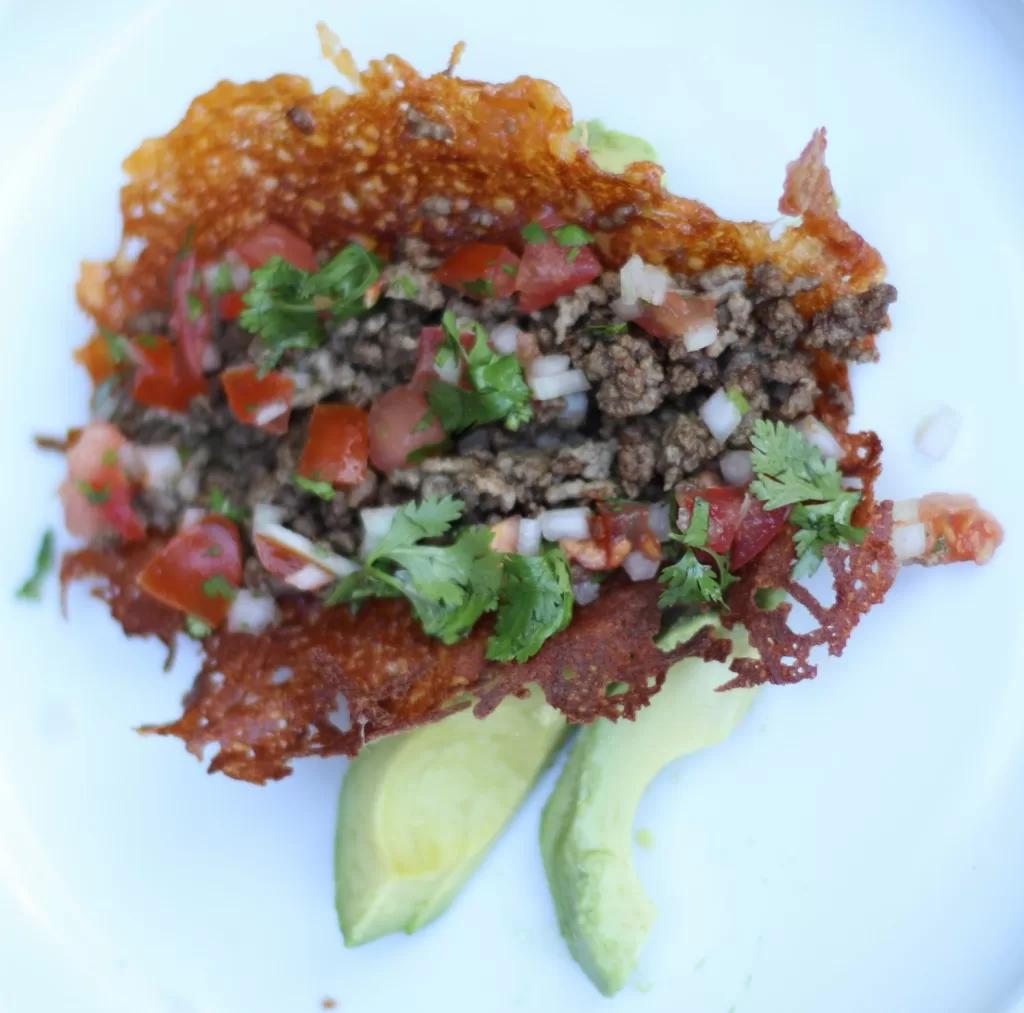
Cheddar Cheese Shell Tacos
Delicious and satisfying easy healthy tacos that are keto-friendly and mouthwatering.
Made with crispy, chedar cheesy taco shells, these tacos are filled with seasoned ground beef, topped with fresh salsa, and garnished with cilantro.⅗⅗
Check out this recipe
pin
chicken poblano enchiladas
Cook Recipes

Cheesy Chicken Poblano Enchiladas

This article may contain links from my partners. I may receive a small commission if you make a purchase through a link. Please read my disclosure and how I make money here.

Biting into these warm, cheesy chicken poblano enchiladas that are bursting with flavors of tender shredded chicken, roasted poblano peppers and bell peppers brings a fresh crunch and delicious flavor to any low carb chicken enchiladas dish.
 
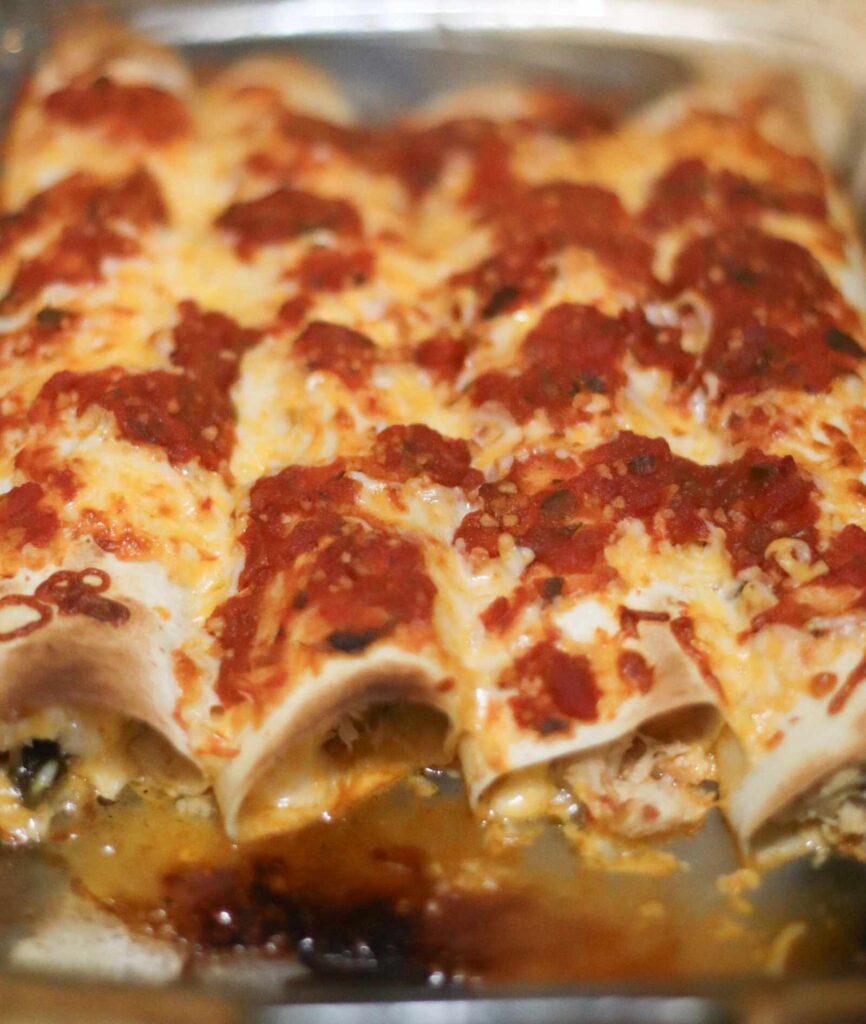
Creamy poblano chicken enchiladas are baked creating a golden crust of cheese on top and using Greek yogurt as sour cream substitute makes this creamy chicken enchiladas recipe the best poblano enchiladas.
 
This post is all about the best, creamy flavorful chicken poblano enchiladas, you have discovered the best recipe.
 
 
chicken poblano enchiladas

Chicken and Poblano Enchiladas Ingredients:

  • Cooked chicken breast (shredded): Provides a lean source of protein and a satisfying texture that absorbs all the rich flavors.
  • Flour or corn tortillas: Soft and pliable, these tortilla wraps create the crispiest low carb chicken enchiladas.
  • Poblano Peppers: Smoky and slightly spicy, these peppers add a depth of flavor and heat that complements the cheesy flavor.
  • Cheddar cheese: Rich and melty cheddar cheese binds all of the fillings and adds a creamy tangy flavor to every bite.
  • Red and orange bell pepper: Adds a crunch of sweetness, balancing the smokiness of the poblano peppers
chicken enchiladas keto

Just like my Spicy Cheesy Avocado Poblano Burritos or my Cheddar Cheese Shell Tacos that are healthy and bursting with flavor that will be sure to satisfy your cravings.

chicken poblano enchiladas

Cheesy Chicken Poblano Enchiladas

This savory chicken poblano enchiladas with tender shredded chicken, smoky roasted poblano peppers and sweet bell peppers wrapped in soft tortillas and topped with rich, melty cheddar cheese, making every bite of these creamy poblano chicken enchiladas the best.
Prep Time 20 minutes
Cook Time 35 minutes
Total Time 55 minutes
Course Dinner
Cuisine Mexican
Servings 4 people

Equipment

  • 1 pan

Ingredients
  

  • 4 flour tortillas
  • 2 chicken breast cooked, shredded
  • 2 poblano peppers roasted, chopped
  • 1 red bell pepper diced
  • 1 orange bell pepper diced
  • 2 cups cheddar cheese shredded
  • 1 cup Greek yogurt

Instructions
 

Roast poblano peppers

  • Preheat oven to 450℉
    Place poblano peppers on a baking sheet and roast for about 15 minutes.
    Remove from oven and place in a bowl, cover with lid. Let them steam for 19 minutes.
    Peel off skins, remove seeds and stems and chop finely.

Cook the chicken

  • In a large skillet, heat oil over medium and add chicken breasts to skillet.
    Sear chicken for about 5-7 minutes, each side.
    Once cooked, transfer to cutting board and pull apart with two forks.

Prepare the filling

  • In a large skillet, heat oil over medium heat.
    Add diced red and orange bell peppers.
    Sauté until soft.
    Stir in the shredded chicken, roasted poblano peppers and cheddar cheese.
    Mix well and cook until everything is heated.

Assemble the enchiladas

  • Preheat oven to 350℉
    Warm tortillas to make them pliable.
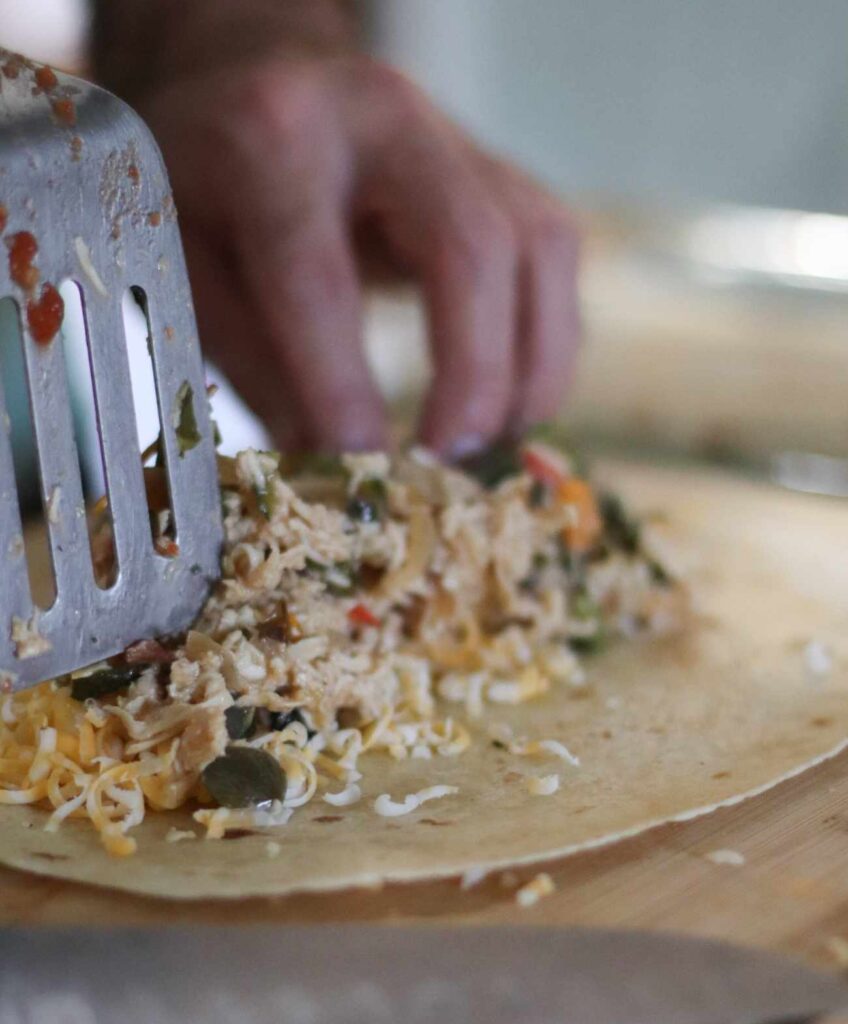
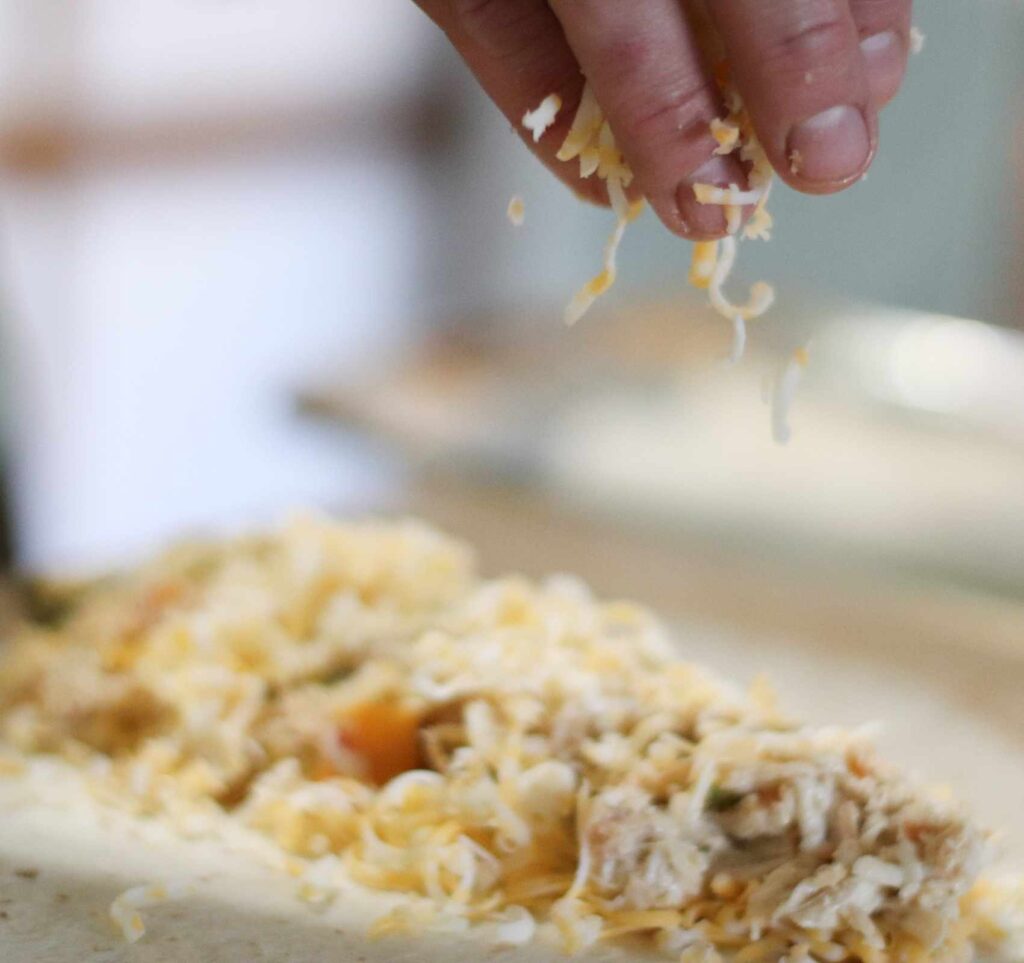
    Spoon some of the filling into tortilla and roll them up.
    Next, place them in oven.
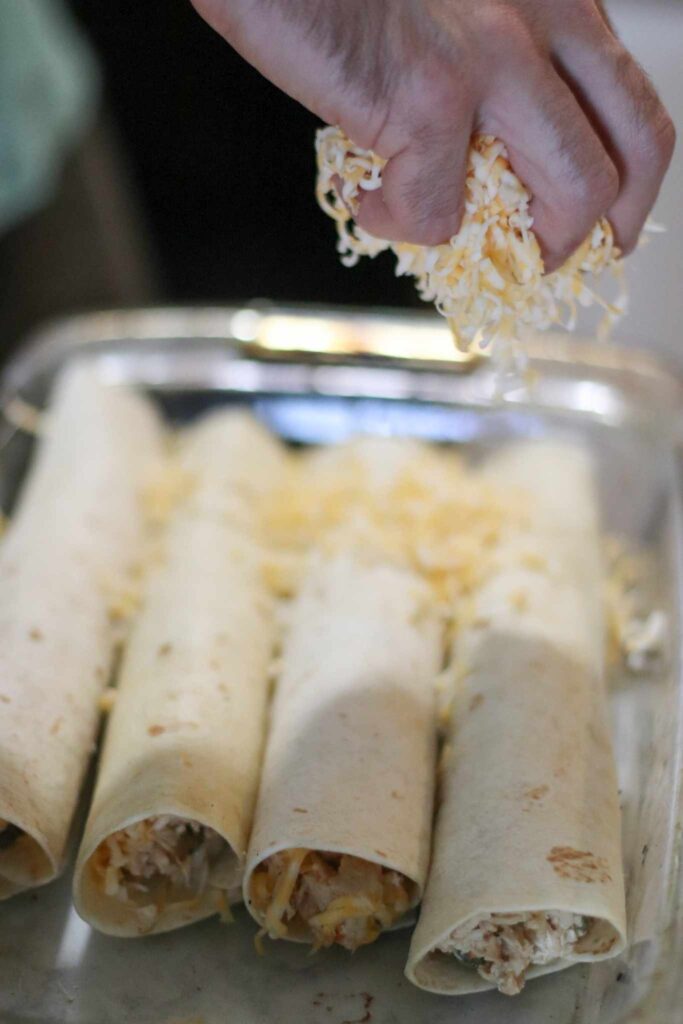
    Sprinkle cheddar cheese over top

Bake

  • Cover with foil and bake for 20 minutes.
    Remove foil and bake for additional 10 minutes.

Serve

  • Serve with a side of sweet potato fries or rice.
    Garnish with fresh lime.
Keyword chicken poblano enchiladas, easy creamy chicken enchiladas, gluten free chicken enchiladas, poblano enchiladas

How to make chicken enchiladas

  1. Roast poblano peppers:
    Preheat oven to 450℉
    Place poblano peppers on a baking sheet and roast for about 15 minutes.
    Remove from oven and place in a bowl, cover with lid. Let them steam for 19 minutes.
    Peel off skins, remove seeds and stems and chop finely.
  2. Cook the chicken:
    In a large skillet, heat oil over medium and add chicken breasts to skillet.
    Sear chicken for about 5-7 minutes, each side.
    Once cooked, transfer to cutting board and pull apart with two forks.
  3. Prepare the filling:
    In a large skillet, heat oil over medium heat.
    Add diced red and orange bell peppers.
    Sauté until soft.
    Stir in the shredded chicken, roasted poblano peppers and cheddar cheese.
    Mix well and cook until everything is heated.
  4. Assemble the enchiladas:
    Preheat oven to 350℉
    Warm tortillas to make them pliable.
    Spoon some of the filling into tortilla and roll them up.
  5. Next, place them in oven:
    Sprinkle cheddar cheese over top and cover with foil.
  6. Bake:
    Bake for 20 minutes.
    Remove foil and bake for additional 10 minutes.
  7. Serve:
    Serve with a side of sweet potato fries or rice.
    Garnish with fresh lime.
gluten free chicken enchiladas


What to serve with chicken enchiladas:

  • You can serve rice, sweet potato fries or a side salad for a healthy sides for enchiladas.
chicken poblano enchiladas

Top with cheddar cheese on your poblano enchiladas to add a rich, melty layer of flavor that brings everything together.

keto green chili chicken enchiladas

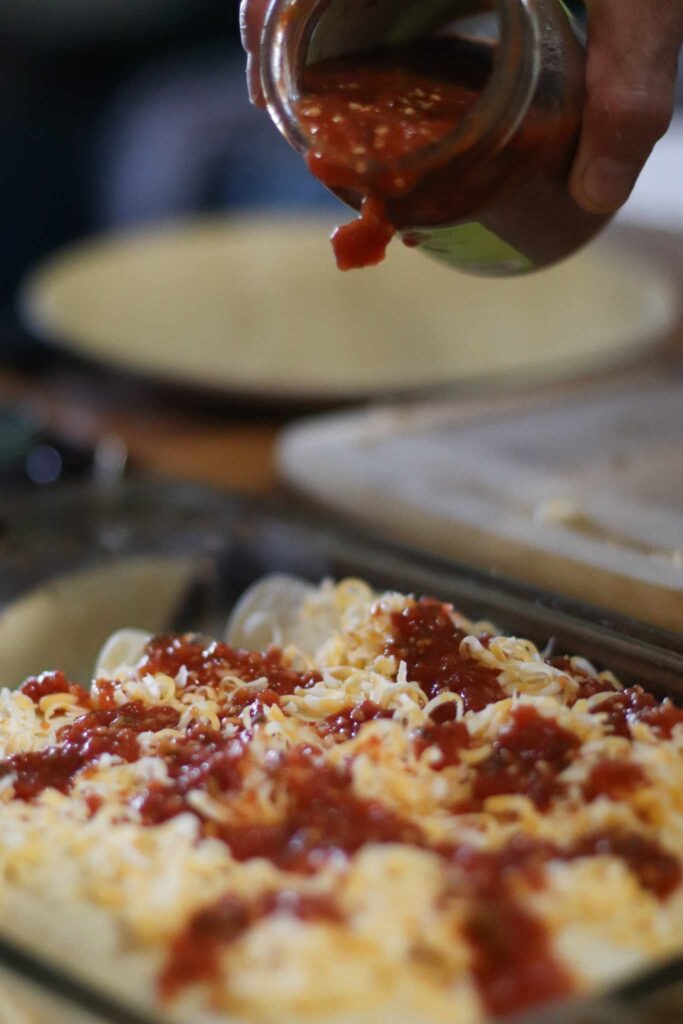
Add your favorite salsa to the poblano cream sauce for an extra kick of flavor.

creamy poblano chicken enchiladas

Can you freeze enchiladas?

  • Yes, this easy creamy chicken enchiladas are perfect for meal planning!
    Stop before baking. Its best to use flour tortillas. Place in a freezer safe dish and cover with plastic or aluminum foil to prevent freezer burn. When time remove and bake at 350°F at 30 minutes.
low carb chicken enchiladas

Chicken poblano enchiladas most asked questions:

How to make shredded chicken for enchiladas?


  • In a large skillet, heat oil over medium and add chicken breasts to skillet.  Sear chicken for about 5-7 minutes, each side.


  • Once cooked, transfer to cutting board and pull apart with two forks.


What’s in chicken enchiladas?

  • This creamy chicken enchiladas recipe is unbeatable! All you need for enchiladas are tortilla wraps, shredded chicken, peppers, onions, spices, cheese, and your favorite sauce.
chicken poblano enchiladas

How to store chicken poblano enchiladas?

  • Refrigerate in an airtight container or cover baking dish with aluminum foil. Store up to 3-4 days.

Tips for chicken poblano enchiladas:

  • When cooking the chicken, If the chicken breasts are thick, add 1 cup of chicken broth or water to the skillet, cover it with a lid, and let it simmer for another 5-10 minutes until fully cooked.
These Chicken and Poblano Enchiladas are sure to become a favorite in your meal rotation, offering a combination of smoky, cheesy, and hearty flavors.
 
Whether you’re prepping for a busy week or hosting a gathering, this recipe for enchiladas poblanos is both comforting and easy to make. With options to refrigerate or freeze leftovers, you’ll always have a delicious meal ready to go.
pin
Poblanos burritos
Cook Recipes

Spicy Cheesy Avocado Poblanos Burritos

This article may contain links from my partners. I may receive a small commission if you make a purchase through a link. Please read my disclosure and how I make money here.

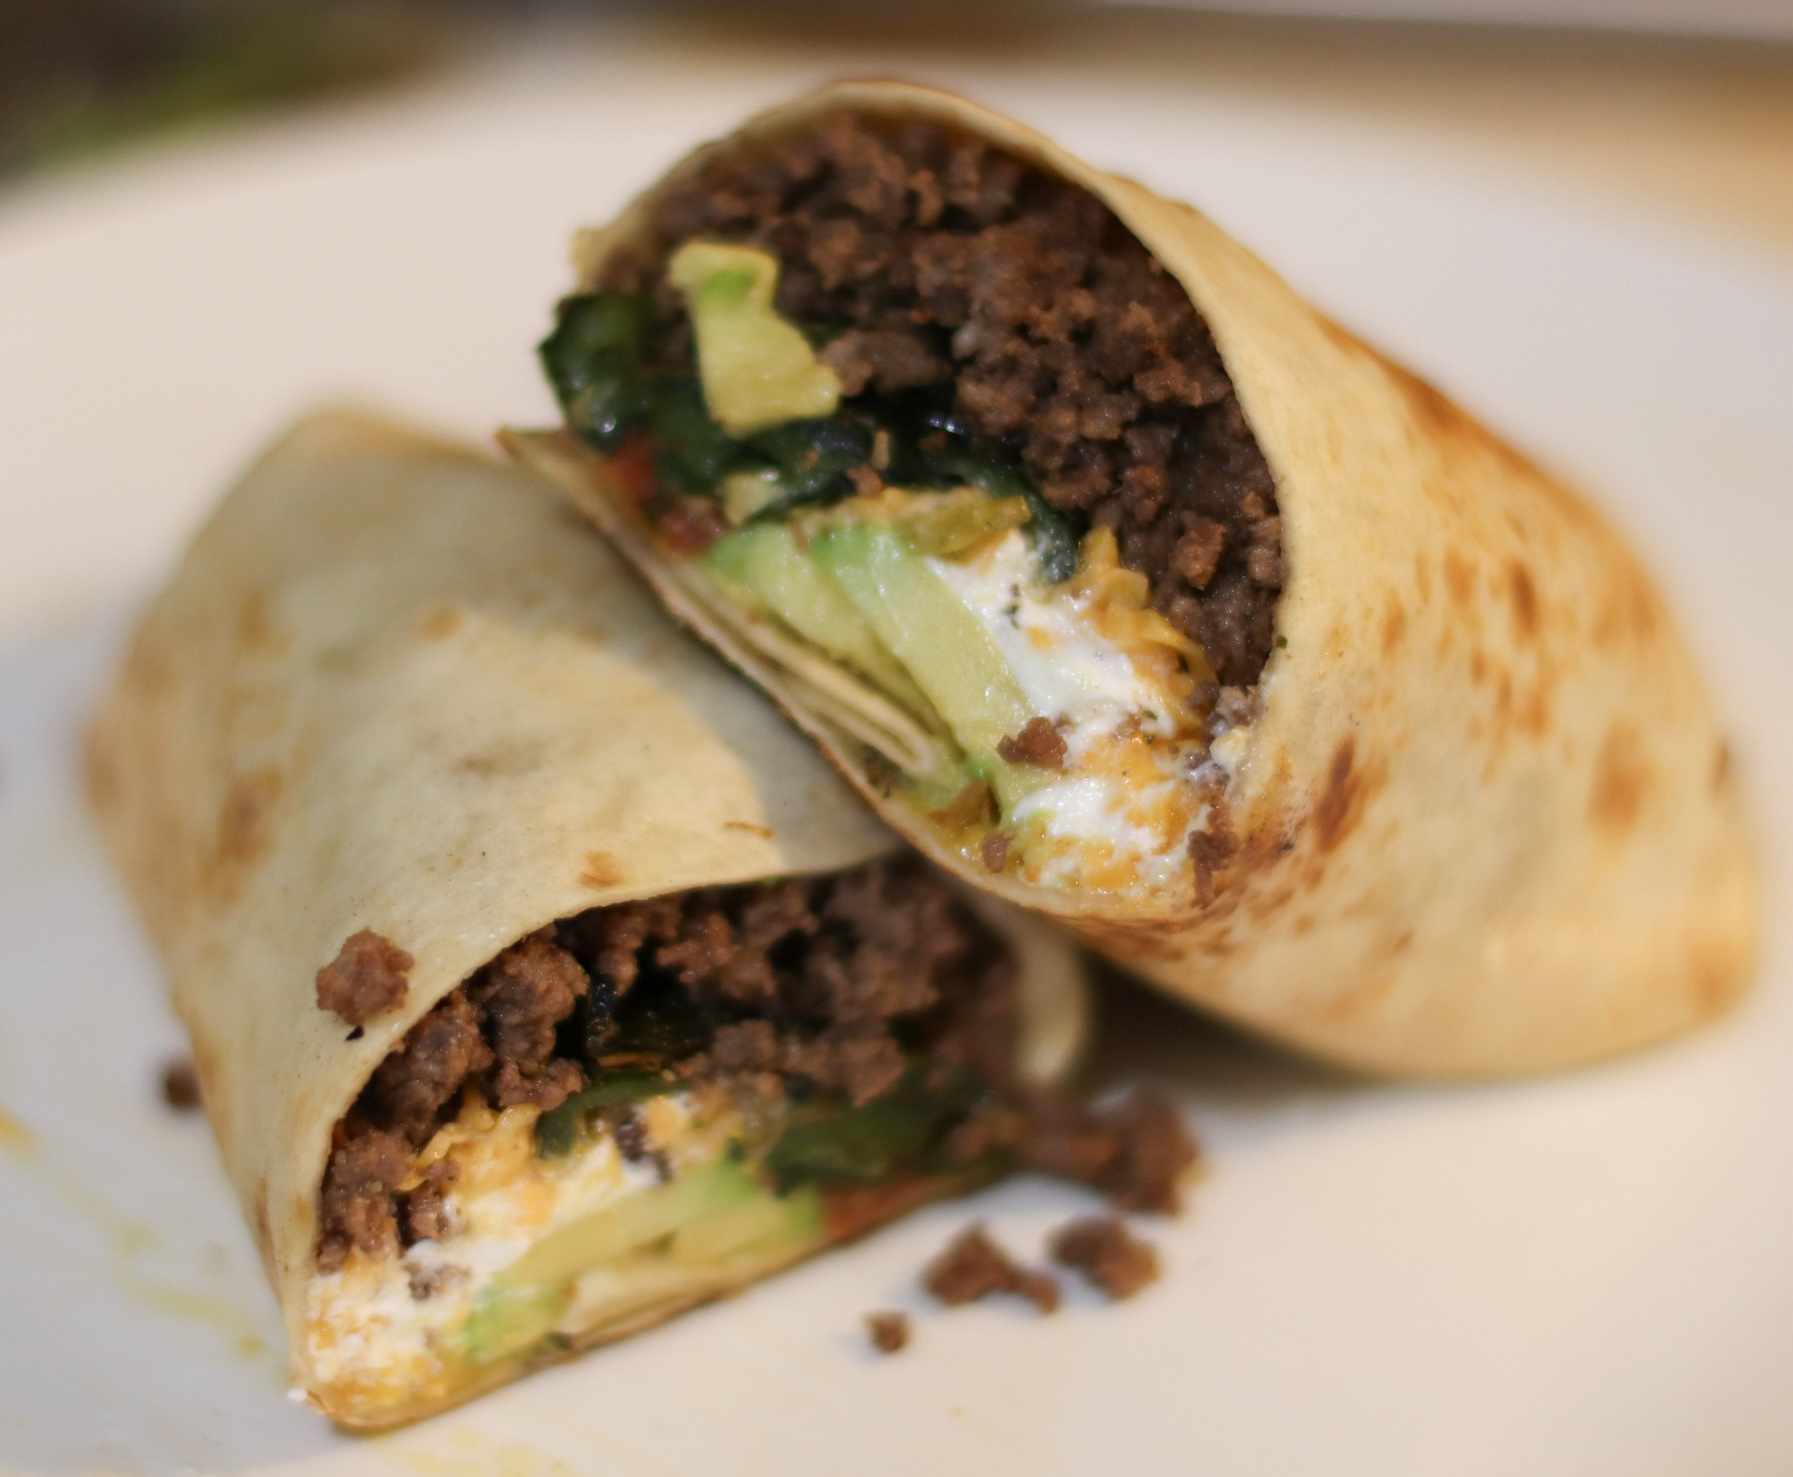
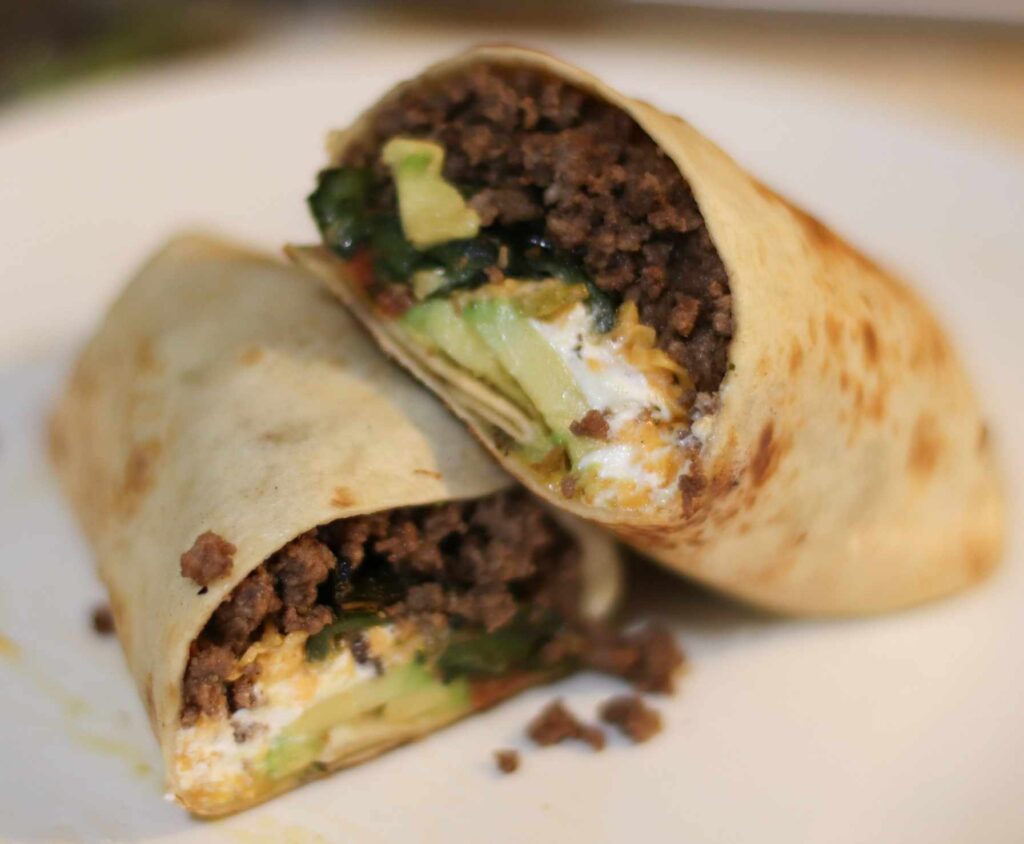
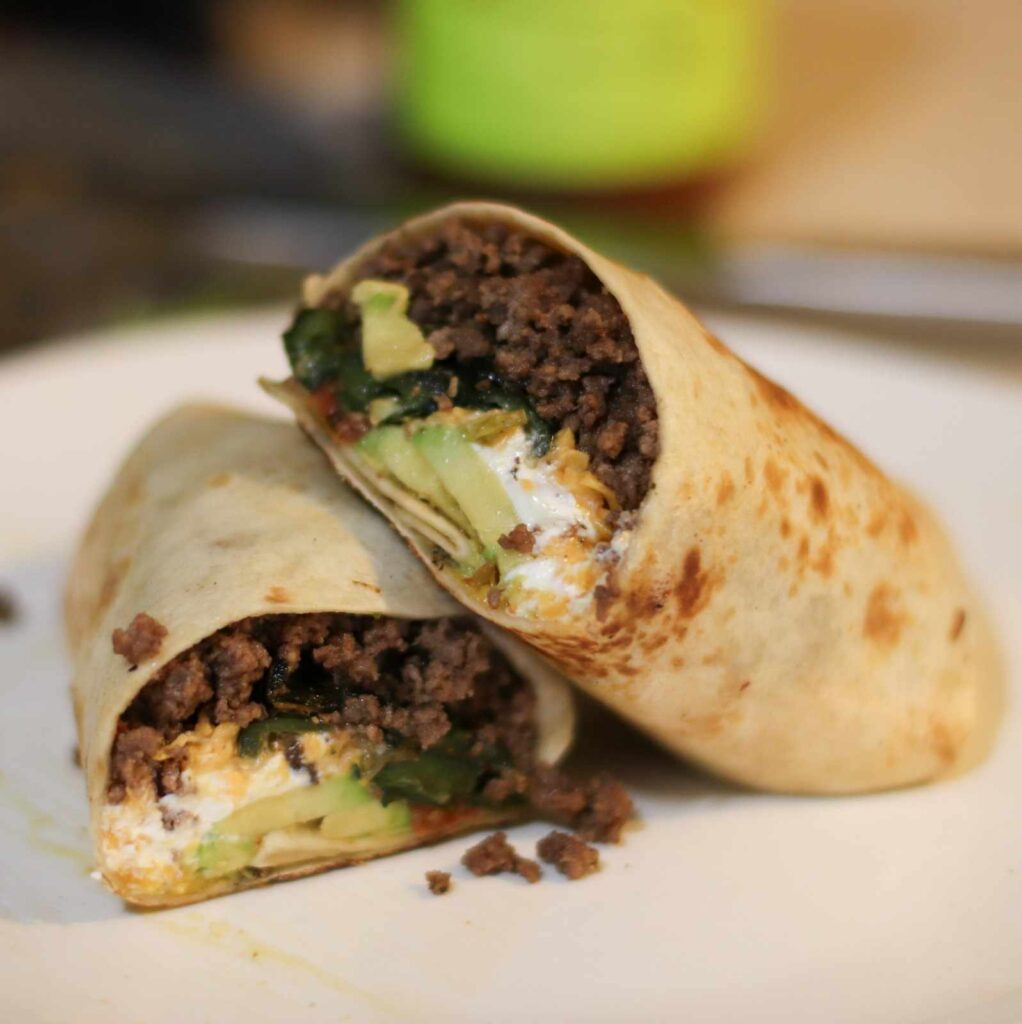
If you are looking for the most flavorful beef poblanos burritos with cheesy, crispy tortillas, salsa, yogurt, beef, poblanos and avocado you will find yourself craving this easy beef burritos recipe.

This burrito recipe is versatile and can easily be a low carb breakfast burritos that you can make ahead breakfast burrito. Just add ground beef and eggs if you enjoy starting your day with a bit of spice.

poblano avocado burrito

Why you’ll love this poblano avocado burrito recipe:

This poblano burrito recipe includes roasted poblano pepper, which adds a smoky and slight spice compared to the traditional burrito. Combined with tender beef, creamy avocado, and melted cheese, this poblano burrito is a flavor packed meal that’s both satisfying and easy to make.

easy beef burritos recipe

Poblanos Burritos Ingredients:

Poblano Peppers: These peppers are mildly spicy with a deep, smoky flavor.

Ground Beef: Savory and hearty protein.

Shredded Cheese: Cheddar creates a creamy, melty richness to the cheesy burritos.

Avocado: Buttery, creamy texture with a subtle, nutty flavor. Helps balance the spiciness of the poblano peppers

Salsa: Fresh and tangy with a perfect blend of tomatoes, onions, and spice.

Yogurt: Trust me, Greek yogurt is the best substitute for sour cream! It adds a tangy creaminess.

Flour Tortillas: Holding all of the ingredients together.

mexican burritos

poblano avocado burrito

Cheesy Poblanos Burritos

Cheesy, spicy beef poblano avocado burrito featuring crispy tortillas filled with salsa, yogurt, beef, avocado, poblanos, and cheese.
Prep Time 20 minutes
Cook Time 25 minutes
Total Time 45 minutes
Course Dinner
Cuisine Mexican
Calories 450 kcal

Equipment

  • 1 Baking Sheet
  • 1 large skillet
  • 1 mixing bowl
  • 1 spatula
  • 1 Knife
  • 1 cutting board

Ingredients
  

  • 2 large poblano peppers
  • 1 lb ground beef
  • 1 avocado sliced
  • 1 cup salsa
  • ½ cup yogurt or sour cream
  • 4 large flour tortillas
  • 1 cup cheddar cheese

Instructions
 

  • Roast poblano peppers
    2 large poblano peppers
  • On broil until skins are blackened about 8-10 minutes. Set aside in a bowl and cover with a lid for 10 minutes. Then peel off skins, remove seeds and chop the peppers.
  • Cook the beef
  • In a large skillet, cook until browned and cooked through, about 8-10 minutes.
  • Heat up the tortillas 
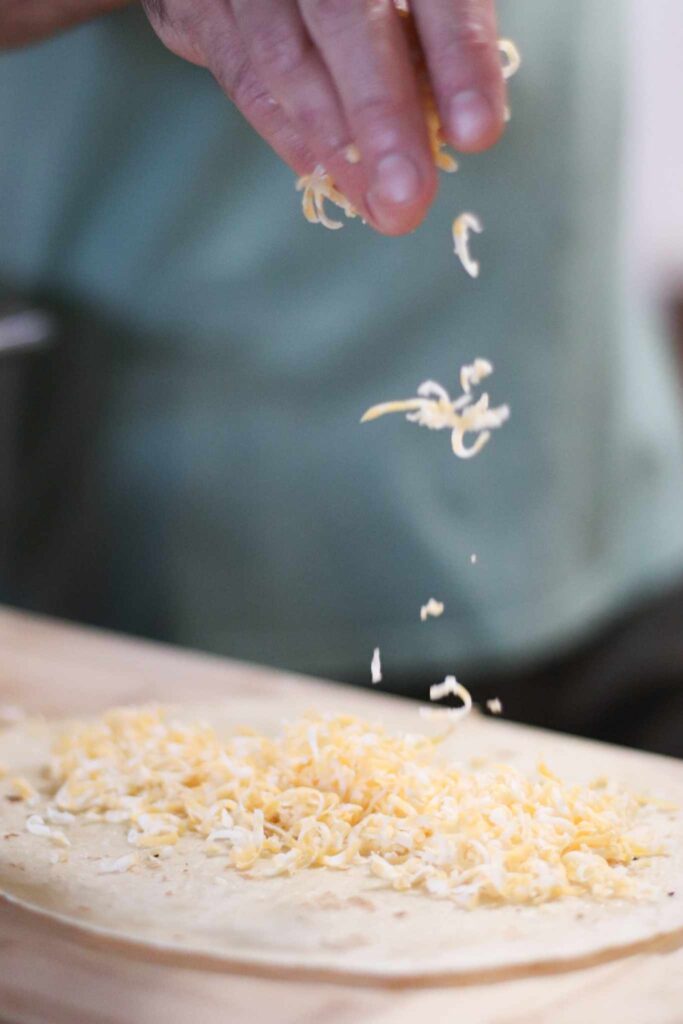
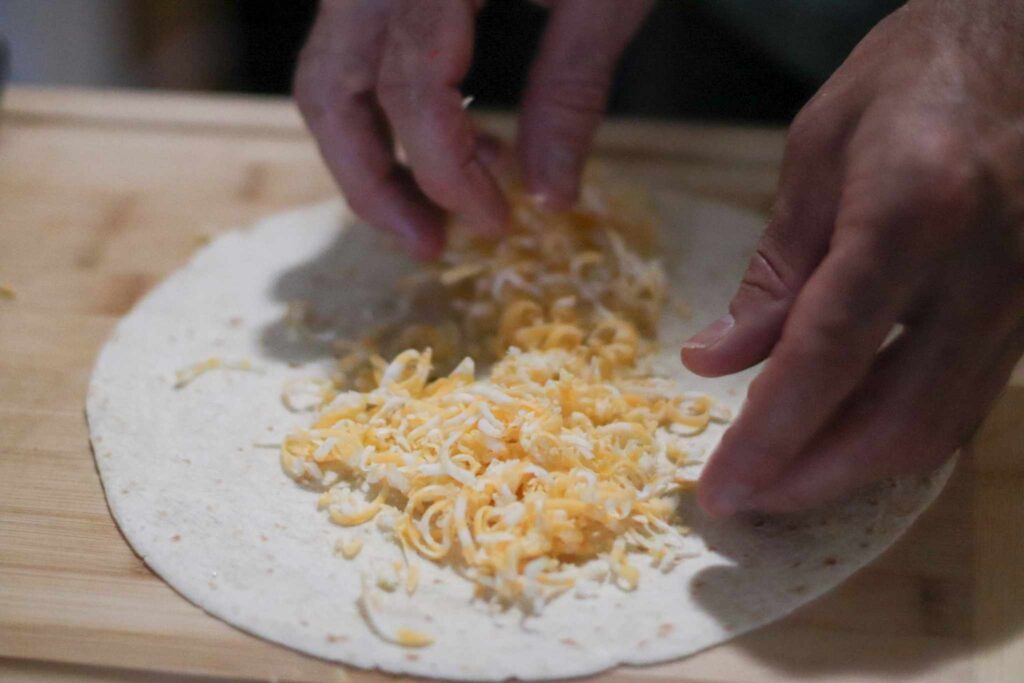
  • In a pan or microwave, to make them become pliable then add shredded cheese, avocado, salsa, peppers and beef in the center of tortilla.
  • Fold your burrito 
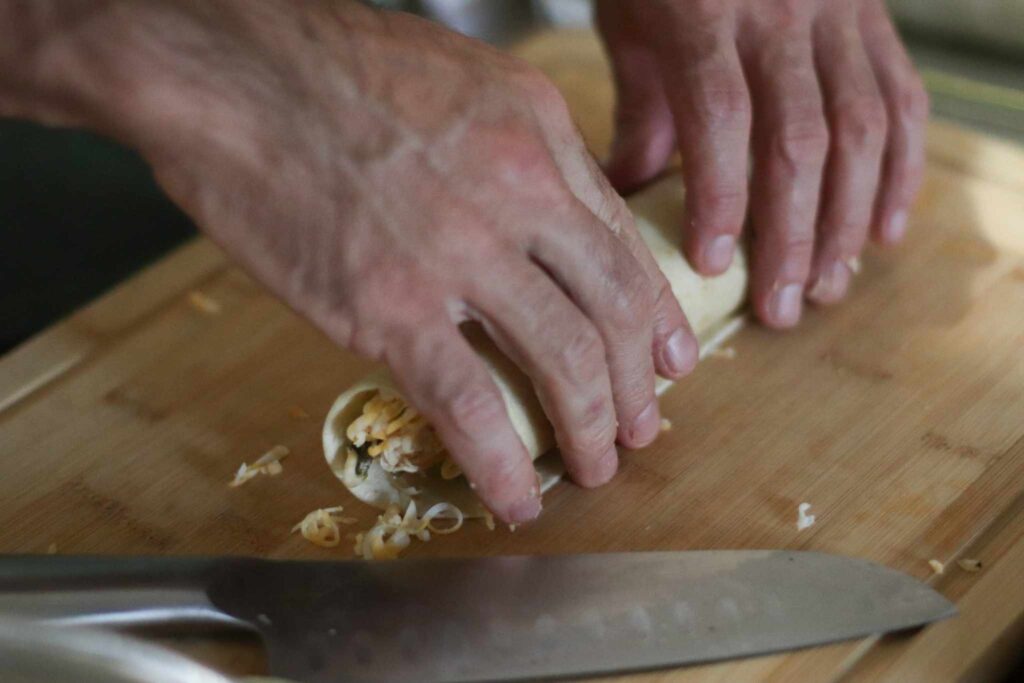
  • Be mindful not to overfill, as this can make folding difficult and can cause the tortilla to tear. As you fold, press the filling gently but firmly to compact it and make the burrito easier to handle.
  • Return to skillet 
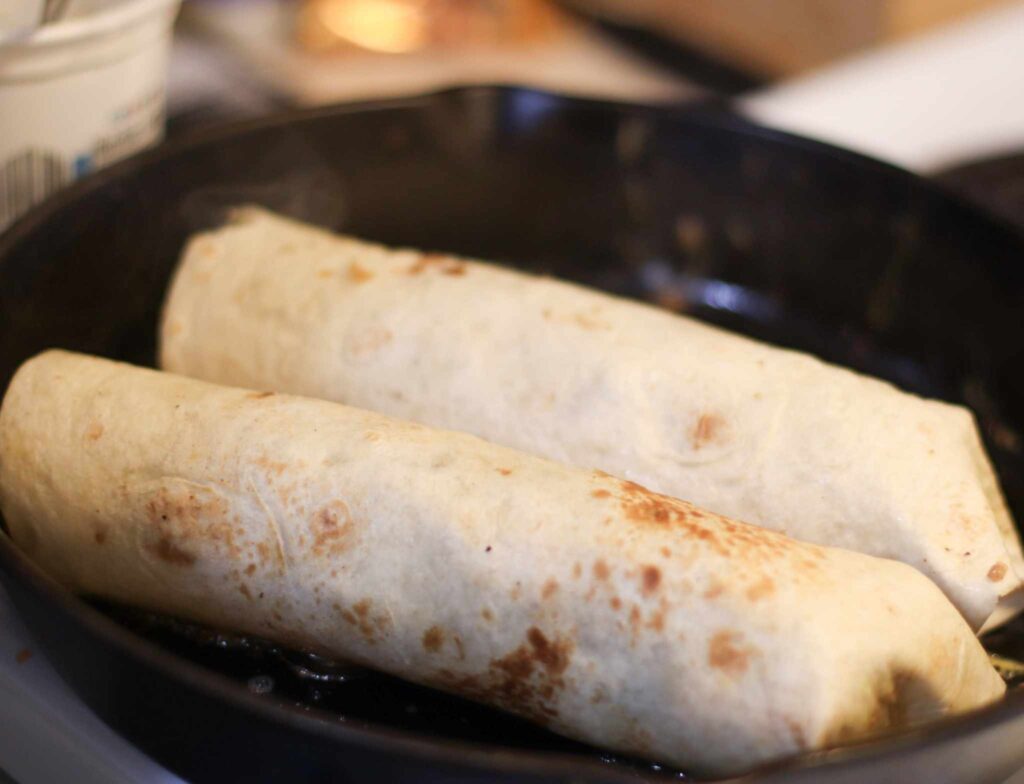
  • To make burrito crisp up and hold together better.
  • Serve and Enjoy.
Keyword crispy burritos, mexican burritos, poblano burrito, poblano burrito recipe, poblanos burritos, poblanos burritos, poblano avocado burrito* poblano burrito recipe crispy burritos Mexican burritos poblano burrito

best poblano pepper recipes

Poblano burrito recipe instructions:

  1. Roast poblano peppers on broil until skins are blackened about 8-10 minutes. Set aside in a bowl and cover with a lid for 10 minutes. Then peel off skins, remove seeds and chop the peppers.
  2. Cook the beef In a large skillet, cook until browned and cooked through, about 8-10 minutes.
  3. Heat up the tortillas in a pan or microwave, to make them become pliable then add shredded cheese, avocado, salsa, peppers and beef in the center of tortilla.
  4. Fold your burrito Be mindful not to overfill, as this can make folding difficult and can cause the tortilla to tear. As you fold, press the filling gently but firmly to compact it and make the burrito easier to handle.
  5. Return to skillet to make burrito crisp up and hold together better.
  6. Serve. 

crispy burritos

Beef poblano burrito Tip:

Crisp up your ground beef burrito by placing it seam-side down in a hot skillet over medium heat. Cook for a few minutes on each side until the tortilla is golden brown and crispy. This helps the burrito hold together better and adds a crunch to each bite.

shredded beef burrito

And there you have it—your delicious Poblanos Burritos is ready to be enjoyed!

These burritos are sure to satisfy with their rich flavors and crunch.

Don’t forget to share your own variations and tips in the comments below—I’d love to hear how you make this recipe your own. If you enjoyed this post, be sure to subscribe for more tasty recipes and cooking tips.

[mailpoet_form id=”3″]

poblanos burritos

6
beef tacos healthy
Cheese Shell Tacos
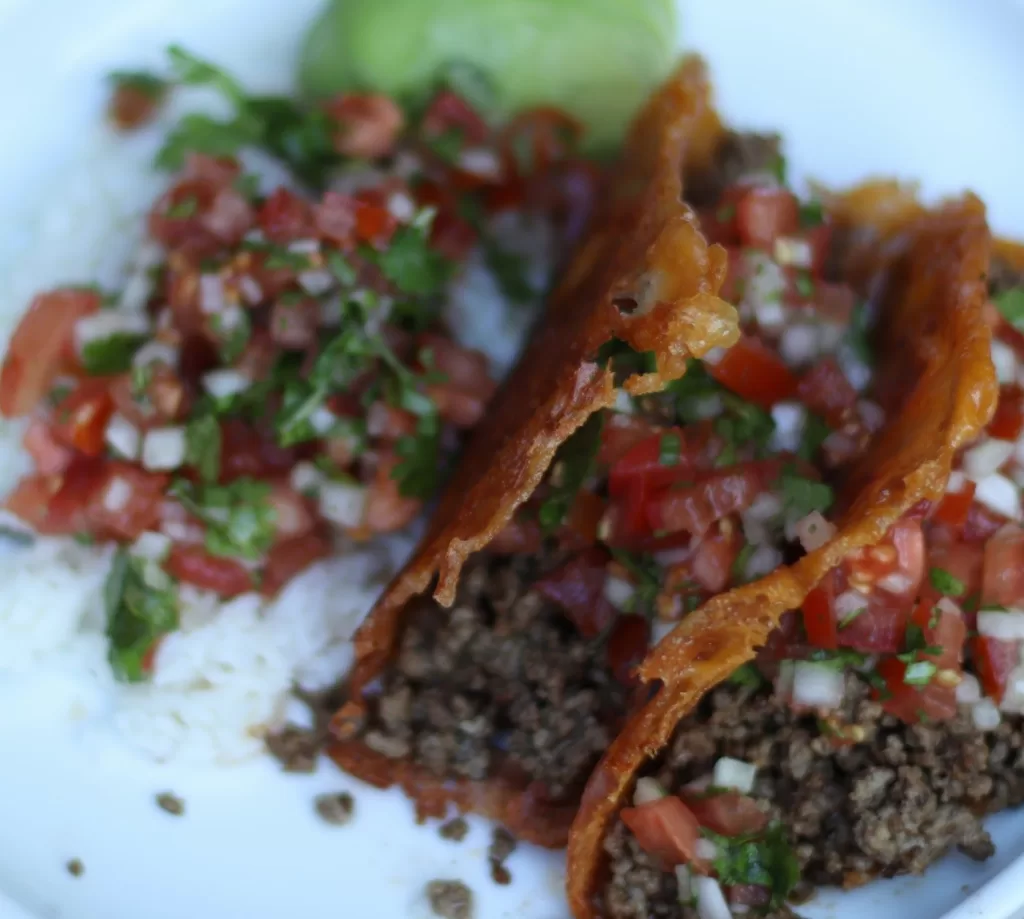
These tacos boast a crispy, cheesy shell that perfectly complements a savory filling of seasoned beef, and zesty salsa. The cheddar cheese shells add a rich, tangy flavor and a satisfying crunch to every bite. This innovative take on tacos is not only delicious but also gluten-free, making it a perfect option for those with dietary restrictions.
Cheese Shell Tacos

pin
beef tacos healthy
Cook Recipes

Cheddar Cheese Shell Tacos

This article may contain links from my partners. I may receive a small commission if you make a purchase through a link. Please read my disclosure and how I make money here.

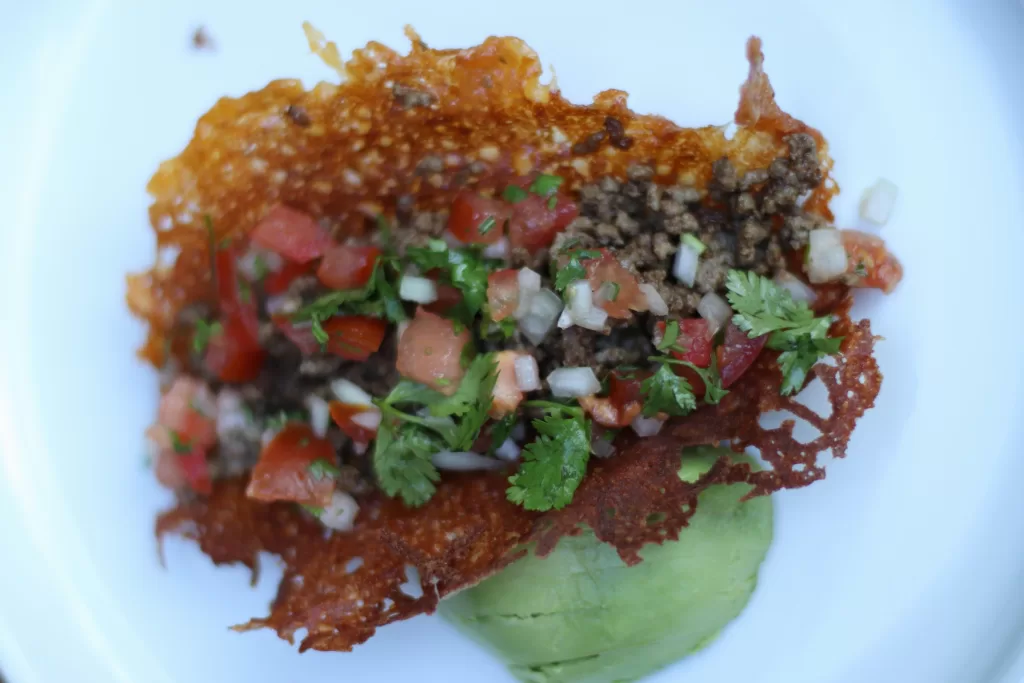
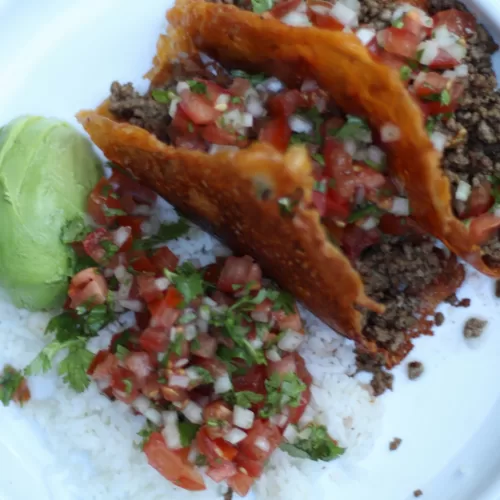
Create the most delicious and satisfying cheddar cheese shell taocs that are easy healthy tacos. These keto-friendly and mouthwatering tacos are made with crispy, cheesy taco shells, filled with seasoned ground beef, topped with fresh salsa, and garnished with cilantro.

If you’re looking for a way to enjoy a low carb, yet delicious and satisfying meal, these cheddar cheese shell tacos are the best carb free taco shells. 

Your taco Tuesday with these beef tacos will leave everyone asking for more.

healthy tacos

Our family has always had a deep love for tacos, passed down through generations. However, with adopting low-carb lifestyle, we were seeking a way to preserve the beloved tradition without compromising on taste. The idea of using cheese as a shell was a modern twist that allowed us to enjoy tacos in a new, exciting, and healthier way.

Low Carb Taco Shells

The key to these keto tacos is high-quality, sharp cheddar cheese. Using fresh, seasonal toppings like ripe tomatoes, crisp cilantro, and creamy avocados enhances the taste and nutritional value of each taco, making this taco recipes healthy!

carb free taco shells

We love this easy healthy recipe because it perfectly marries the flavor of cheddar cheese with the fresh ingredients of traditional tacos.

Are these taco shells gluten free?

Yes, these cheddar shells add a satisfying crunch, low-carb alternative that doesn’t sacrifice taste. Their a savory shell making it difficult to resist!

beef tacos healthy

Creating these easy healthy tacos was a labor of love. It began with experimenting in our kitchen, trying different types of cheese and techniques to achieve the perfect shell.

We tested various methods – baking, frying and molding until we found the ideal balance of texture and flavor.

Along the way, we refined our toppings to complement the rich, cheesy base.

After many delicious trials and taste tests with family and friends, we perfected this easy healthy taco recipe that we can now proudly share with you.

easy healthy tacos

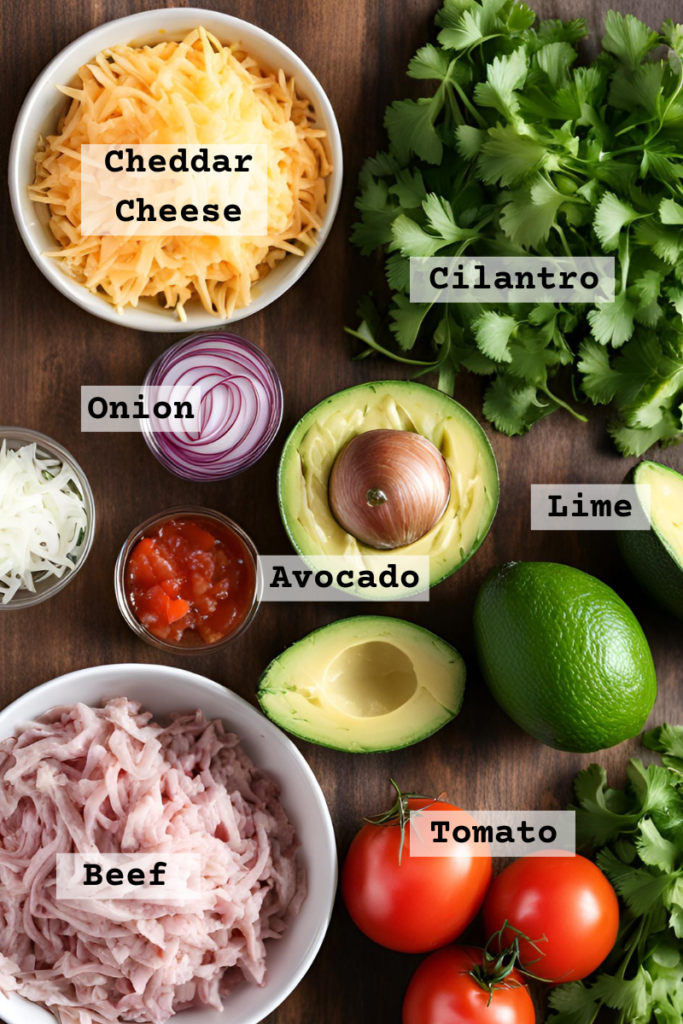
Healthy Dinner Tacos Ingredients:

Cheddar Cheese: The star of the show! Rich in fat and protein while being low in carbohydrates, making it satisfy and flavorful.

Beef: Not only are these beef tacos delicious and nutritious, but the fat content also creates moisture balancing the crispy texture of the cheddar cheese shell and preventing the dish from feeling dry.

Tomato: Brings moisture, flavor and balances the richness of cheddar cheese and ground beef.

Onion: Adds a sharp tangy flavor and a satisfying crunch.

Cilantro: Enhances the flavor to a citrusy refreshing aroma.

Lime: Citrusy flavor adds a burst of freshness for overall flavor.

taco recipes healthy

Keto Friendly Tacos Instructions:

Preheat the oven:

      • Preheat your oven to 375°F (190°C).

      • Line a baking sheet with parchment paper to prevent sticking.

    Form the cheese circles:

        • Take 1/2 cup of shredded cheddar cheese and spread it into a thin, even circle on the parchment paper, about 4-5 inches in diameter.

        • Repeat to make additional circles, leaving some space between each one.

      Bake the cheese circles:

          • Place the baking sheet in the preheated oven and bake for 5-7 minutes, or until the cheese is fully melted and bubbly, with the edges starting to turn golden brown.

        Shape the healthy taco shells:

            • Carefully remove the baking sheet from the oven. Let the cheese cool for about 1-2 minutes until it’s still pliable but not too hot to handle.

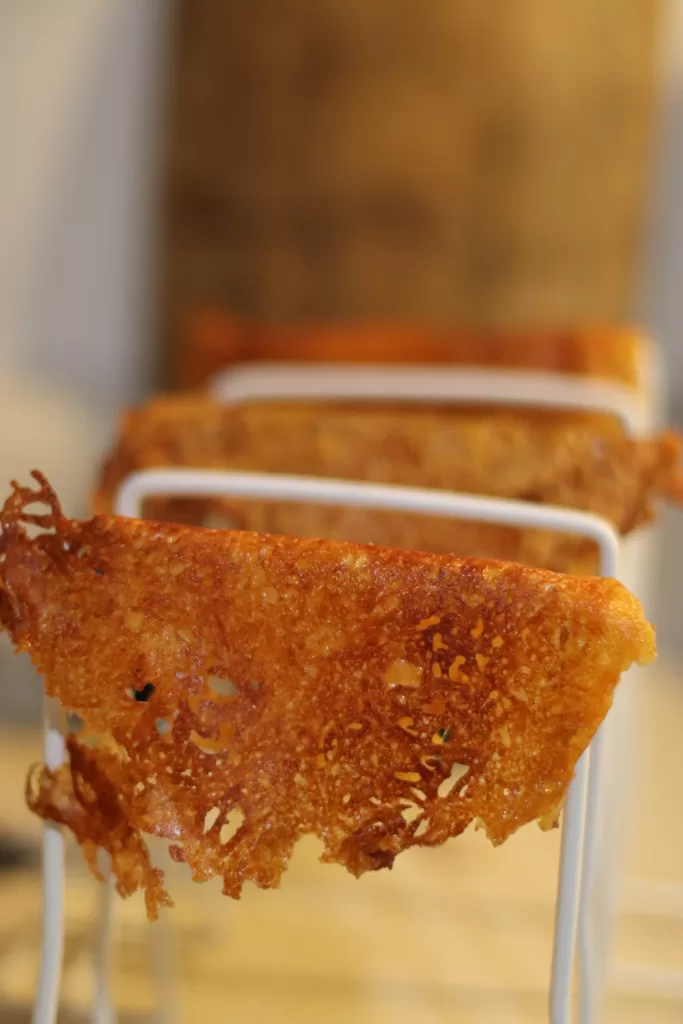
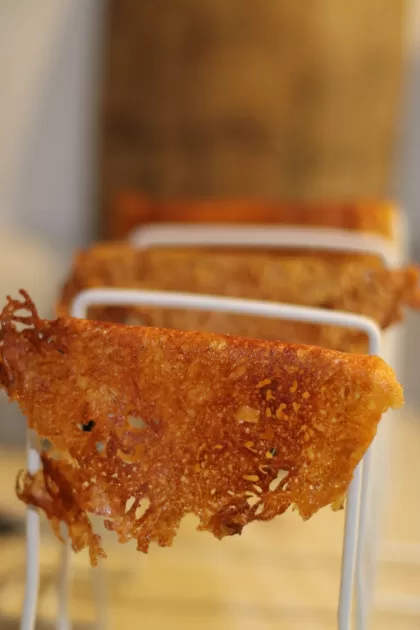
            • Using a spatula, gently lift each cheese circle and drape it over the handle of a wooden spoon or a thick dowel to create the taco shell shape.

            • Let them cool completely and harden in this shape.

          carb free taco shells

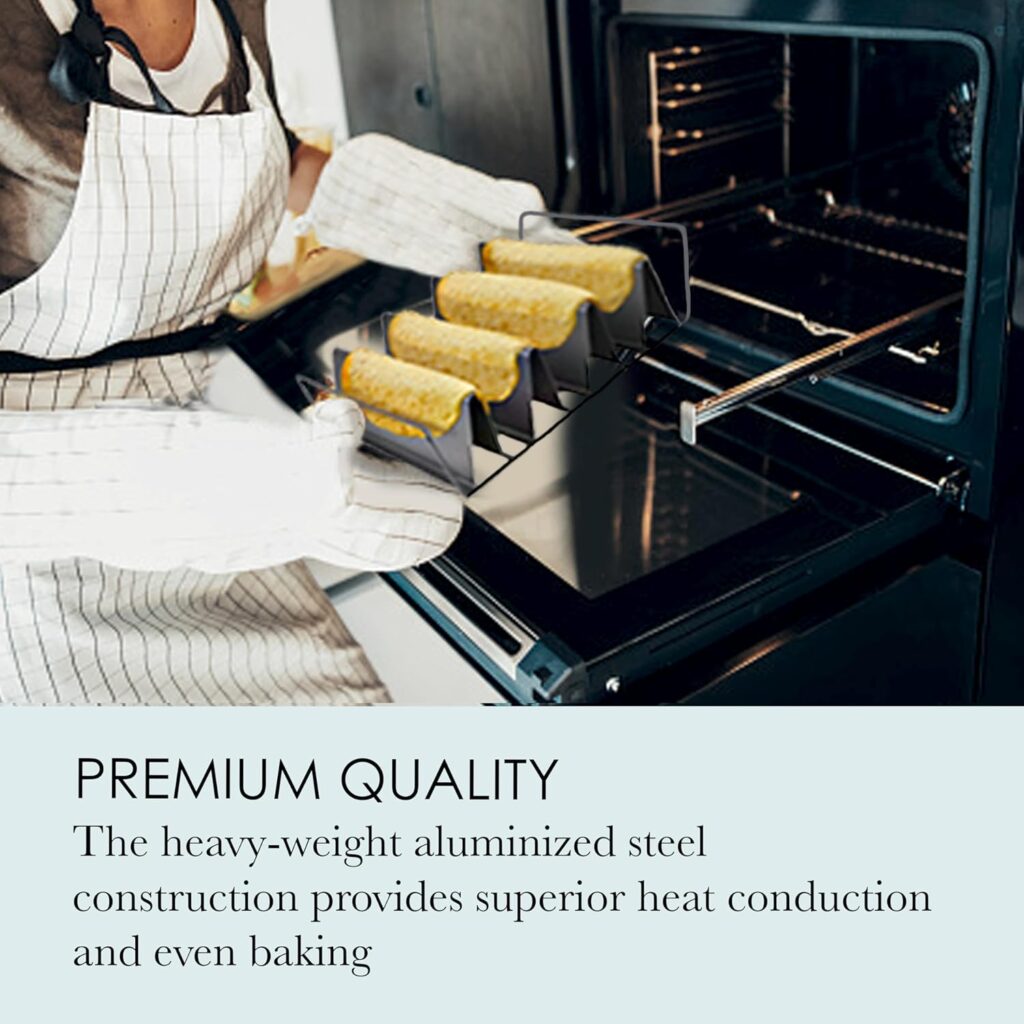
          This taco rack is perfect for making these keto tacos shells.

          healthy sides with tacos

          Prepare the Fillings:

              • While the shells are cooling, prepare your beef and chop tomatoes, onions, cilantro and lime. Grill or cook your protein of choice and get your toppings ready.

            Assemble the Tacos:

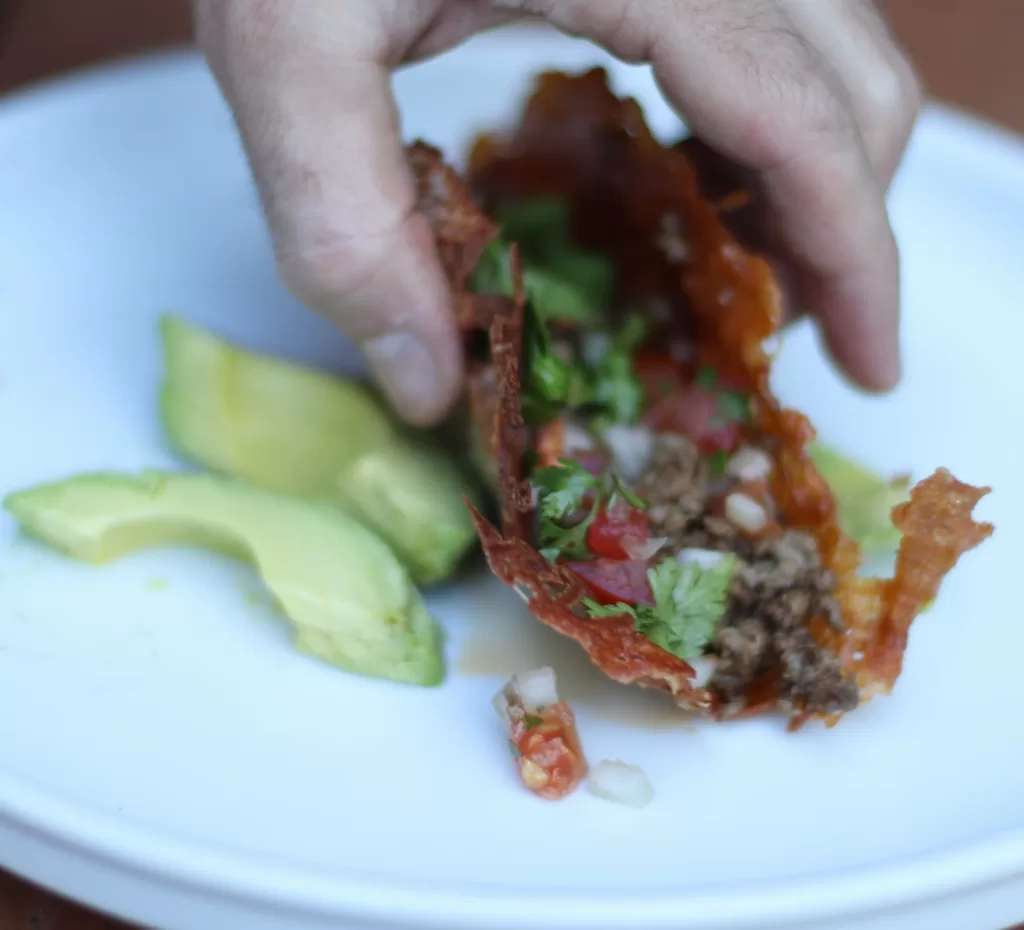
                • Once the cheddar shells are cooled and firm, fill them with your chosen ingredients. Start with a layer of beef, salsa then cilantro and lime – Add a dollop of Greek yogurt in place of sour cream.

              Serve and enjoy these easy healthy tacos!

                easy healthy tacos


                beef tacos healthy

                Cheddar Cheese Shell Tacos

                Delicious and satisfying easy healthy tacos that are keto-friendly and mouthwatering.
                Made with crispy, chedar cheesy taco shells, these tacos are filled with seasoned ground beef, topped with fresh salsa, and garnished with cilantro.⅗⅗
                Prep Time 10 minutes
                Cook Time 20 minutes
                Total Time 30 minutes
                Course Dinner
                Cuisine Mexican

                Ingredients
                  

                • 1 lb ground beef
                • 2 cups cheddar cheese
                • 1 cup tomatoes diced
                • 1 avocado sliced
                • ¼ cup cilantro chopped
                • ½ cup Greek yogurt
                • 1 onion diced

                Instructions
                 

                Cheese Shells

                • Preheat oven to 375°
                • Prepare the baking sheet
                • Place about 1/4 cup of shredded cheddar cheese on the baking sheet and spread it into a thin circle, about 4-5 inches in diameter. Repeat with the remaining cheese, leaving space between each circle.
                • Bake 5-7 minutes or until the cheese is melted
                • Remove the baking sheet and let cheese cook. Making the circles firm enough to handle.
                • Drape the cheese over a ladle.
                  carb free taco shells

                Prepare the fillings.

                • Dice onions, cilantro and tomatoes.
                • Slice avacodos.
                • Cook the meat.

                Fill the shells.

                • Add your meat in first.
                • Top with tomatoes, onions, cilantro and avocado.
                Keyword beef tacos healthy, easy healthy tacos, keto tacos, tacos healthy recipe

                These easy healthy tacos will become your favorite with it being made with fresh, nutritious ingredients like lean protein, salsa and cheese. Keeping you satisfied and enjoying every bite.

                pin
                cheesy lemon chicken pasta
                Cook Recipes

                Chicken Lemon Zucchini Pasta

                This article may contain links from my partners. I may receive a small commission if you make a purchase through a link. Please read my disclosure and how I make money here.

                This zesty, creamy chicken lemon zucchini pasta will become a family favorite! It is easy and the leftovers are always delicious!

                The flavors of lemon, tender slices of chicken, fresh zucchini and yellow squash mixed in with the creamy richness of heavy cream and parmesan cheese will make every forkful bursting with refreshing citrus flavor and creamy goodness.

                This post is all about the best creamy lemon zucchini pasta recipe that will be perfect for meal prep throughout the week and will become a weekly dinner menu item! Keep reading to find the 10 tips for the perfect pasta every time!

                cheesy lemon chicken pasta

                One sunny afternoon, my husband and his grandma bonded over a shared love for cooking. With flour on their hands and laughter in the air, they concocted this simple chicken pasta recipes bursting with lemony goodness. As they cooked, the kitchen filled with the scent of citrus, and memories of Grandma’s kitchen flooded back.

                Years later, he shared this cherished recipe with our own little family, passing down not just a dish, but love and tradition.

                This simple yet delicious easy chicken pasta recipes pasta quickly became our go-to meal, perfect for weekly dinners and easy meal prepping.

                With each bite, you will experience a satisfying dish that will become your favorite dinner recipe and an easy meal prep for lunches!

                chicken lemon pepper pasta
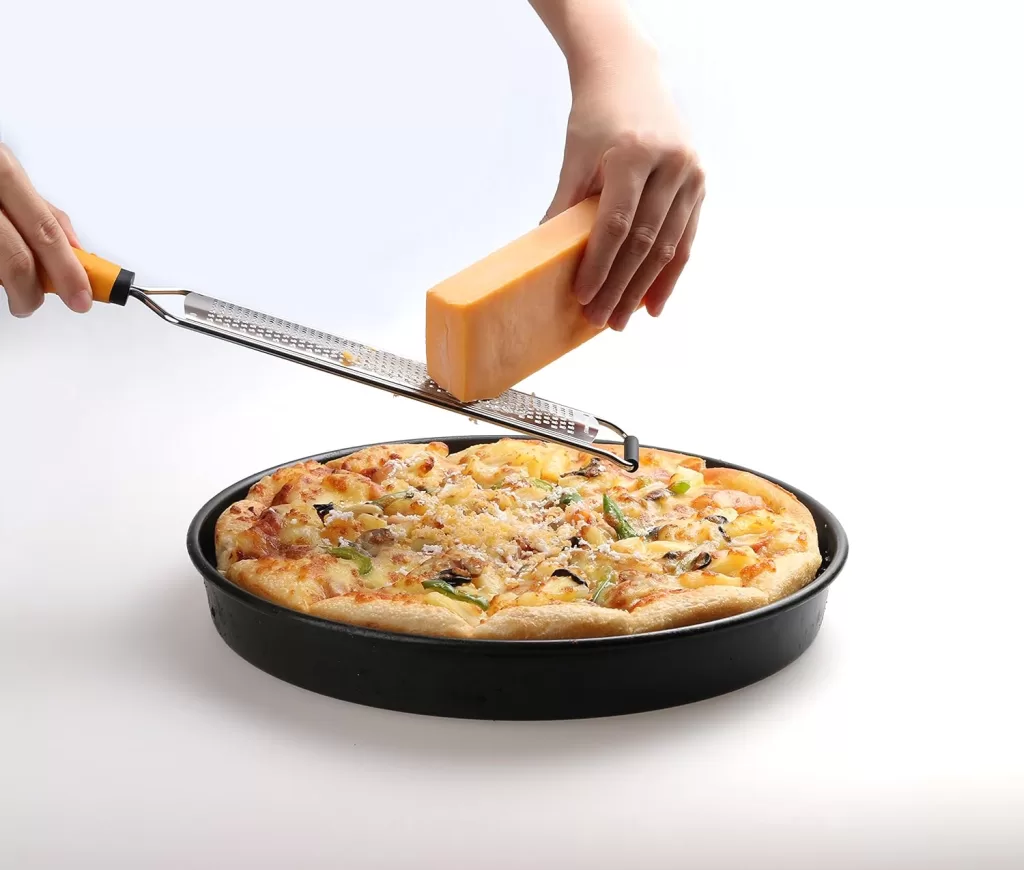
                You will need this grater for zesting your lemon and shredding your cheese!

                Cheesy Lemon Chicken Pasta Ingredients:

                Chicken Breasts- Lean protein.

                Yellow Squash: Adds sweetness to the flavor.

                Zucchini: Adds sweetness to flavor.

                Heavy Cream: Creates a creamy sauce, adding richness and depth of flavor.

                Lemon: Adding a refreshing and zesty taste.

                Parmesan Cheese: Adds a salty and nutty flavor to the dish.

                Noodle: Substitute with any noodle because this recipe is that good! Linguine is a favorite.

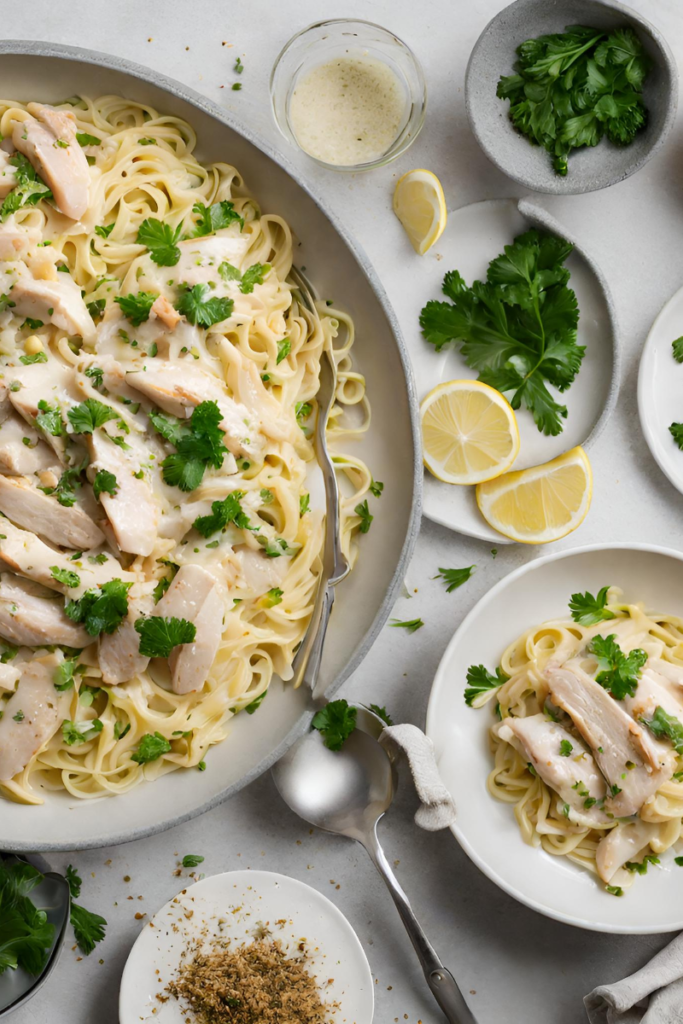
                chicken fettuccine

                Creamy lemon zucchini pasta instructions:

                1. Cook noodles until al dente. Drain and set aside.
                2. Season chicken breasts with salt and pepper.
                3. In a large skillet, add chicken breasts and cook until golden brown – (about 4-5 minutes per side).
                4. Add minced garlic.
                5. Add sliced zucchini and yellow squash. Cook until tender.
                6. Add lemon juice.
                7. Pour heavy cream and parmesan cheese, stirring until well-combined.
                8. Add the noodle into the creamy lemon sauce.
                9. Serve and garnish with parsley.
                cheesy lemon chicken pasta

                10 Creamy Lemon Zucchini Pasta Tips:

                1. Use pasta that holds sauce well, such as fettuccine, linguine, or penne. Cook it al dente so it doesn’t become mushy when mixed with the sauce.

                2. Go for boneless, skinless chicken breasts or thighs. Pound them to an even thickness for uniform cooking.

                3. Marinate the chicken in a mixture of olive oil, lemon zest, garlic, and herbs (like thyme or rosemary) for at least 30 minutes to infuse flavor.

                4. Sear the chicken in a hot pan to create a golden-brown crust, which adds flavor and texture. Make sure not to overcrowd the pan.

                5. Use fresh lemon juice and zest for a bright, tangy flavor. Avoid bottled lemon juice, which can taste artificial.

                6. Start your sauce with a combination of butter and garlic for richness. Then add heavy cream or a mix of cream and milk for a balanced creaminess.

                7. Incorporate grated Parmesan or Pecorino Romano cheese into the sauce. This not only adds a savory element but also helps to thicken the sauce.

                8. Balance Flavors: Adjust the seasoning with salt, pepper, and a pinch of sugar to balance the acidity of the lemon. Add lemon zest for an extra burst of citrus flavor.

                9. Reserve a cup of pasta water before draining. This starchy water can help loosen the sauce and make it cling to the pasta better.

                10. Garnish the finished dish with fresh parsley or basil for color and a fresh, herby finish. A sprinkle of lemon zest on top can also enhance the lemony aroma.

                cheesy lemon chicken pasta

                Creamy Lemon Chicken Pasta

                The best creamy lemon chicken pasta marinated in zesty lemon, sweet zucchini and squash with a slight nutty flavor paired with al dente pasta and tossed in a lemon-infused creamy sauce.
                Prep Time 15 minutes
                Cook Time 30 minutes
                Total Time 40 minutes
                Course Dinner
                Cuisine Italian
                Servings 4 people
                Calories 650 kcal

                Equipment

                • 1 large pot for cooking pasta
                • 1 large skillet
                • 1 tongs
                • 1 Knife
                • 1 cutting board
                • 1 grater
                • 1 measuring cups and spoons
                • 1 colander

                Ingredients
                  

                • 2 boneless chicken breast skinless
                • 1 medium yellow squash sliced
                • 1 medium zucchini sliced
                • 1 cup heavy cream
                • 1 large lemon
                • 1 cup parmesan cheese
                • 1 box linguine noodles
                • 2 tbsp olive oil for cooking vegetables and chicken
                • 2 tbsp butter for the sauce
                • 3 cloves garlic minced
                • salt to taste
                • black pepper to taste
                • 2 tbsp parsley chopped

                Instructions
                 

                Cook pasta

                • Bring a large pot of salted water to a boil. Add noodle and cook according to package instructions until al dente. (Reserve 1 cup of pasta water) then drain the pasta.

                Prepare the chicken

                • While pasta is cooking, season chicken with salt and pepper. Add olive oil to pan over medium high heat, cook chicken breasts for 5-6 minutes per side. Remove and set aside.

                Cook the vegetables

                • In same skillet add the sliced squash and zucchini and sauté for about 5 minutes until tender. Remove and set aside.

                Make the sauce

                • In same skillet, melt butter, add garlic and sauté.
                  Pour in heavy cream and bring to a simmer. Cook for 2-3 minutes until cream begins to thicken.
                  Stir in lemon juice, parmesan cheese.
                  Cook for another 2-3 minutes, stirring frequently until cheese is melted and sauce is smooth.

                Combine everything.

                • Slice the chicken breasts into thin strips, add noodle, squash, zucchini to the sauce and toss. Add reserved pasta water to reach desired consistency.

                Serve.

                  Keyword creamy chicken pasta


                  lemon zucchini pasta
                  How can I use my leftover chicken for this recipe with pasta?

                  Slice the leftover chicken and incorporate it into the dish during the final stages of cooking. The lemony zest and creamy sauce will complement the chicken perfectly.

                  How can I prepare ahead for a week’s worth of meals using this recipe?

                  Double the recipe – Once prepared, portion it into individual servings and store them in airtight containers in the refrigerator. This makes it a very easy weeknight dinners for family!

                  What can I pair with this creamy lemon zucchini pasta?

                  Steamed broccoli, green beans, a side salad, garlic bread, or some roasted vegetables.

                  pin
                  healthy camping snacks
                  Lifestyle Cook Recipes

                  Camping Snacks

                  This article may contain links from my partners. I may receive a small commission if you make a purchase through a link. Please read my disclosure and how I make money here.

                  Here you’ll find the best camping snacks for all of your adventures! These snacks are a must for you and your toddler’s outdoor escapades!

                  Remember to stash a snack for your toddler on hikes because we all know how not enjoyable the tiny hiker meltdowns are when hunger strikes!

                  Be prepared, keep the smiles and pack a snack.

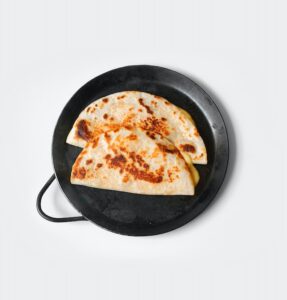
                  Campfire Quesadillas

                  good camping snacks

                  Easy camping snack over a campfire or portable stove –

                  Tortillas, cheese with beef or any toppings you prefer is all you’ll need for a great campsite snack.

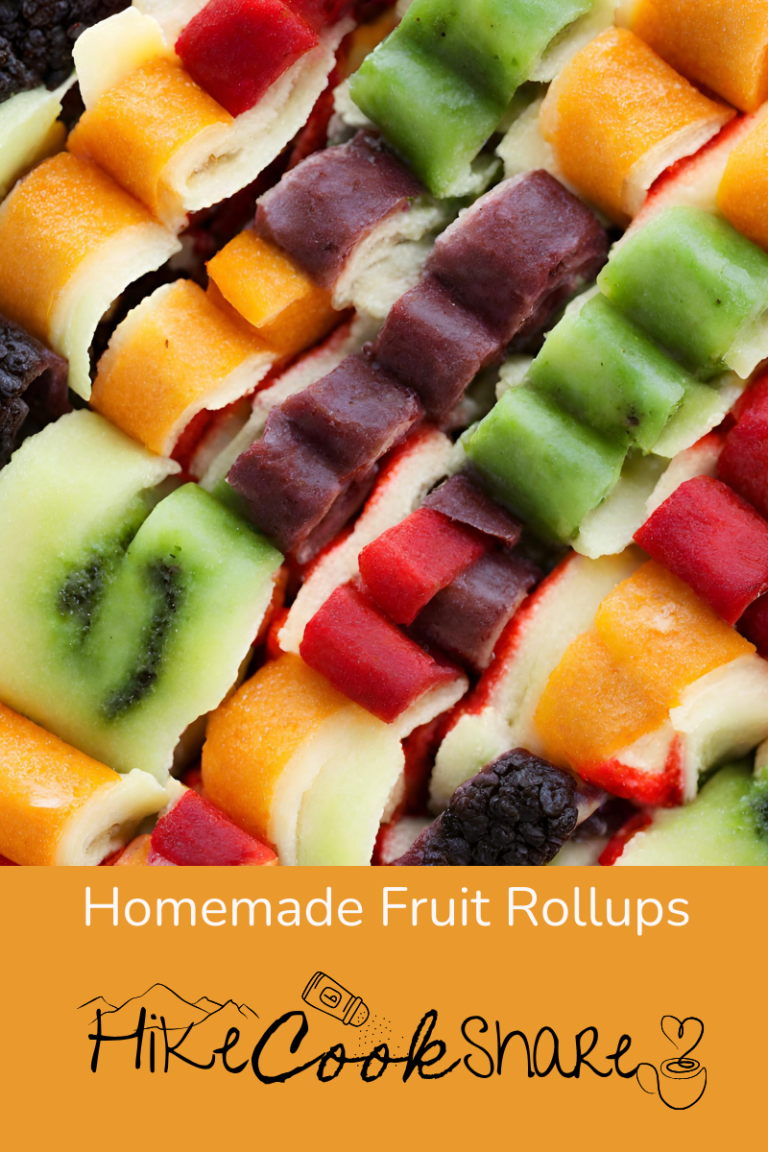
                  Forest Twists: Fruit Roll-Up Delights

                  Fruit Rollups are the best camping snack!

                  Perfect for taking on long hikes to help boost energy. These rollups retain vitamins that are in fresh fruits like Vitamin C, A and various antioxidants.

                  camping fruit rollup

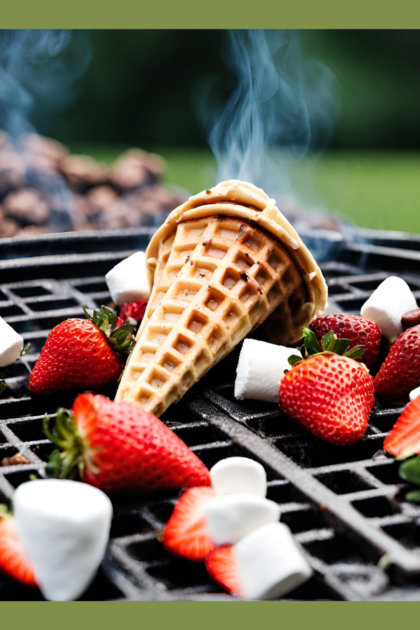
                  Campfire Cones

                  A fun treat you can get creative with. Fill waffle cones with mini marshmallows, chocolate chips and fruit. Wrap them in foil and heat near the fire.

                  campfire cones

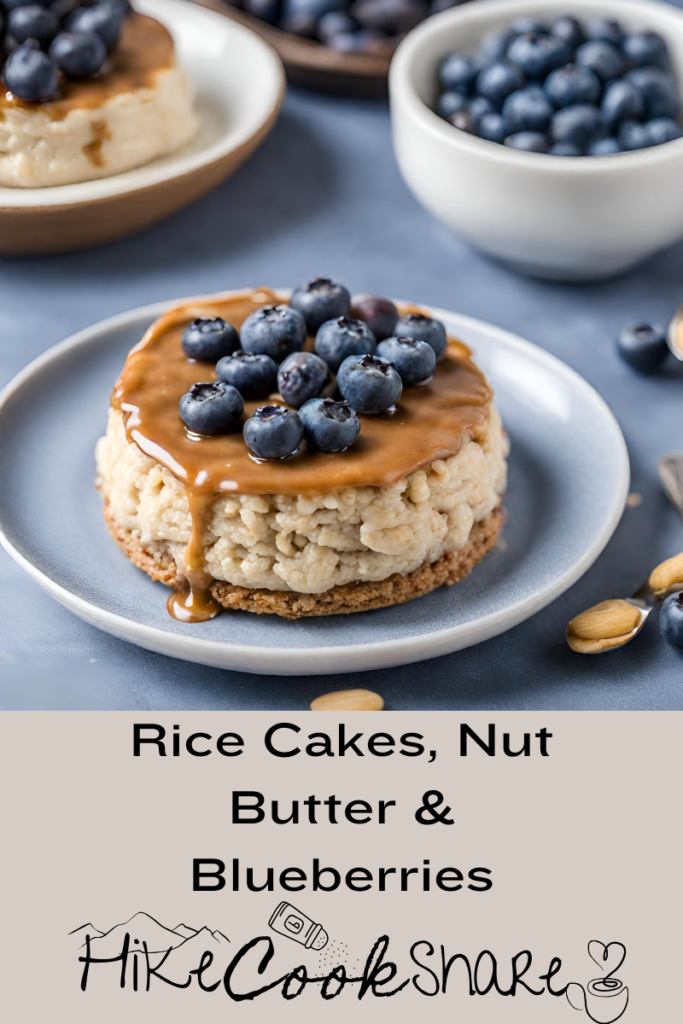
                  Nature’s Crunch: Rice Cake with Nut Butter and Blueberries

                  Ricecake, nut butter, blueberries

                  Trail Mix Crunch: Granola Goodness, mess free camping snack

                  With a few basic ingredients you can create a delicious and nutritious granola that beats store bought versions.

                  Campfire Confections: Pumpkin Cream Cheese Muffin

                  Make ahead of time and store in a air tight container.

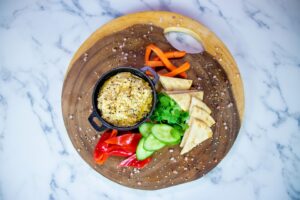
                  Easy camping snacks: Cucumber and Hummus Spears

                  Cucumber and Hummus Sticks: Slice cucumbers into sticks and serve with hummus for a refreshing snack

                  Cucumbers make for a refreshing snack a good balance of hydration while also providing a small amount of vitamins such as Vitamin K and C.

                  Hummus is rich in plant based protein and dietary fiber, also containing healthy fats, essential minerals like iron and magnesium.

                  camping snack of hummus and carrots
                  Yeti Backpack cooler
                  Very durable cooler, perfect for those short hikes!

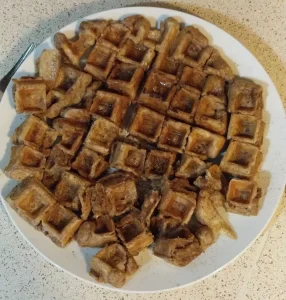
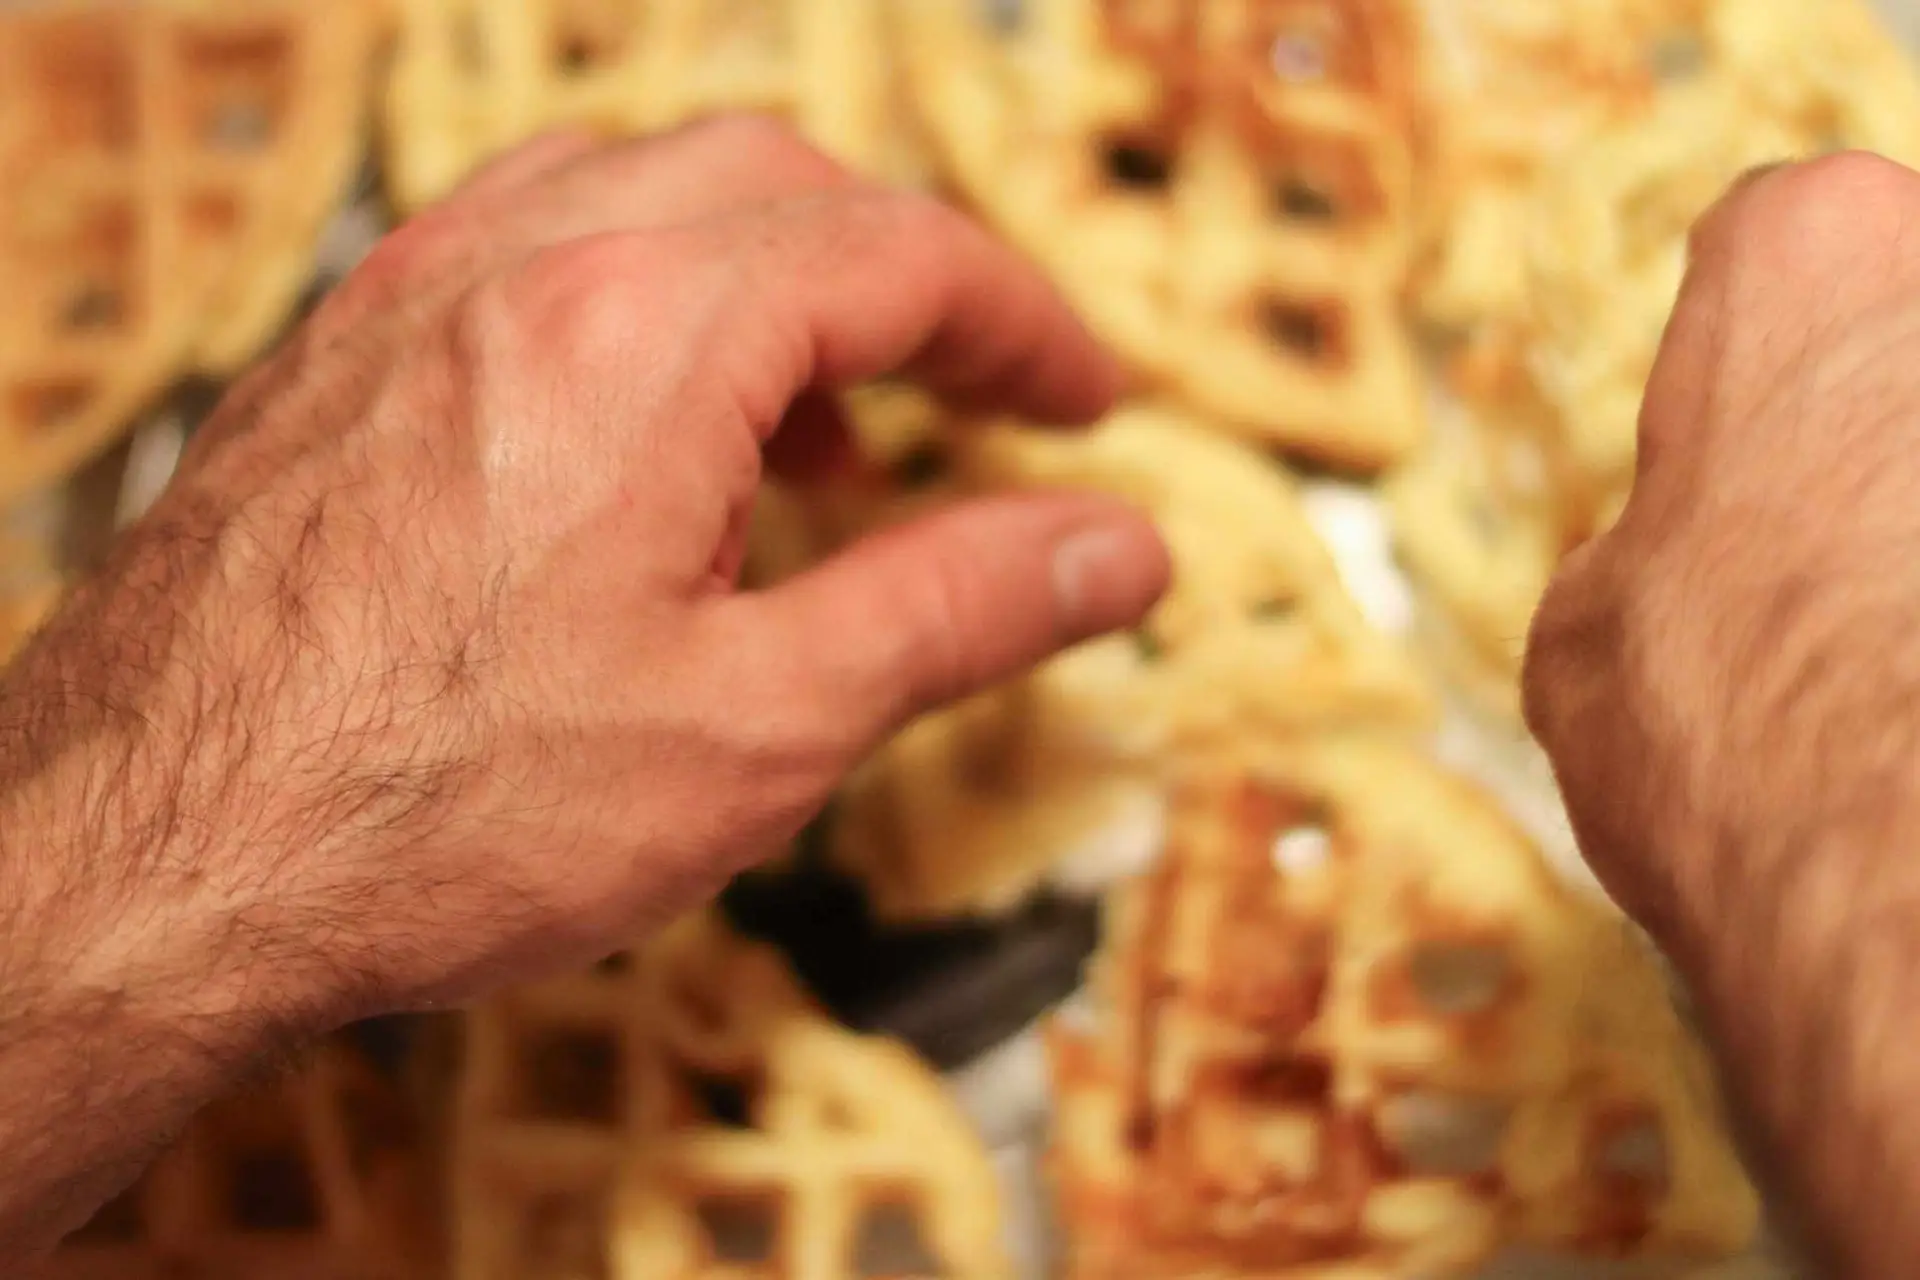
                  Camer and Hiker snack Delight: Waffle Morsels

                  snacks to bring camping

                  Waffles are always a hit and easy to make ahead of time.

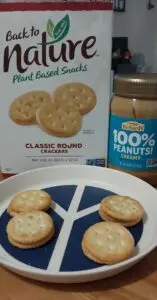
                  Outdoor Nibbles: Peanut Butter Cracker Bites

                  camping snacks to buy

                  Easy enough, peanut butter in between these delicious crackers.

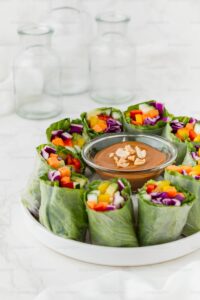
                  Wilderness Wraps: Veggie Roll-Ups

                  Yum, Fill small tortillas with cream cheese and chopped veggies for a toddler friendly wrap.

                  keto camping snacks

                  Forest Fuel: Apple Slices with Nut Butter camping snack

                  This Homemade Almond Butter is the best – Provides a mix of carbs, healthy fats and protein making it a satisfying and nutritious snack.

                  Creamy Almond Butter


                  Homemade roasted creamy almond butter with a hint of sweetness and touch of salt will be sure to satisfy your taste buds and become a versatile companion in your culinary adventures!

                  • Food processer
                  • 1 bag Unsalted Almonds
                  • 1 tsp Salt
                  • 1 tbsp Maple Syrup (or honey)
                  • 1 tbsp Vanilla
                  • 1 tbsp Cinnamon
                  1. First roast your almonds.

                  2. Let them cool.

                  3. Place in food processor or blender and blend for about 10-15 minutes.

                  4. Store in a airtight container.


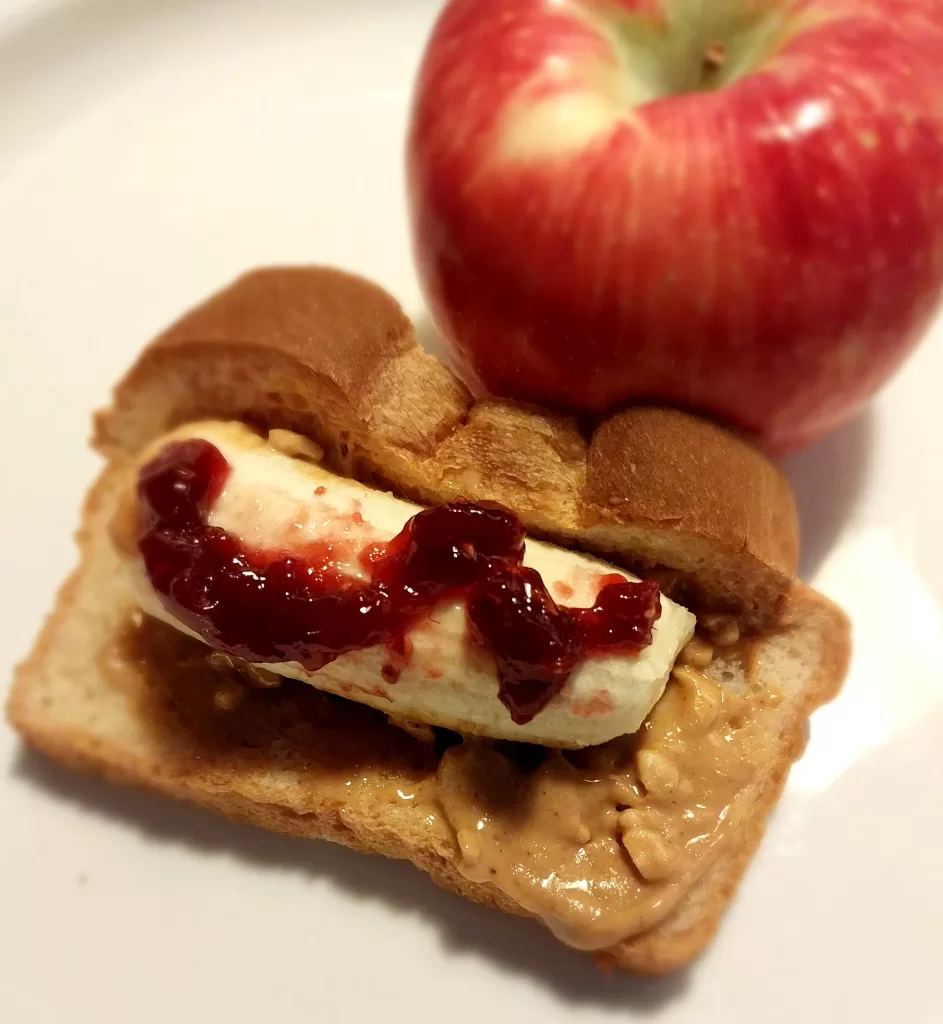
                  Camping Snacks: Woodland Delight: Apple Slice PB&J

                  easy camping snacks for family

                  And for those who crave a classic camping snack with a twist, why not try the timeless combination of peanut butter and jelly served alongside crisp apple slices?

                  As the sun sets on another day of adventure in the great outdoors, remember that the right snacks can make all the difference between a good camping trip and a great one.

                   Happy camping and happy snacking!

                  pin
                  easy chicken pot pie homemade crust
                  Cook Recipes

                  Easy Homemade Chicken Pot Pie

                  This article may contain links from my partners. I may receive a small commission if you make a purchase through a link. Please read my disclosure and how I make money here.

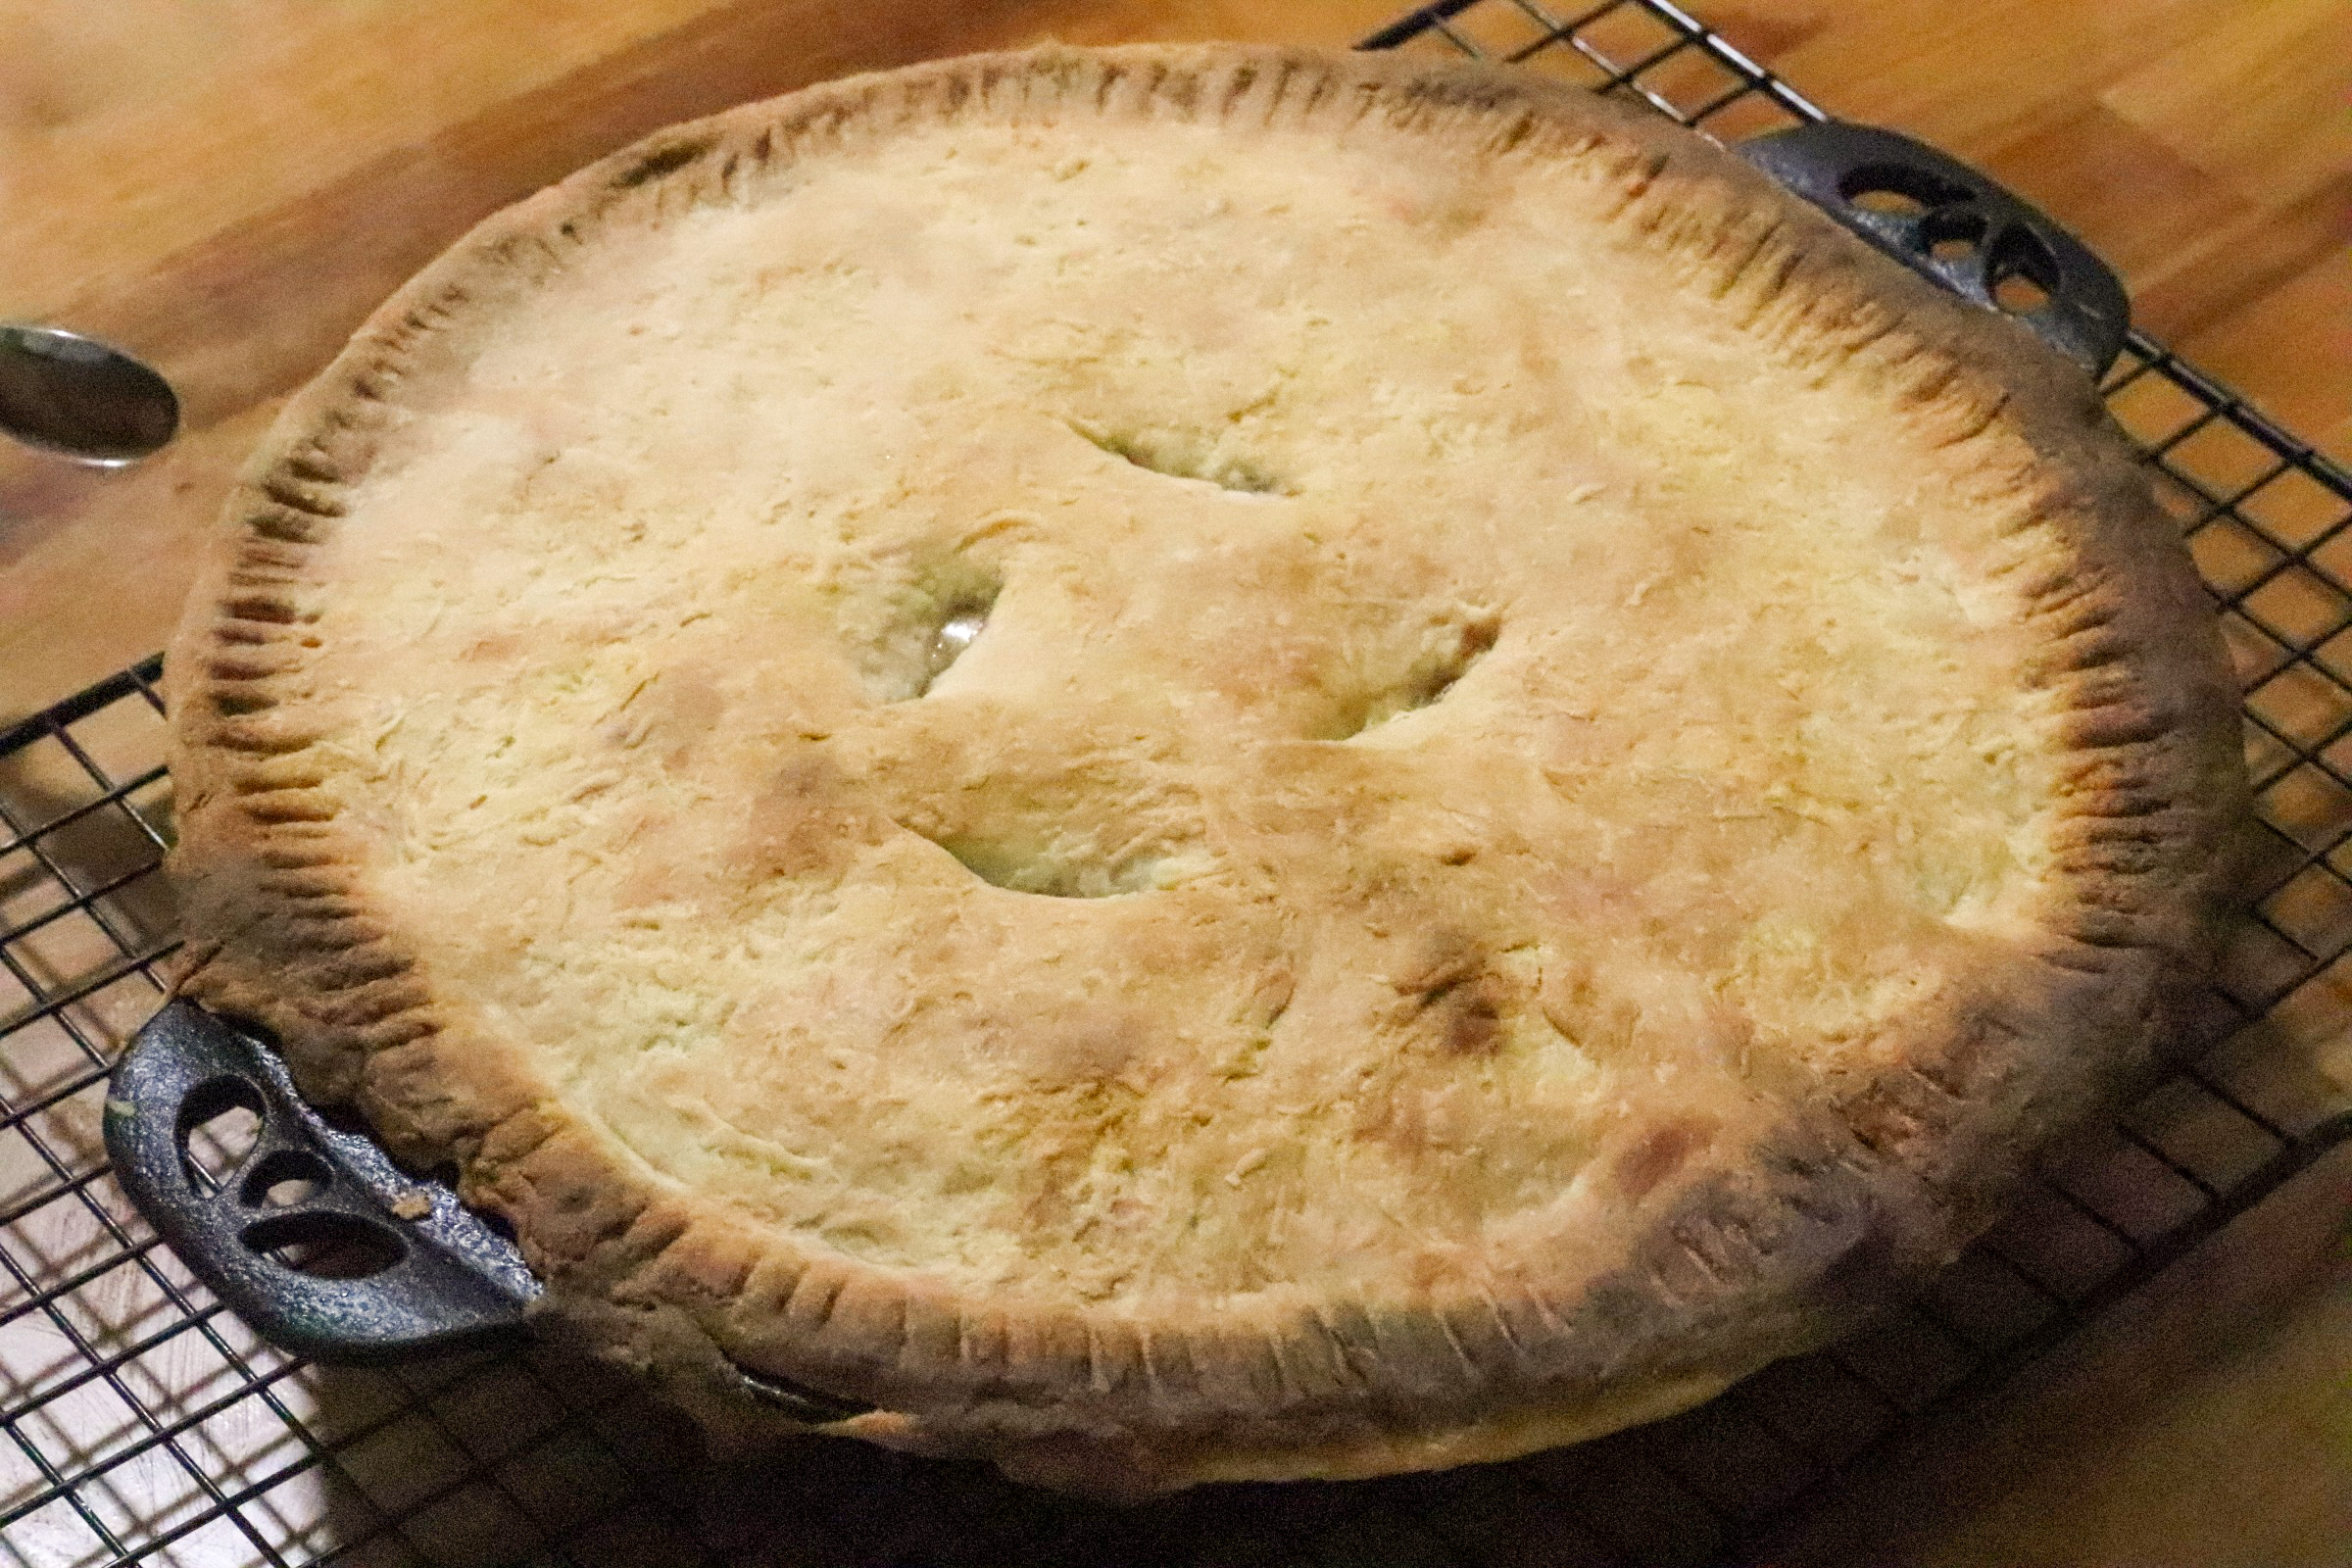
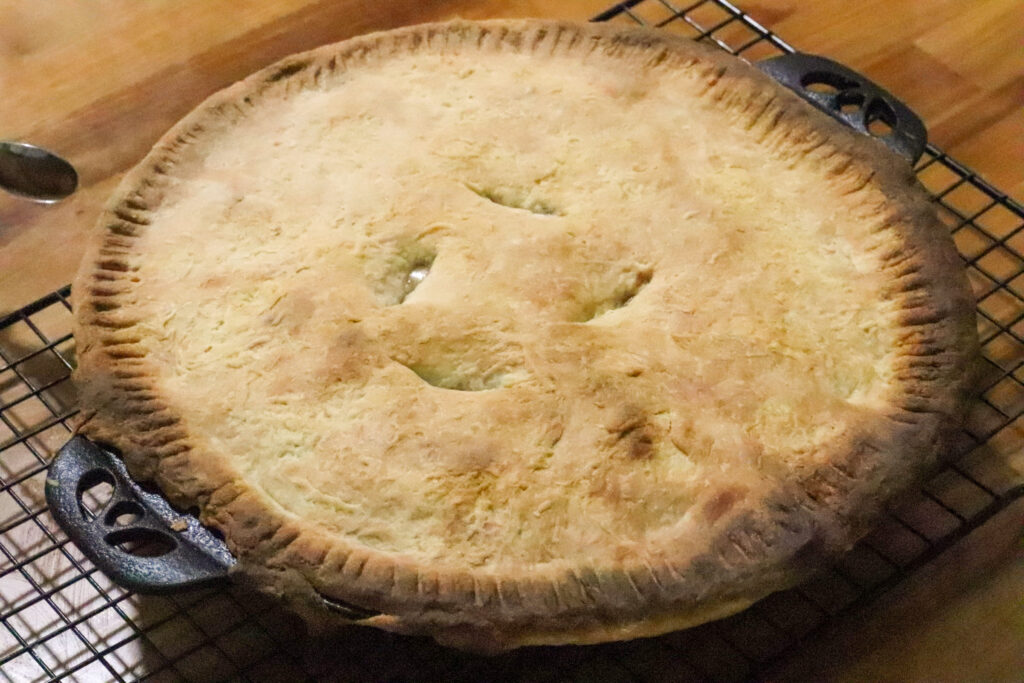
                  Enjoy my delicious easy homemade chicken pot pie recipe! With its flaky, golden crust and creamy, savory filling packed with tender chicken and vibrant vegetables, this easy chicken pot pie dish is guaranteed to warm your soul and become the best homemade chicken pot pie you have ever made! 

                  Recently my husband and I were on the discussion of how our favorite memory growing up was going to Bob Evans and enjoying dinner as a family. I reminisced about their Chicken Pot Pie recipe, so we had to recreate this staple. 

                  The crust was homemade, making it hands down, the best chicken pot pie crust recipe around!

                  easy chicken pot pie homemade crust


                  easy chicken pot pie

                  Chicken Pot Pie Crust Instructions:

                  Step 1: Combine salt and flour. 

                  Step 2. Add the cold, cubed butter to the flour. (Use your fingers to work the butter into the flour until the mixture resembles coarse crumbs with pea-sized pieces of butter)

                  3. Gradually add the ice water, one tablespoon at a time, mixing gently with a fork or your hands until the dough comes together. Be careful not to overwork the dough.

                  •   Divide the dough in half and shape each half into a disk. Wrap each disk tightly in plastic wrap and refrigerate for at least 1 hour before rolling out.

                  Pot Pie Fillings:

                  1. Preheat your oven to 375°F (190°C). 

                  • In a large skillet, heat the olive oil over medium heat. Add the diced chicken and cook until browned on all sides, about 5-7 minutes. Remove the chicken from the skillet and set aside.
                  • Then add in the chopped onion, carrots, and celery. Cook until the vegetables are softened, about 5 minutes.
                  • Add the minced garlic and cook for an additional minute.

                   2. Sprinkle the flour over the vegetables and stir to combine. Cook for 1-2 minutes, until the flour is well incorporated.

                  • Gradually pour in the chicken broth and whole milk (stirring constantly to prevent lumps from forming)
                  • Bring the mixture to a simmer and cook until it thickens, about 5-7 minutes.

                  3. Stir in the cooked chicken, frozen peas, salt, and pepper.

                  Allow the filling to cool slightly while you roll out the pie crust.

                  Assembling The Easy Chicken Pot Pie:

                  1. Roll out one disk of the chilled pie crust on a lightly floured surface to fit a 9-inch pie dish. Place the rolled-out crust into the bottom of the pie dish.

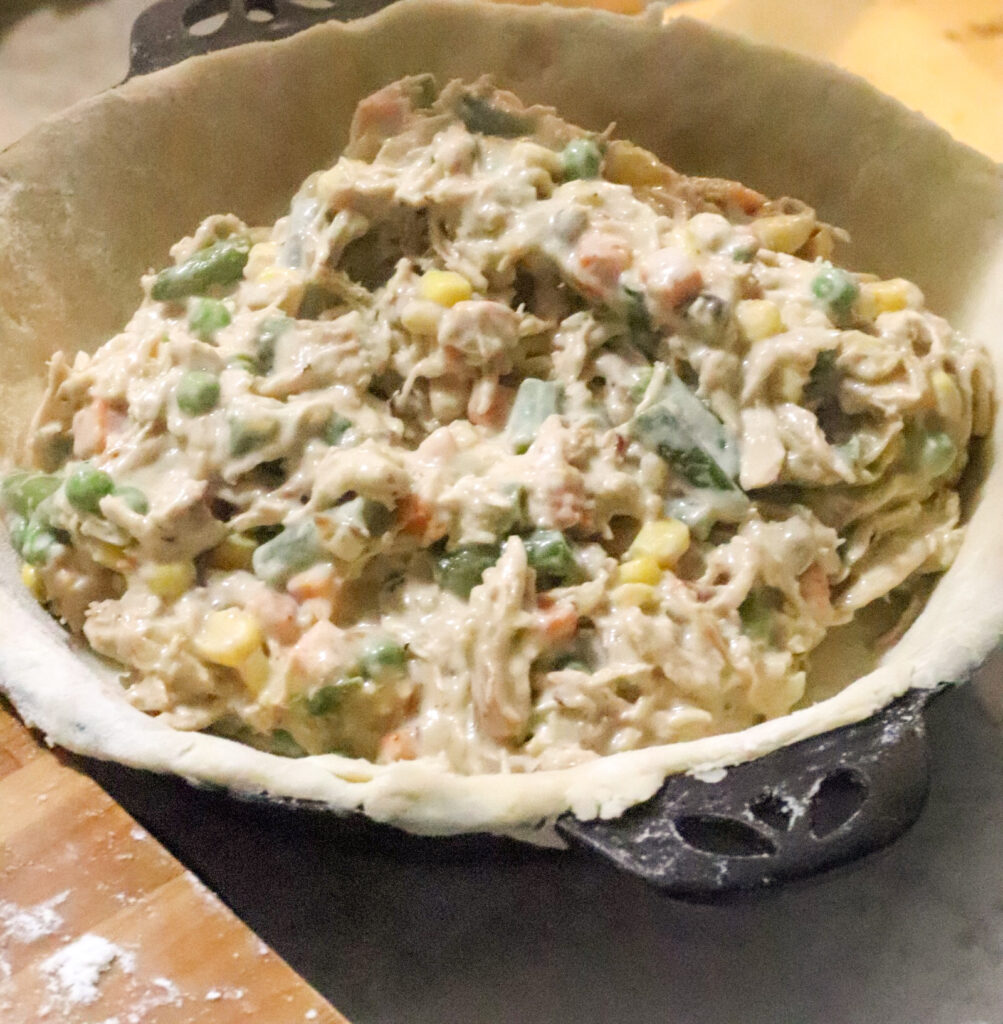
                  2. Pour the chicken filling over the crust in the pie dish.

                  3. Roll out the second disk of pie crust and place it over the filling. Trim any excess crust and crimp the edges to seal.

                  4. Cut a few slits in the top crust to allow steam to escape during baking.

                    Optional: Brush the top crust with beaten egg for a golden finish.

                  Baking:

                  1. Bake in the preheated oven for 45-50 minutes, or until the crust is golden brown and the filling is bubbly.

                  2. Allow the pot pie to cool for a few minutes before serving. Enjoy your homemade chicken pot pie with flaky crust!

                  the best recipe for chicken pot pie

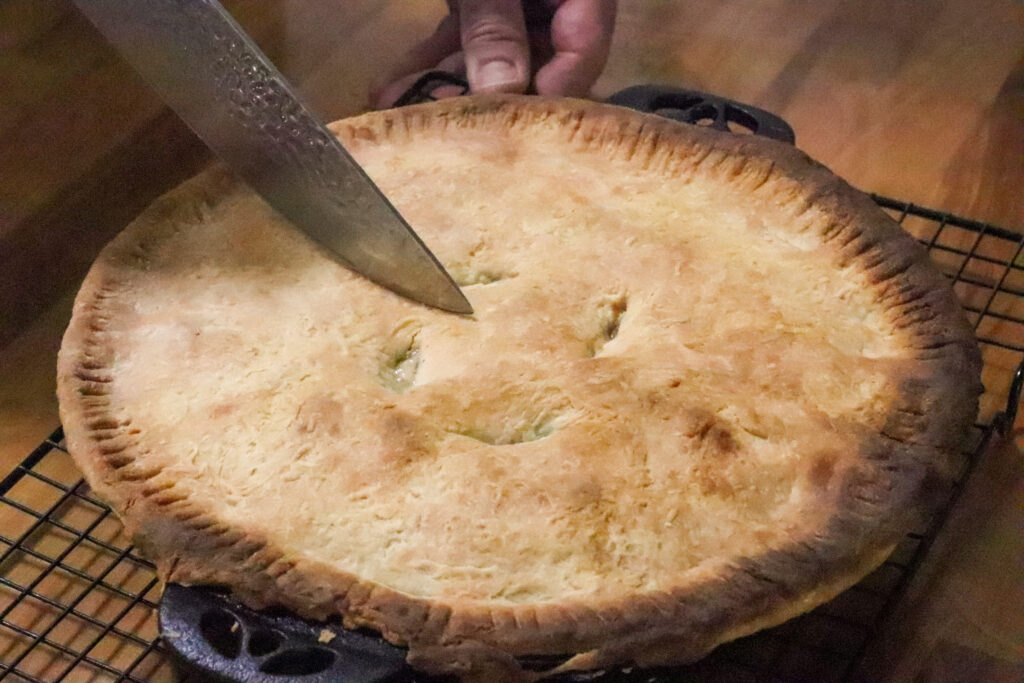
                  Allow your home made pot pies to cool completely to let the flavors meld together.

                  Then, slice into generous portions and serve piping hot.

                  The smell alone will have everyone eagerly gathering around the table.

                  How long do you cook a homemade chicken pot pie for?

                  Bake at 375° for 45-50 minutes until the crust appears golden brown.

                  What makes a good chicken pot pie?

                  Tender chicken, flavorful veggies, creamy sauce and a flakey crust!

                  How to make homemade chicken pot pie healthy?

                  Use lean protein such as chicken breasts, load up on the veggies and instead of using heavy cream for the cause use unsweetened almond milk.

                  How to make gluten free chicken pot pie?

                  Use almond flour instead of regular flour for the crust.


                  pin
                  keto shrimp poke bowl
                  Cook Recipes

                  Shrimp Poke Bowl

                  This article may contain links from my partners. I may receive a small commission if you make a purchase through a link. Please read my disclosure and how I make money here.

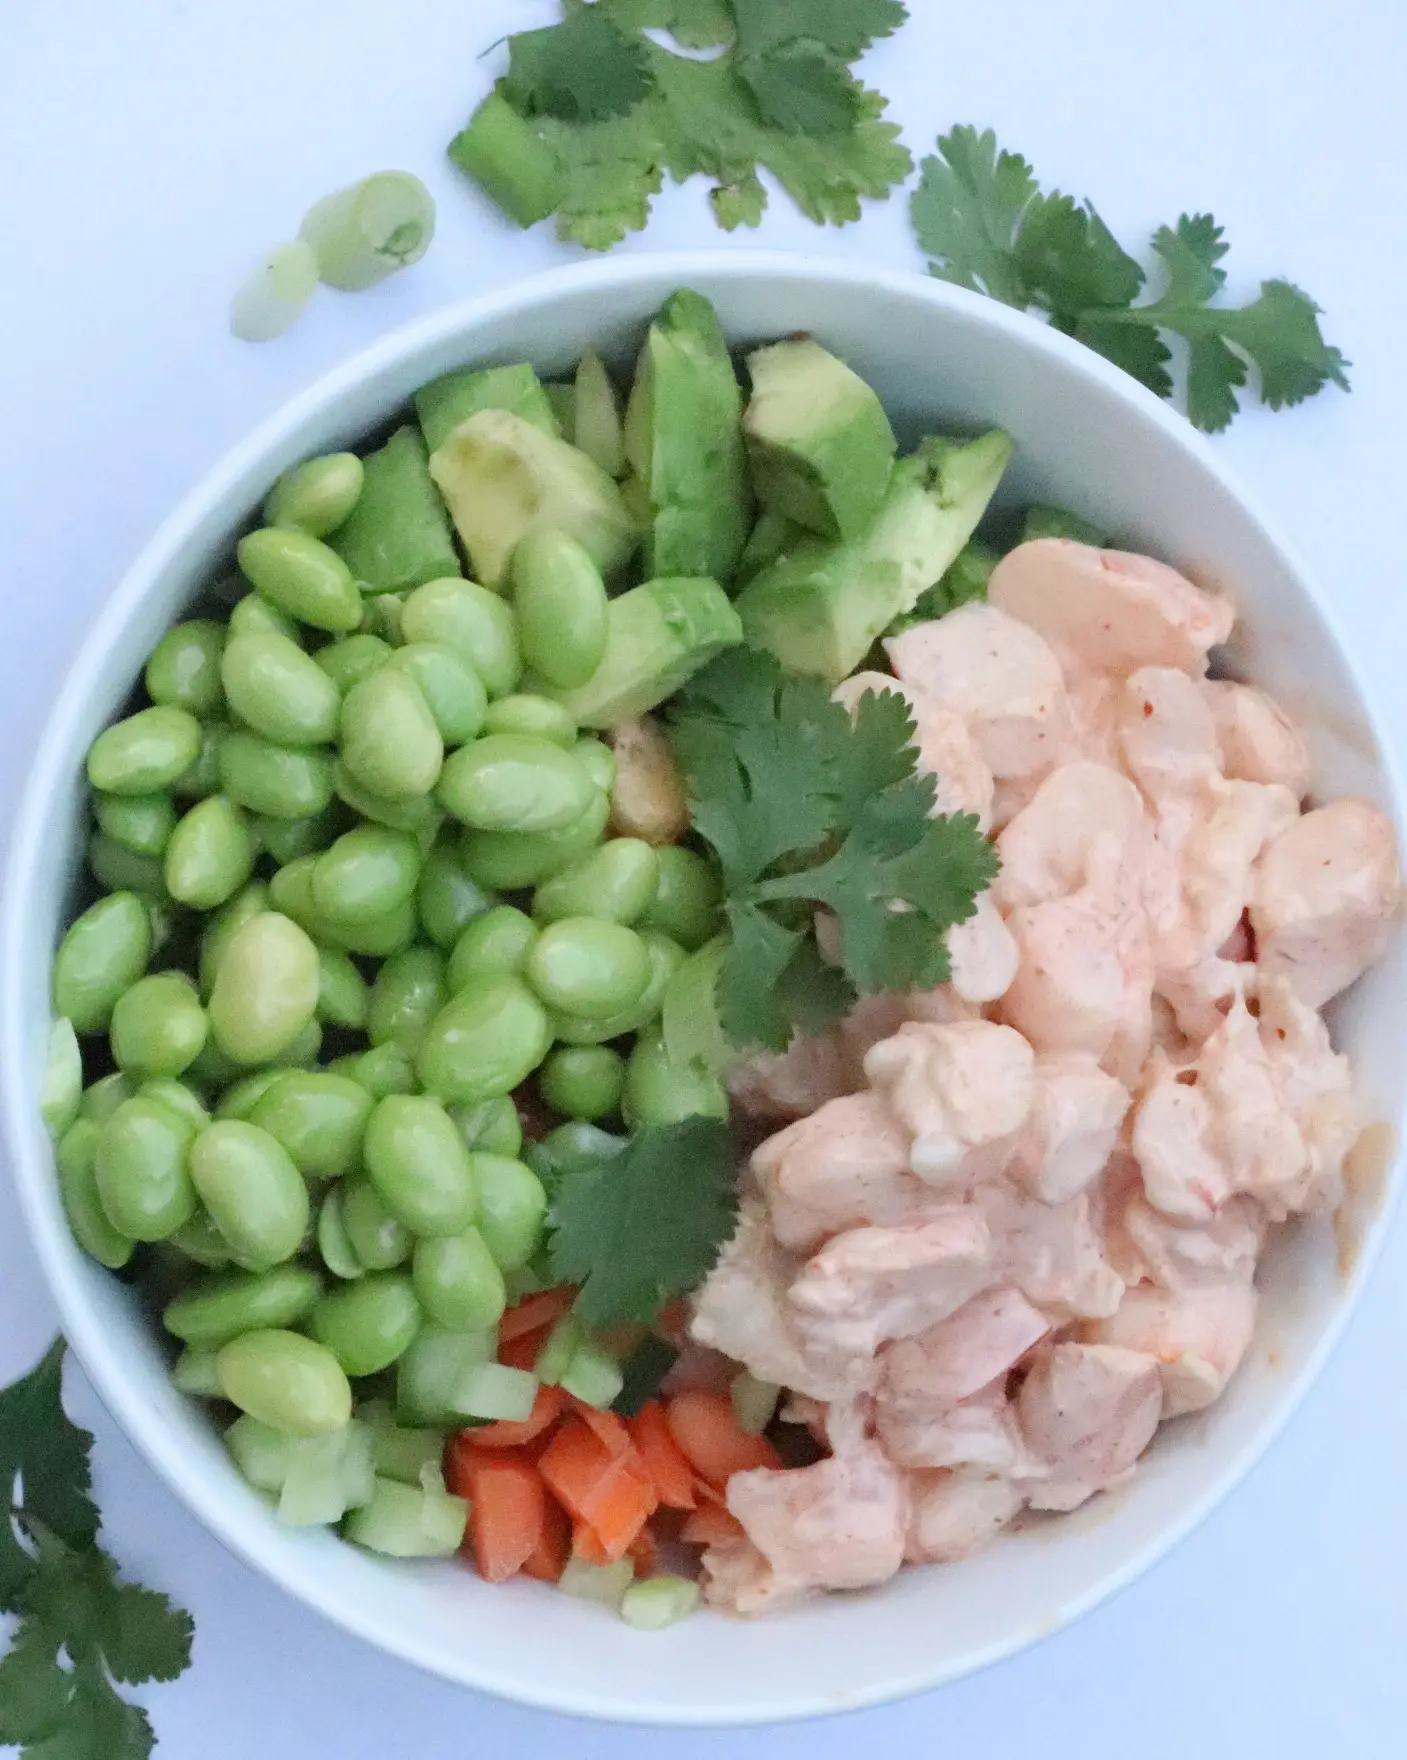
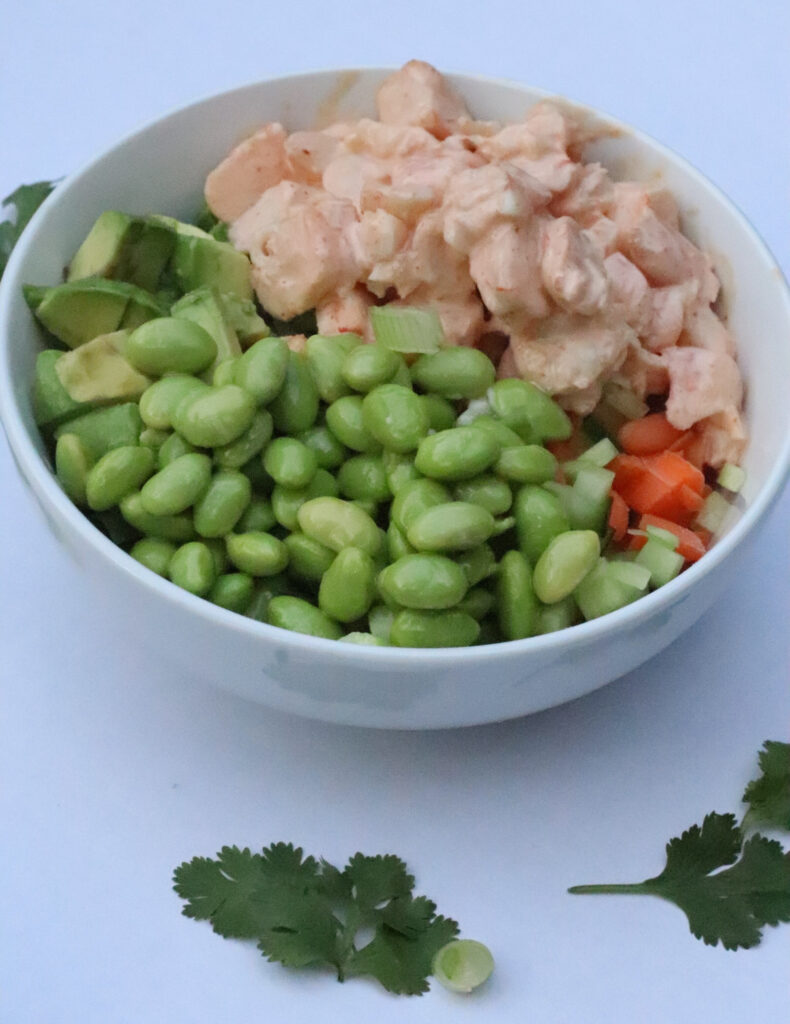
                  If you are craving a zesty, Thai chili mayo cooked shrimp poke bowl you have found it! 

                  The textures and tastes of the juicy shrimp, vibrant vegetables, and a crave worthy sauce create the perfect dish. 

                  With this easy shrimp poke bowl recipe, you will be able to create the most flavorful, homemade poke bowl with the best creamy homemade poke sauce making it an easy meal prep throughout the week or a refreshing lunch meal.
                  hawaii poke bowl

                  Homemade Poke Sauce:

                  Making Sriracha mayonnaise sauce is simple and requires just a few ingredients. Here’s a basic recipe:

                  Ingredients:

                  • 1/2 cup mayonnaise
                  • 2 tablespoons Sriracha sauce (adjust to taste)
                  • 1 tablespoon lime juice (optional)
                  • 1 teaspoon honey or sugar (optional, for sweetness)
                  • Salt and pepper to taste
                    shrimp poke bowl

                    Shrimp Poke Bowl

                    5 from 3 votes

                  Poke Bowl Homemade Instructions:

                  1. In a small bowl, combine the mayonnaise and Sriracha sauce. Start with 2 tablespoons of Sriracha and adjust according to your desired level of spiciness.
                  2. If using, add lime juice for a tangy flavor and honey or sugar for sweetness. Mix well to combine.
                  3. Taste the sauce and adjust the seasoning with salt and pepper as needed.
                  4. If the sauce is too thick, you can thin it out with a little water or lime juice until you reach your desired consistency.
                  5. Serve the Sriracha mayonnaise sauce immediately or store it in an airtight container in the refrigerator for up to a week.

                  This Sriracha mayonnaise sauce is perfect for adding a spicy kick to your homemade shrimp poke bowl.
                  Shrimp Poke Bowl Instructions:

                  1.Prepare the Thai Chili Mayo Sauce: In a small bowl, whisk together mayonnaise and Thai chili paste. Adjust the spice level according to your preference.
                  2. Cook the Shrimp:
                  – Heat a skillet over medium-high heat. Add a bit of oil.

                  3. Prepare your ingredients – Cook Edamame, Rice & Cut: Cut cucumber, avocado and carrots, cook sushi rice and steam your edamame.

                  4. Drizzle with Thai Chili Mayo Sauce:
                  – Generously drizzle the Thai Chili Mayo Sauce over the ingredients.

                  5. Garnish and Serve
                  – Add your rice to a bowl, and top with ingredients, garnish with cilantro and chopped green onions for added flavor & Enjoy!


                  keto shrimp poke bowl

                  pin
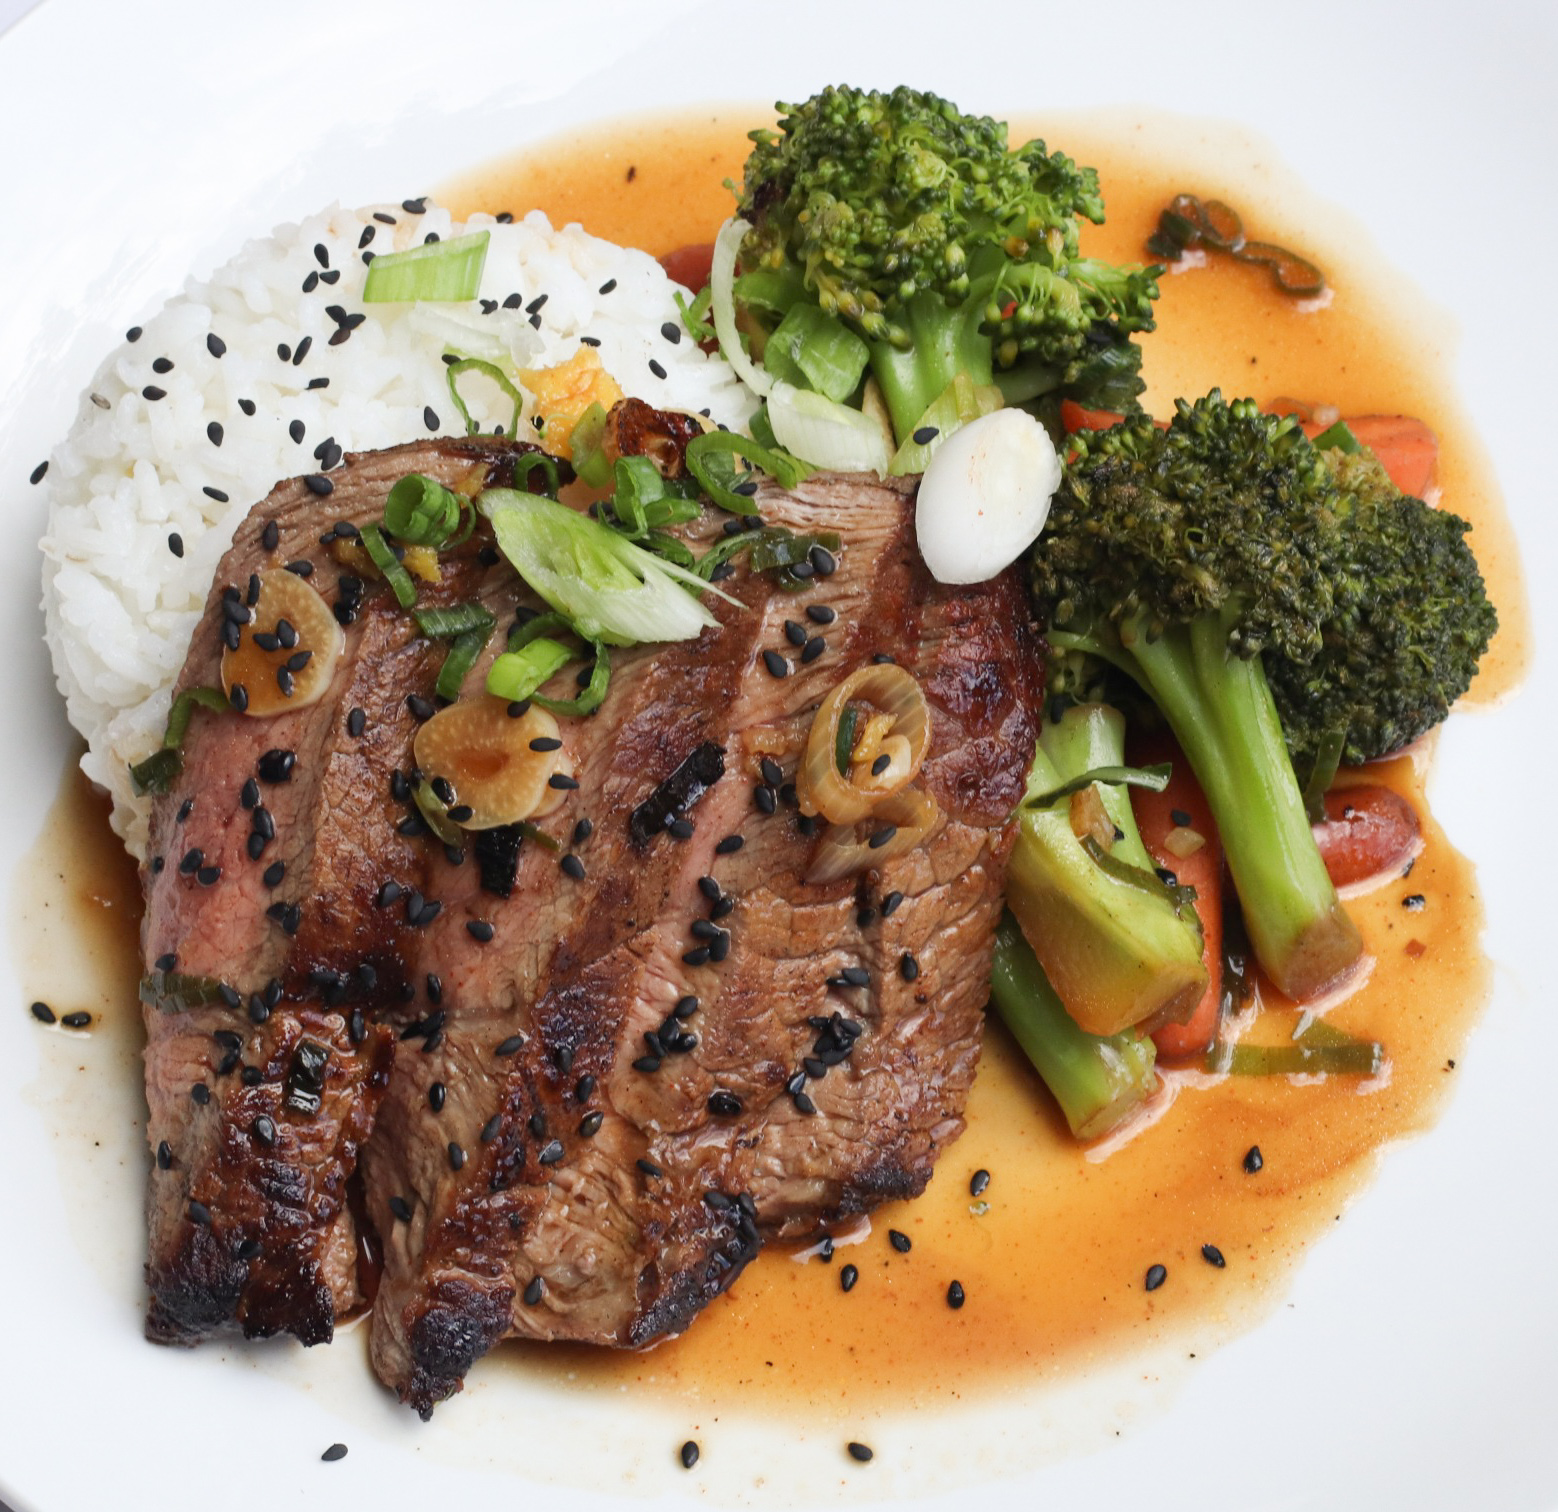
                  Sirloin steak
                  Cook Recipes

                  Sirloin Steak

                  This article may contain links from my partners. I may receive a small commission if you make a purchase through a link. Please read my disclosure and how I make money here.

                  Hey there, foodie friends! So, after a solid decade of swimming in the pescatarian pond, I’ve got a story to spill – and it’s all about how I broke free from my seafood shackles. 

                  Spoiler alert: it involves the sirloin steak recipe that’s about to become your new obsession.

                  I get it – the idea of going from sea vibes to a land of carnivorous cravings might seem like a stretch. But trust me, this sirloin steak recipe is worth it. 

                  Why eat steak?

                  Steak is the most nutrient dense food out there. 

                  Get your B Vitamins

                  Vitamin B helps keep your red blood cells healthy, protecting brain cells and boosting your metabolism. 

                  It can prevent iron deficiency

                  Iron is one of the most important nutrients for our bodies as it plays a key role in delivering oxygen from lungs to tissues and organs throughout the body.

                  Iron plays an important role in hormone production and cellular function.

                  Sirloin Steak Instructions:

                  Step 1: Making rice

                  • Rinse the rice to ensure fluffy texture. Add water to medium size pan and bring to a boil then add your rice. 
                    Once rice is in pan the boil will lessen, let it come back to a gentle simmer.
                    Cover the saucepan and reduce heat to low. Keep lid on for around 18 minutes.

                  Step 2: Making the Sauce

                  • Pour remaining juice from steak in saucepan, add water, soy sauce, fish sauce, maple syrup and corn starch. Bring to simmer until slightly thickened. 

                  Step 3: Cooking steak

                  • Pan sear steak over high heat until brown crust forms, about 1-2 minutes per side. Then reduce heat to medium and cook to desire.

                  Step 4: Steam broccoli

                  • Add broccoli to your steamer basket over water for about 6 minutes.

                  Step 5: Plate & serve

                  • Top with scallions and sesame seeds and serve with rice and broccoli.
                  pin
                  easy pizza chaffle
                  Cook Recipes

                  Pizza Chaffle

                  This article may contain links from my partners. I may receive a small commission if you make a purchase through a link. Please read my disclosure and how I make money here.

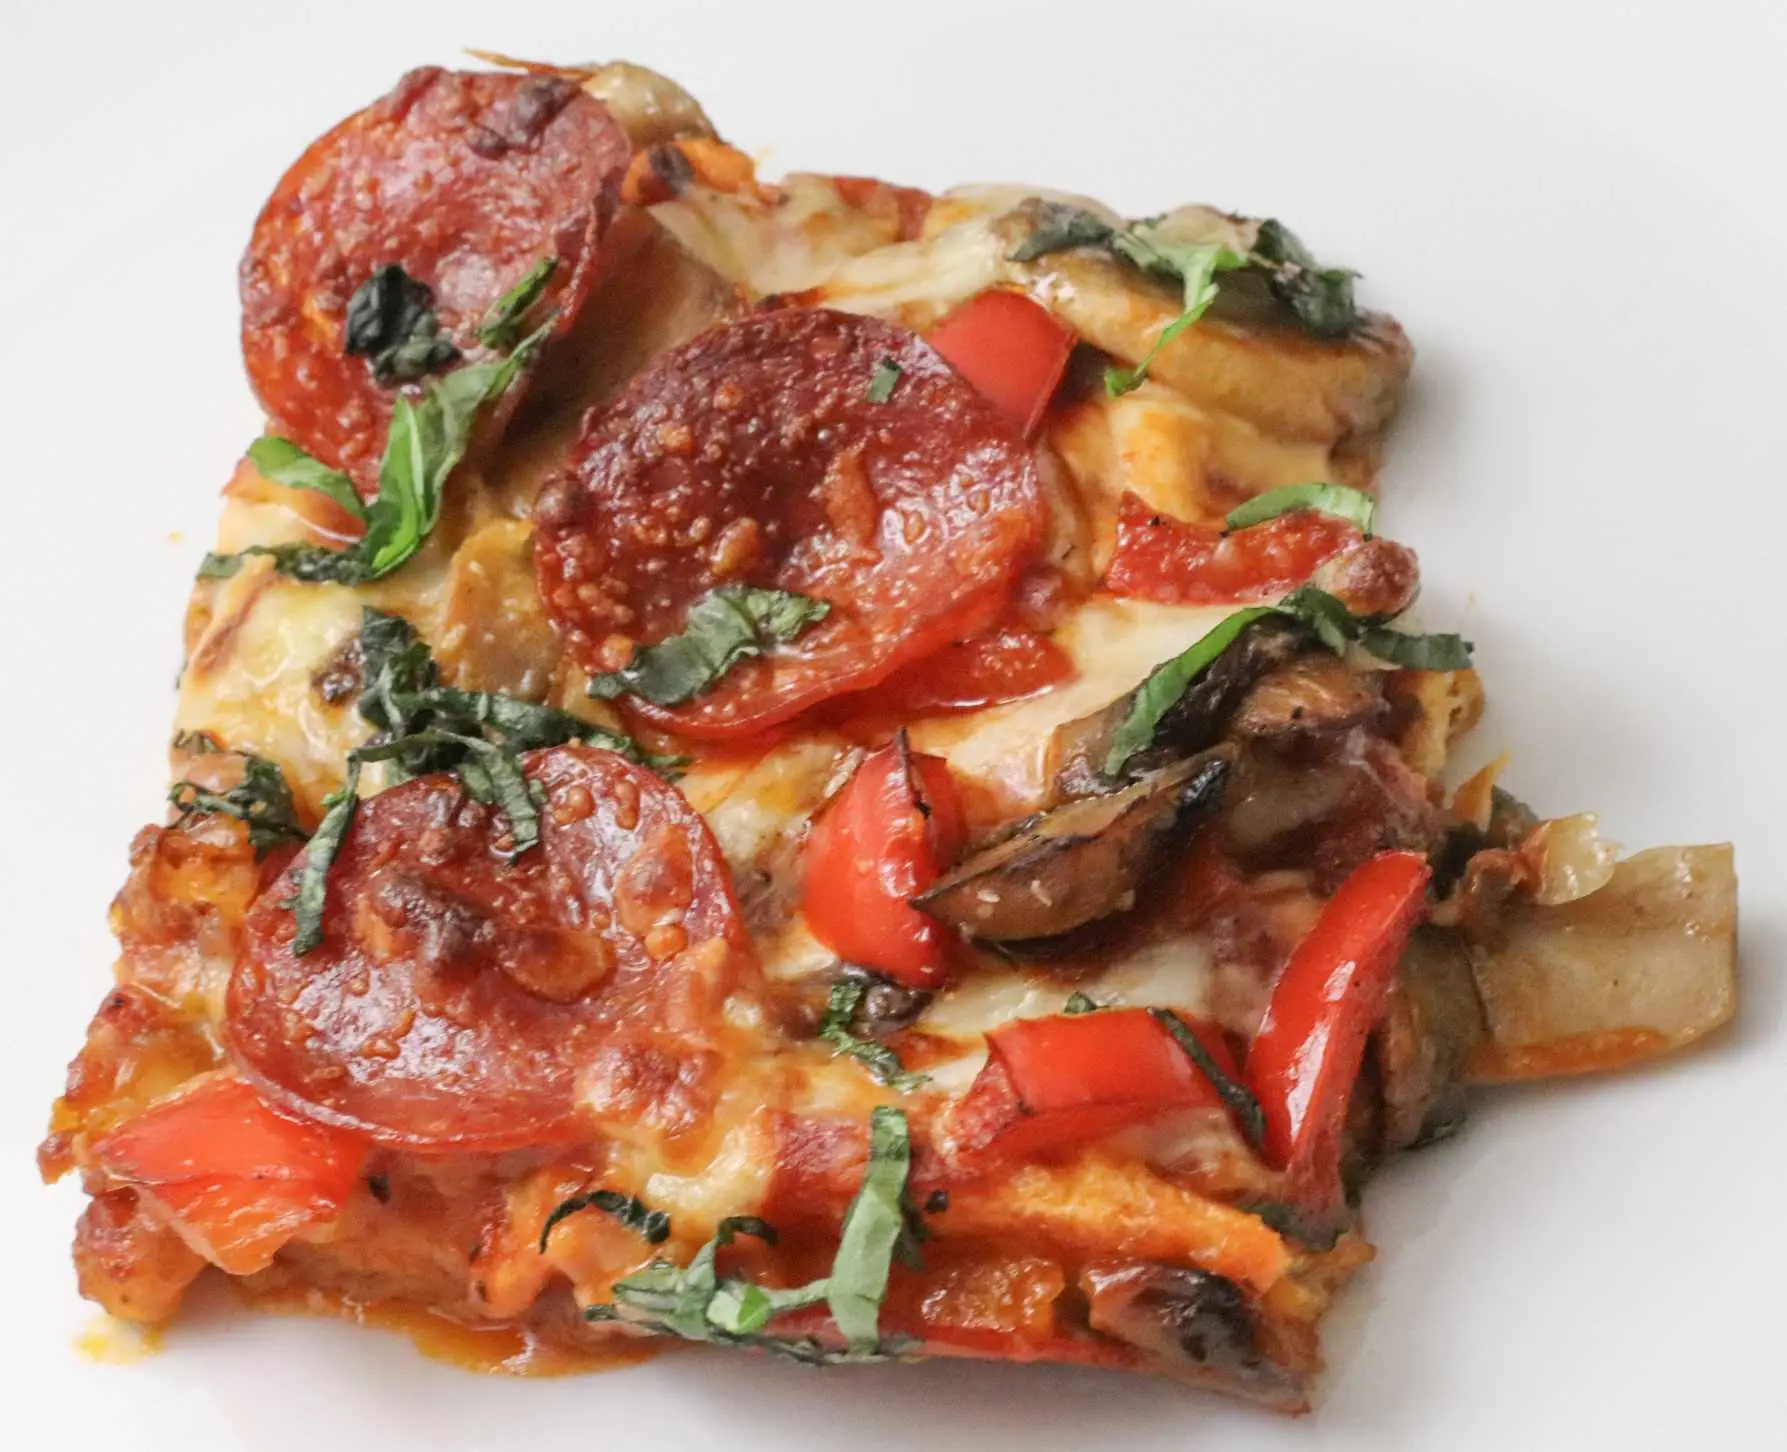
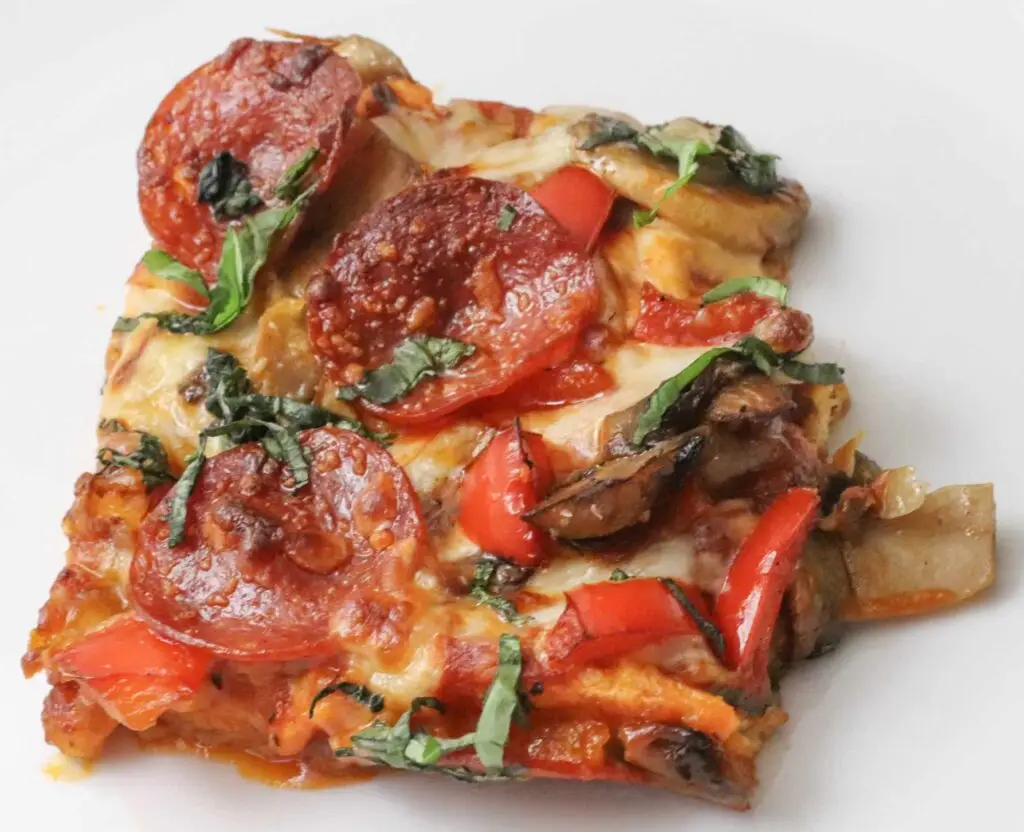
                  Create this guilt free pizza chaffle crust made of the most cheesy and easy crust will easily replace regular crust. Topped with garlic tomato sauce, pepperoni, mushrooms, red bell peppers, and basil, it will be sure to be a crowd pleaser.

                  With just cheese and egg, this recipe offers an easy low carb meals that help maintain stable blood sugar levels and being satiated quicker!

                  Say goodbye to the post-pizza blood sugar spikes that often accompany traditional pizza. A delicious pizza can be more than just a treat—it can be a step towards a healthier, happier you!

                  What is a chaffle?

                  It’s a low carb, keto friendly waffle made with cheese- a cheese waffle, Yum!

                  Keto Pizza Crust Ingredients:

                  • Cheese
                  • 5 Eggs
                  • Butter

                  That’s it for the crust! 

                  keto pizza

                  Pizza Chaffle

                  This cheesy keto friendly pizza chaffle will become a replacement for your regular crust - this cheesy egg crust is satisfying and so easy to make!
                  Servings 4 people

                  easy keto pizza chaffles

                  Chaffle Recipes Pizza Instructions:

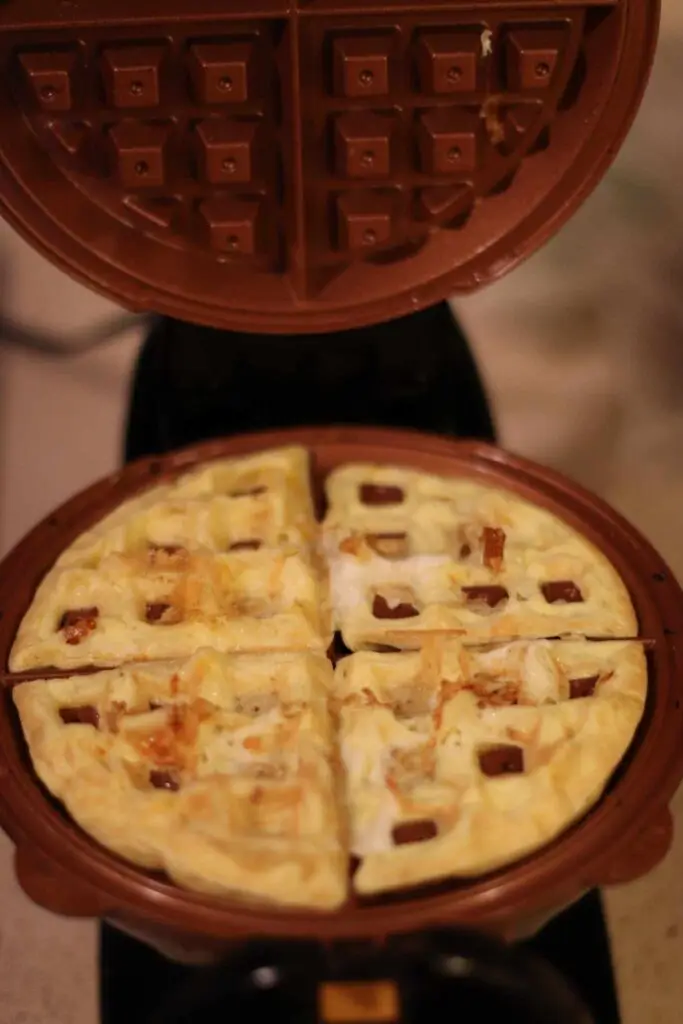
                  1. Preheat your waffle maker. 

                  2. Whisk eggs in a small bowl; stir in mozzarella cheese and butter until batter is well combined.

                  3. Pour 1/2 of the batter onto the preheated waffle maker, spreading it out from the center with a spoon.

                  Close the waffle maker and cook until steaming stops and chaffle is well browned, about 3 minutes. 

                  Don’t overcook, as that will make it chewy. Repeat with remaining batter.

                  Then spread the waffles onto a baking pan.

                  keto pizza in waffle maker,

                  Your going to want this waffle maker – we use ours every single week!

                  chaffle pizza crust

                  Add Ons for Keto Pizza Chaffle Recipe:

                  Next, sauté mushrooms and peppers in a pan.

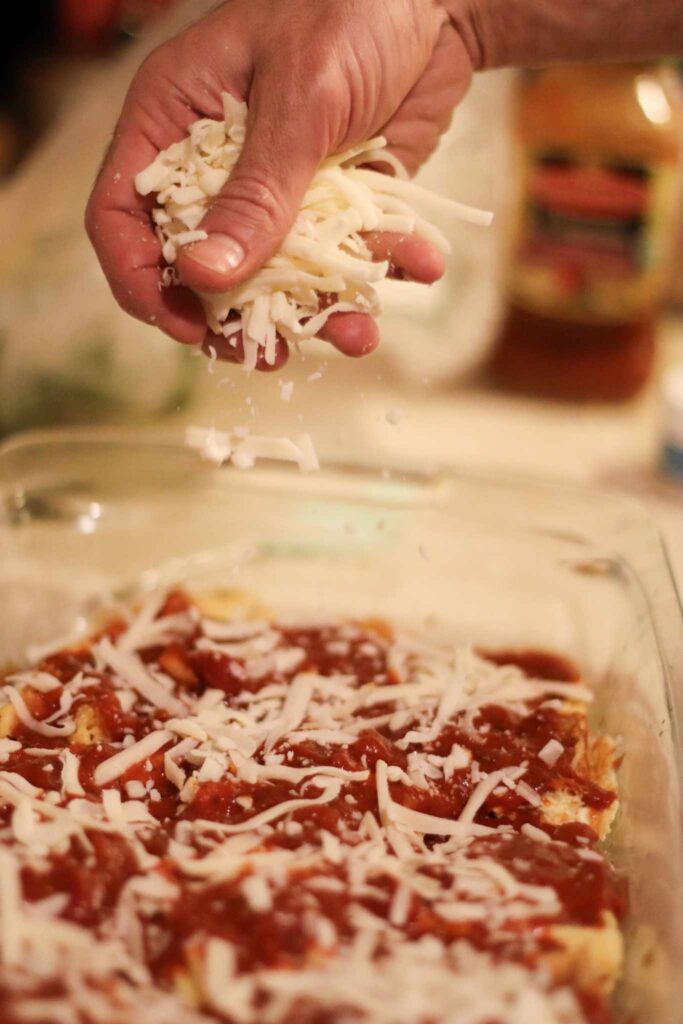
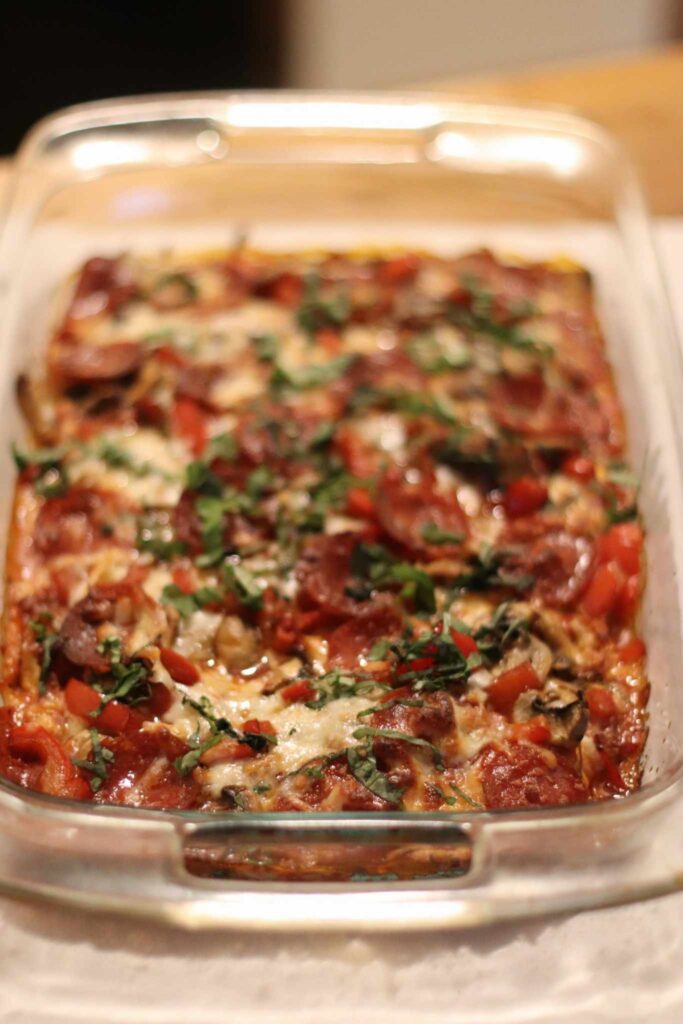
                  Then pour your pizza sauce on your chaffles, spread more mozzarella on, add your red peppers and mushrooms then pepperoni.

                  Place your pizza in the oven and bake at 400° for 15-20 minutes. 

                  Top with fresh basil.

                  Serve pizza warm and enjoy!

                  chaffle recipes pizza

                  Who said eating keto friendly foods had to be bland and boring?! This pepperoni chaffle makes ketosis as delicious as it is nutritious!


                  chaffle pizza keto

                  Unlike the quick energy spikes and crashes with high-carb meals, the Chaffle Keto Pizza provides sustainable energy, keeping you fueled and focused throughout the day.

                  chaffle pizza almond flour

                  Have you tried this Chaffle Pizza?

                  I’d love to hear about your experience!

                  Share your thoughts, variations, and feedback in the comments below.

                  pin