Advent Calendar
This article may contain links from my partners. I may receive a small commission if you make a purchase through a link. Please read my disclosure and how I make money here.
Last updated on November 20th, 2023 at 05:50 pm


This article may contain links from my partners. I may receive a small commission if you make a purchase through a link. Please read my disclosure and how I make money here.
Last updated on November 20th, 2023 at 05:50 pm
I have been searching all over the internet for a unique advent calendar. Their either too expensive or I just don’t like the contents. I decided to make our own this year and it was so easy and customizable for his age! My toddler came out this morning and was in ahh over it, a few hours of work was worth his reaction!
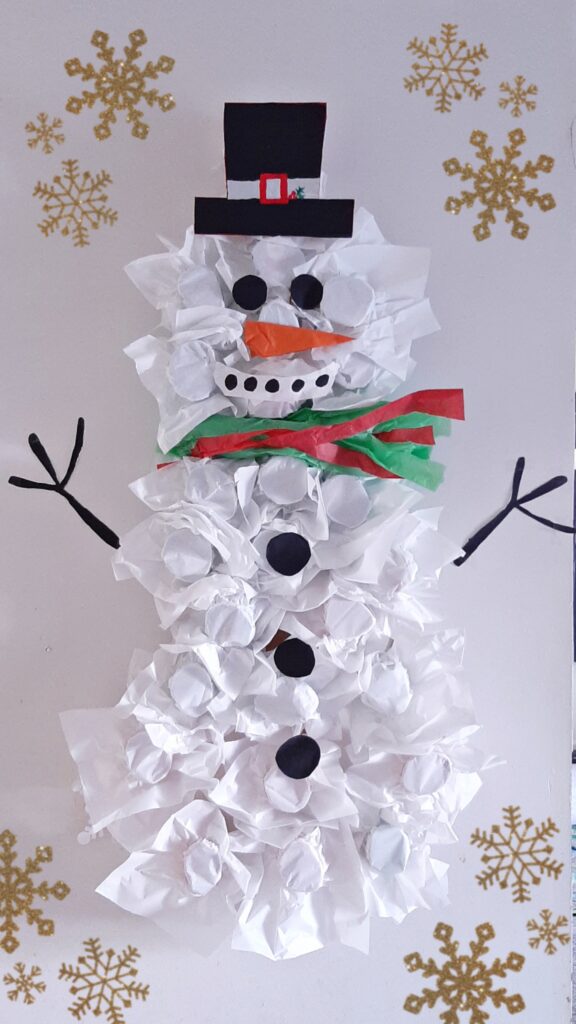
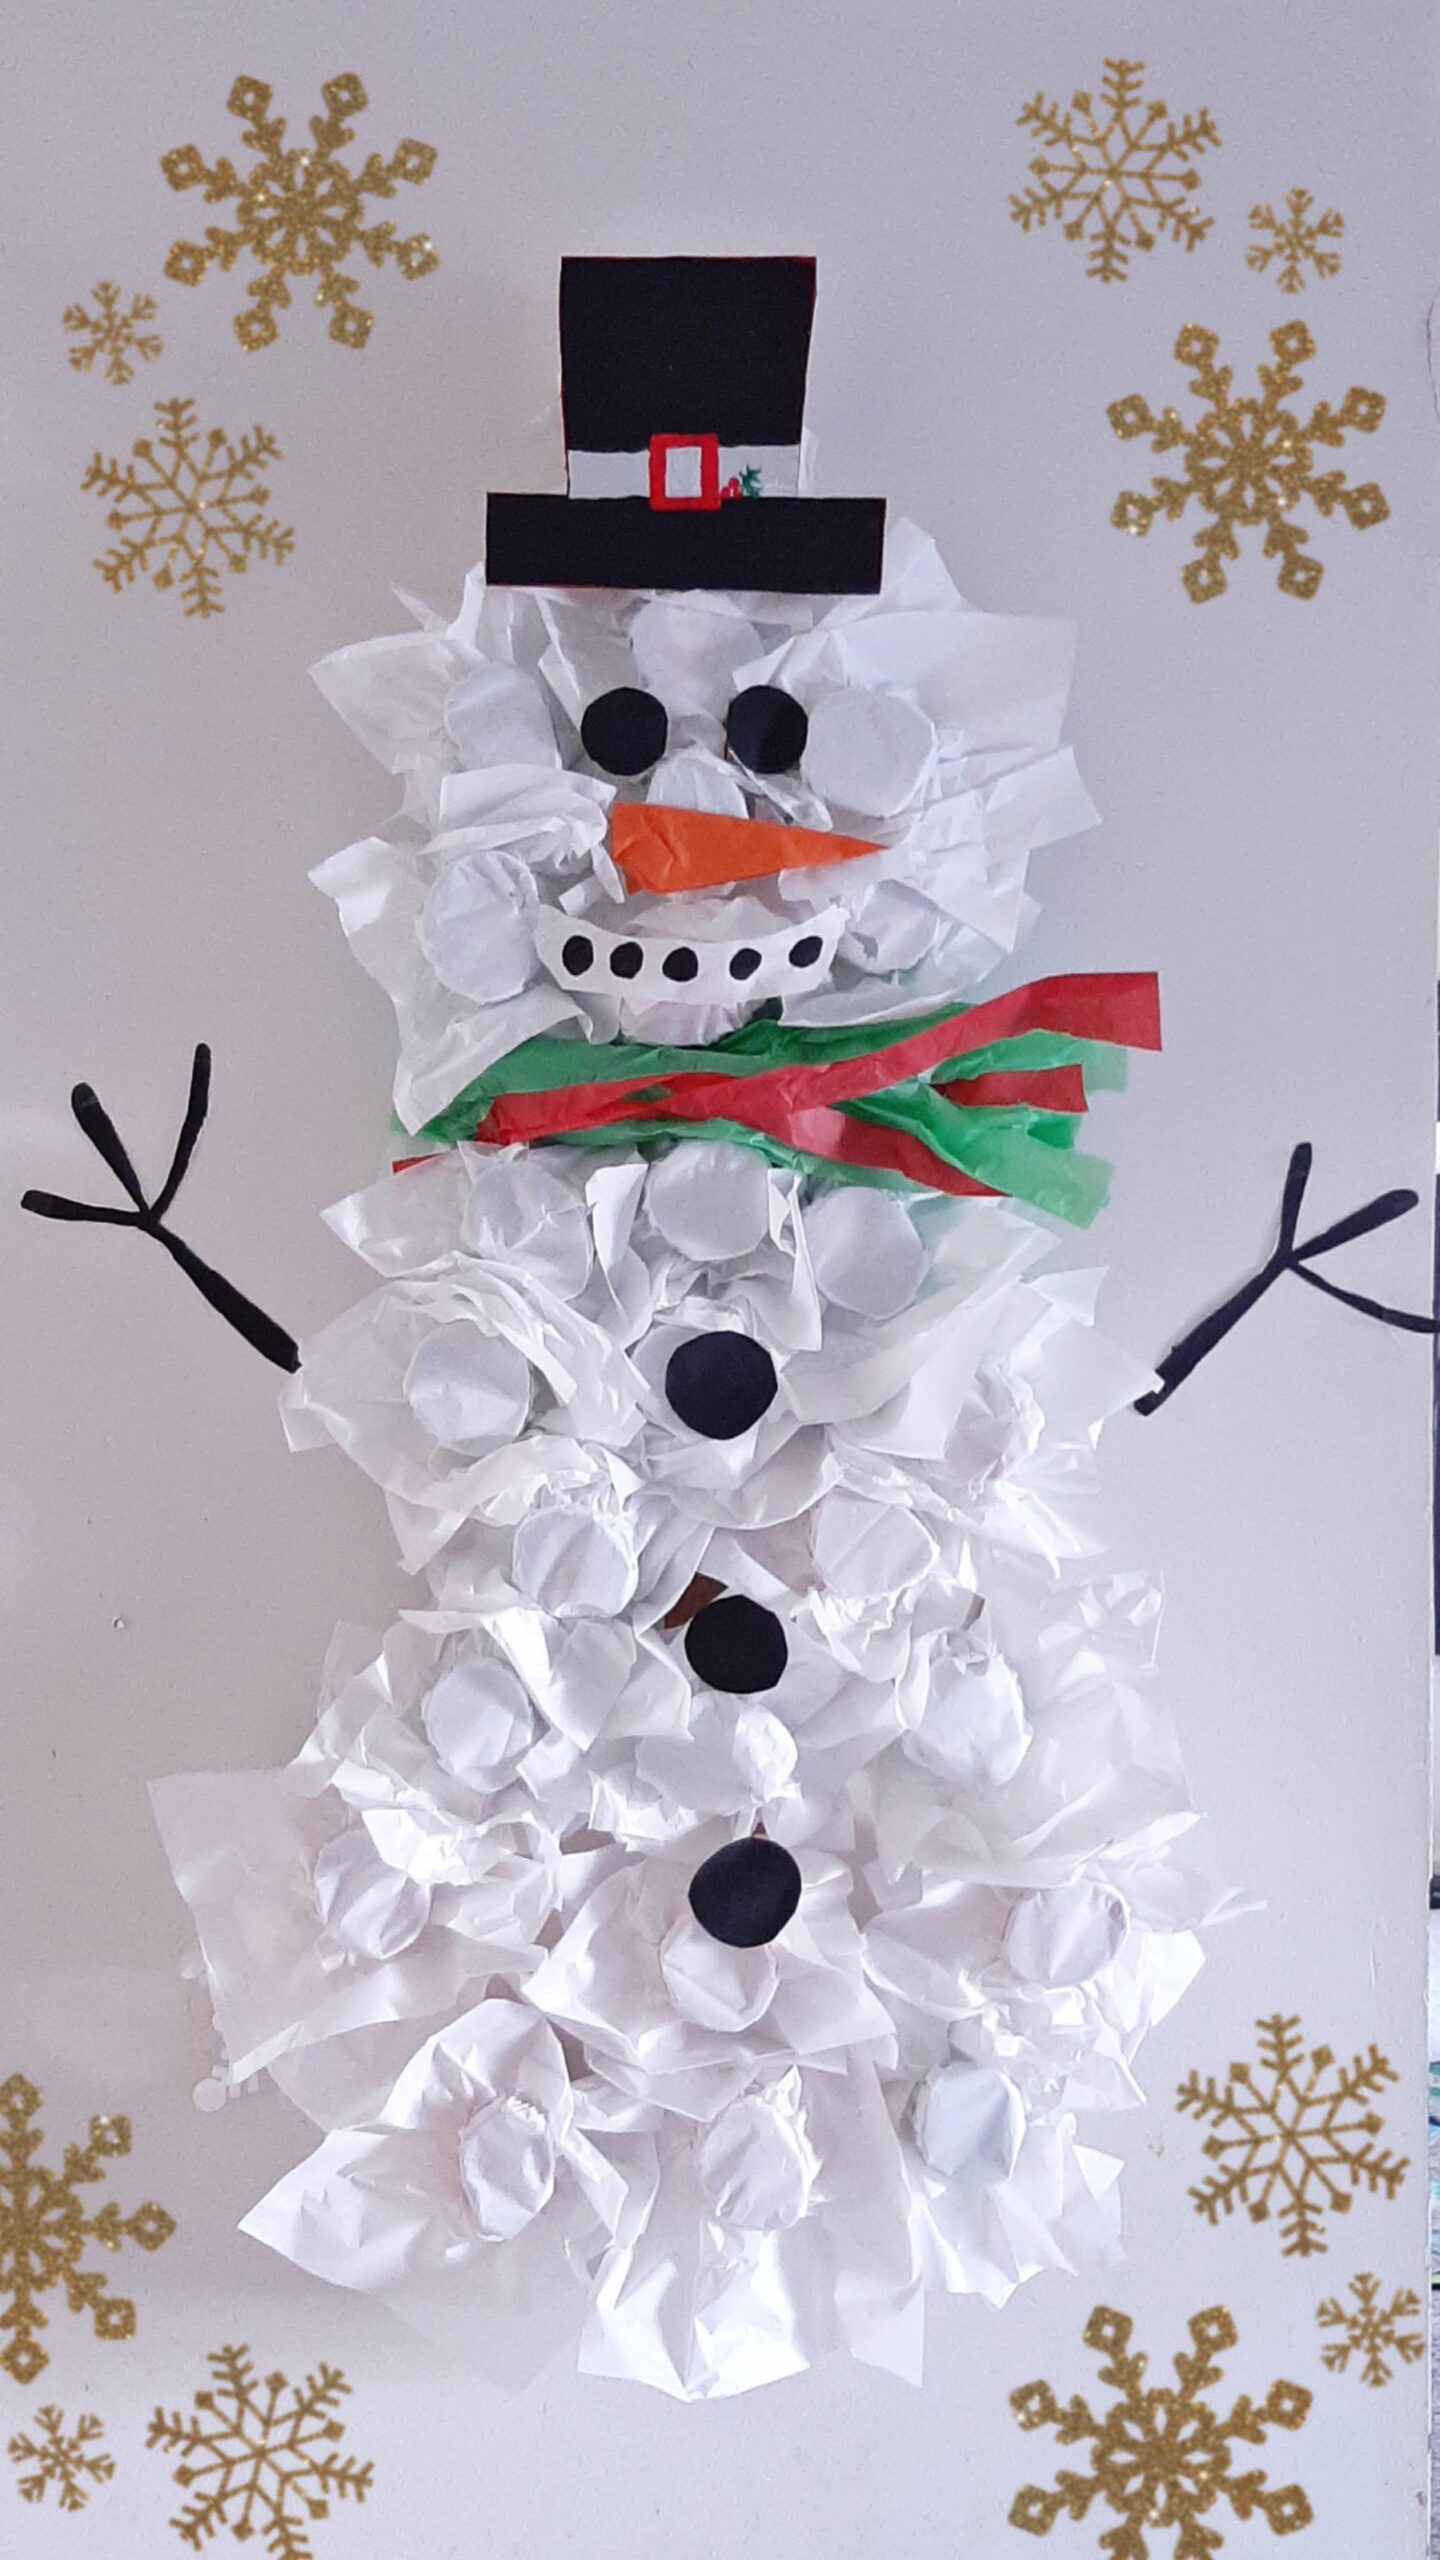
Keep reading along to make this snowman punch out Advent Calendar!
Cut 25 pieces of card stock, long ways and 6 pages of cardstock into 4 squares.
Roll the long pieces into rolls and hot glue them together.
Cut one piece of cardstock into 4 squares and hot glue the rolls onto the squares.
Then I cut out the squares into circles to fit the roll better/be lighter when hanging.
Place a roll of duct tape on the back of the paper and stick the cardstock roll to the wall. Once you get the correct layout for the snowman – this was the tricky part for me. I added One at the top for the hat, Six around one in the middle for the head, Eight around one in the middle and Ten around the one for the bottom of the snowman. I made sure the one roll in the middle lined up with rest of the rolls.
Then add your gifts. I reinforced some of the rolls on the wall, that will have the heavier gifts in them with extra duct tape.
Once you add your gifts, now is the time to put the white tissue paper over the rolls and place a rubber band around them to keep the tissue paper in place and cover your gift.
I cut the tissue paper in half and into 4 pieces and layered the issue over the rolls to make it less see through.
This article may contain links from my partners. I may receive a small commission if you make a purchase through a link. Please read my disclosure and how I make money here. Last updated on November 28th, 2023 at 06:08 pm HikeCookShare FacebookTweetPinPrint Here I’ve gathered a list of the best toddler books. I started…
This article may contain links from my partners. I may receive a small commission if you make a purchase through a link. Please read my disclosure and how I make money here. HikeCookShare FacebookTweetPinPrint Enjoy the warmth of indoor bonding with your toddler as the cold weather sets in! When the temperatures drop, it’s the…

This article may contain links from my partners. I may receive a small commission if you make a purchase through a link. Please read my disclosure and how I make money here. Last updated on March 12th, 2024 at 03:48 pm HikeCookShare FacebookTweetPinPrint Cloth diapers are a great I have learned through trial and error,…

This article may contain links from my partners. I may receive a small commission if you make a purchase through a link. Please read my disclosure and how I make money here. Last updated on January 11th, 2024 at 10:27 pm HikeCookShare FacebookTweetPinPrint Disclosure: Some of the links below are affiliate links. This means that,…
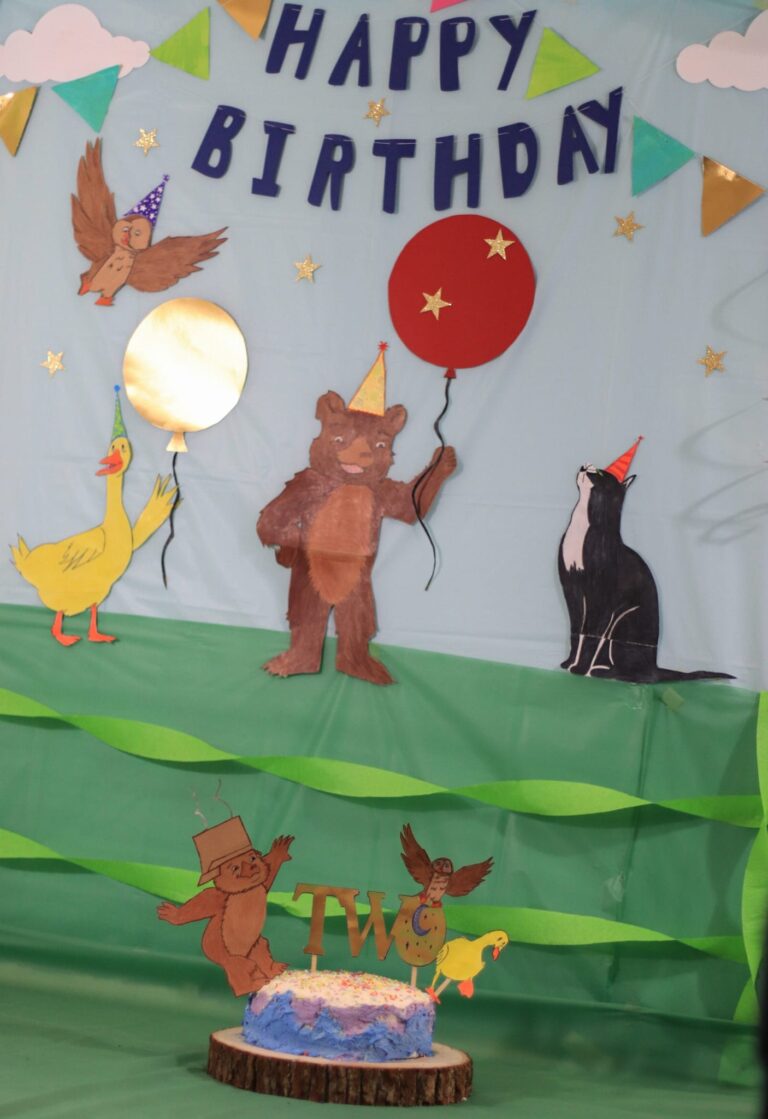
This article may contain links from my partners. I may receive a small commission if you make a purchase through a link. Please read my disclosure and how I make money here. Last updated on November 20th, 2023 at 05:51 pm HikeCookShare FacebookTweetPinPrint Here is a great theme for your two year old party! Two…
This article may contain links from my partners. I may receive a small commission if you make a purchase through a link. Please read my disclosure and how I make money here. Last updated on March 12th, 2024 at 03:42 pm HikeCookShare FacebookTweetPinPrint This is a fun project that you will thank yourself for, once…
One Comment