camper van build

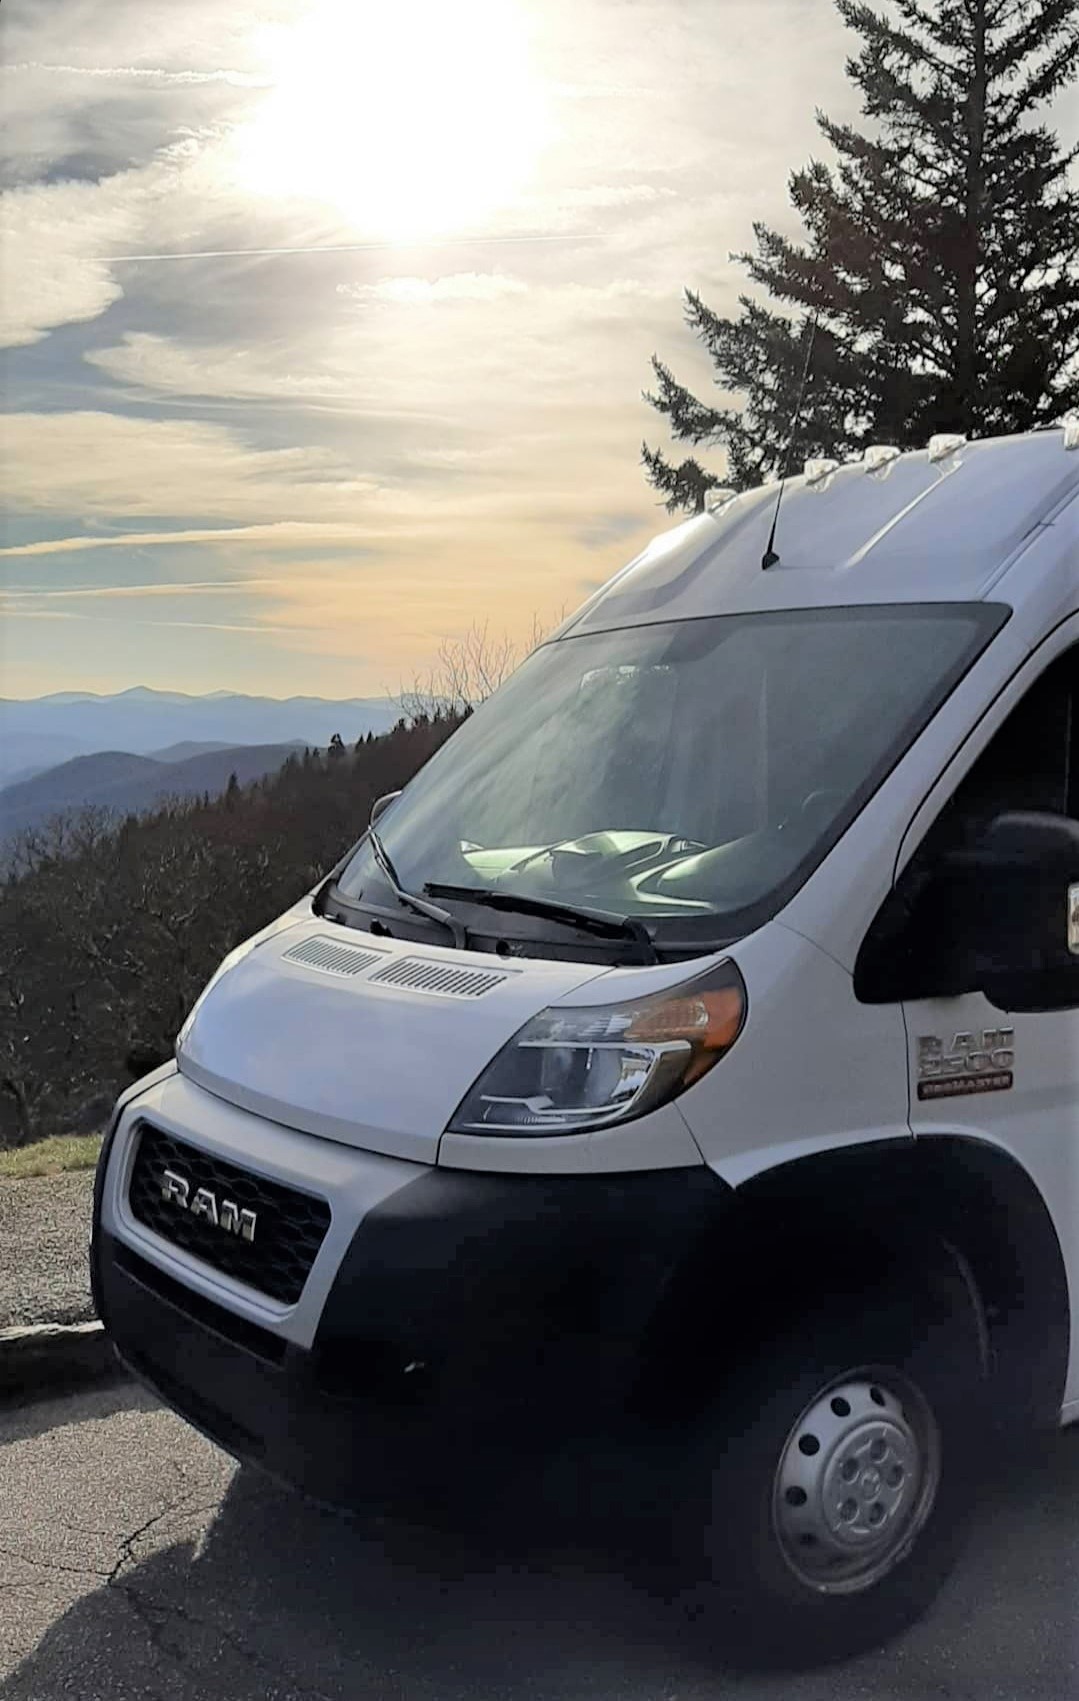
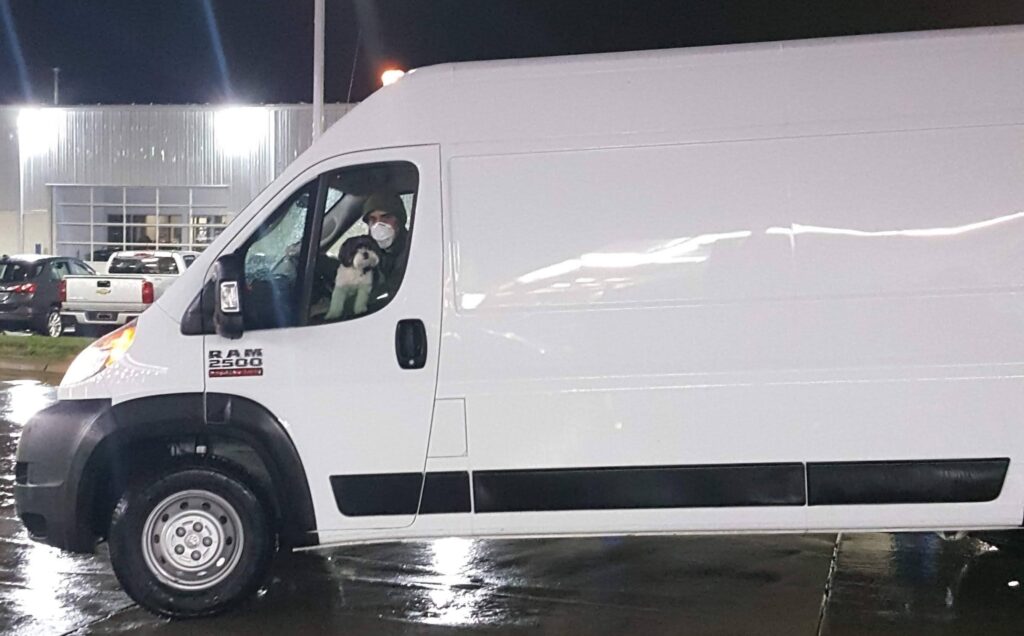
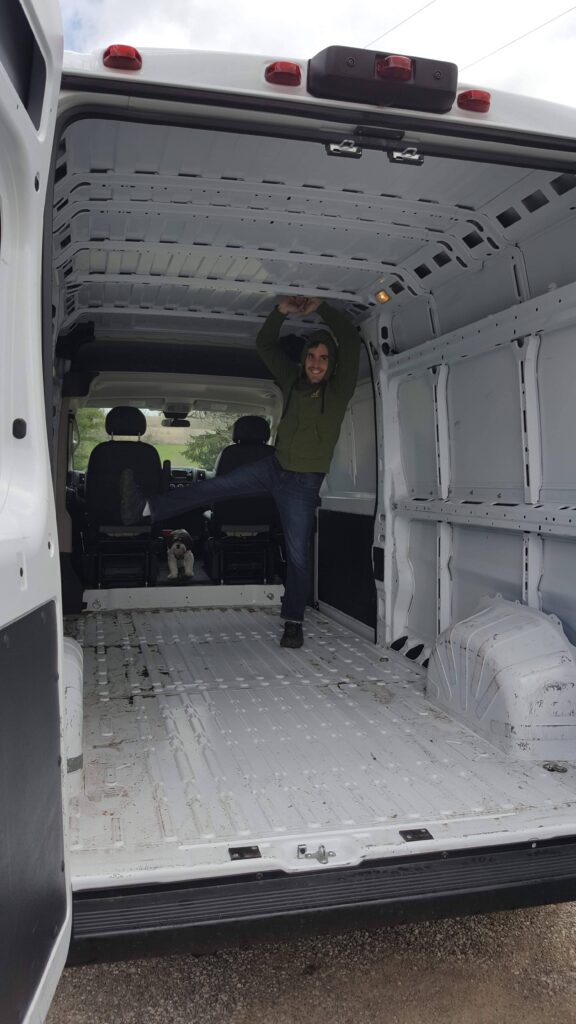
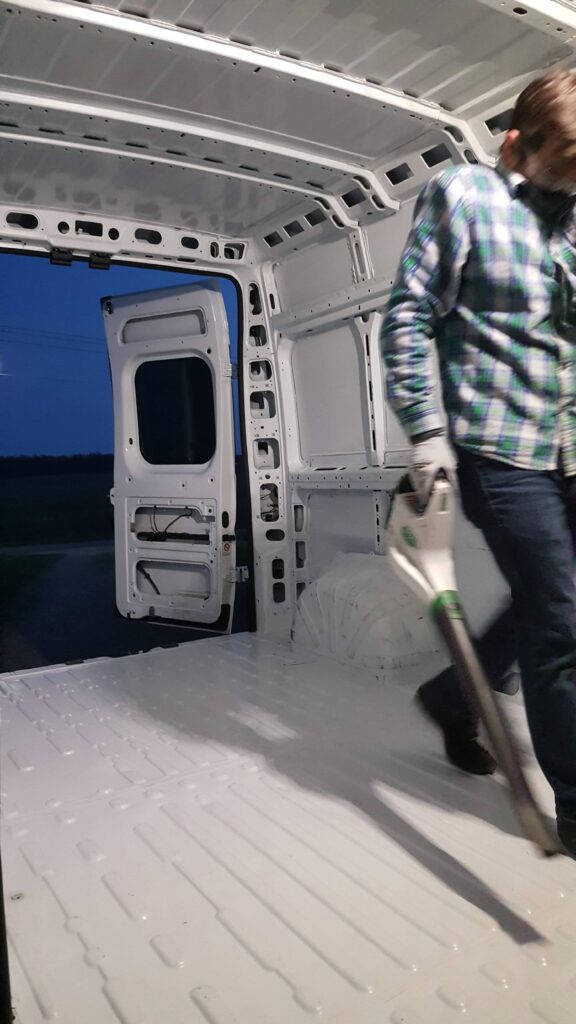
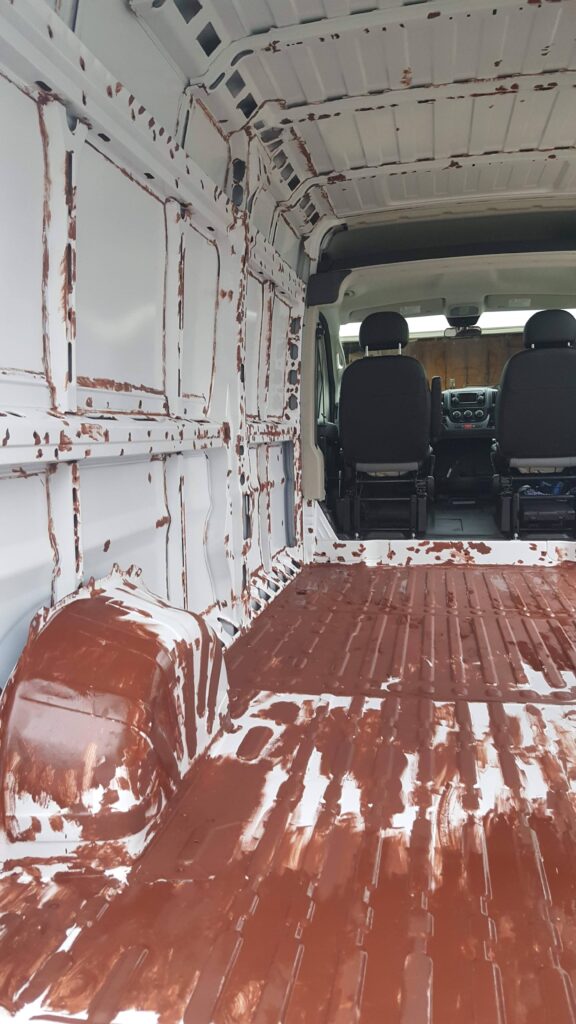
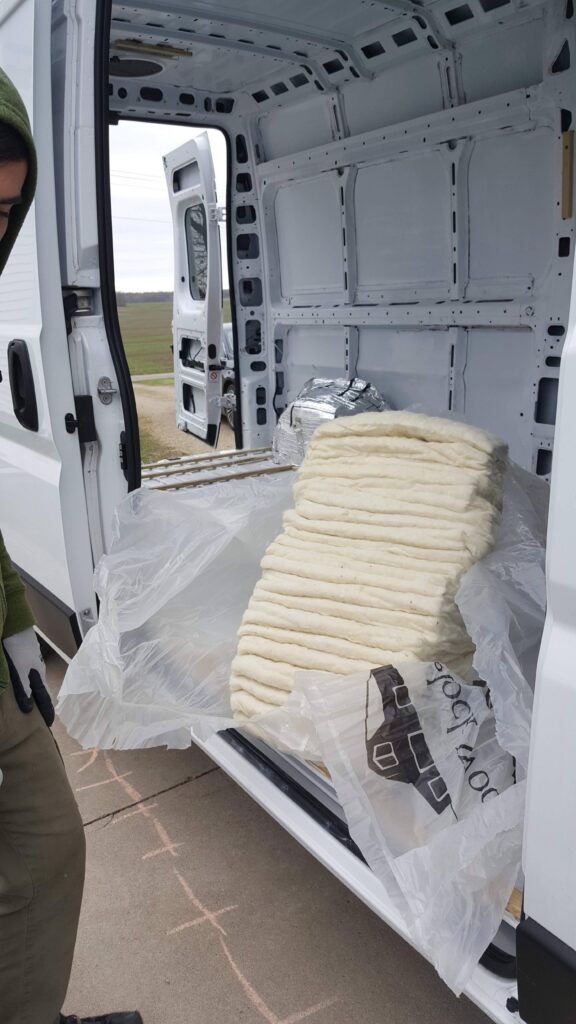
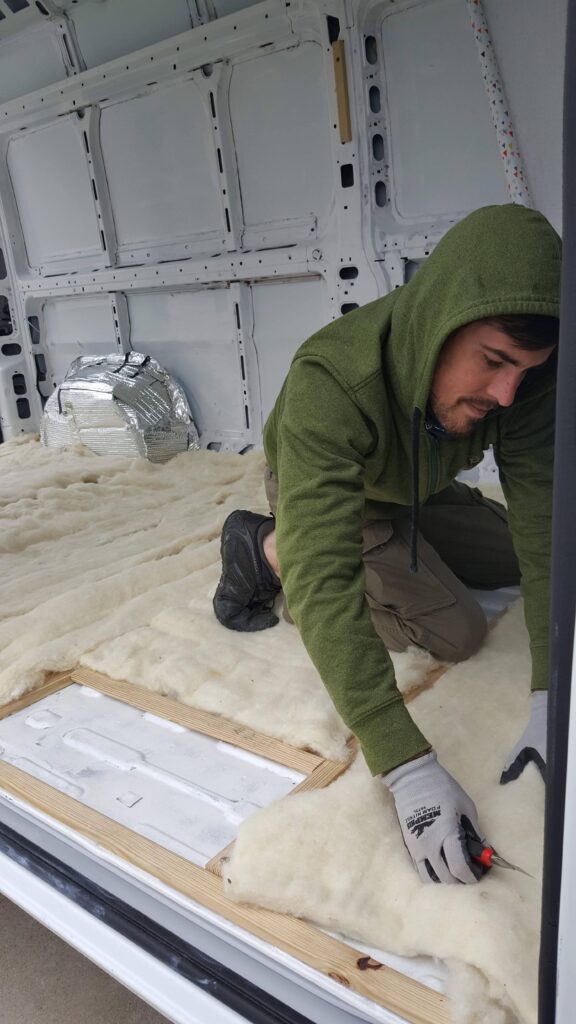
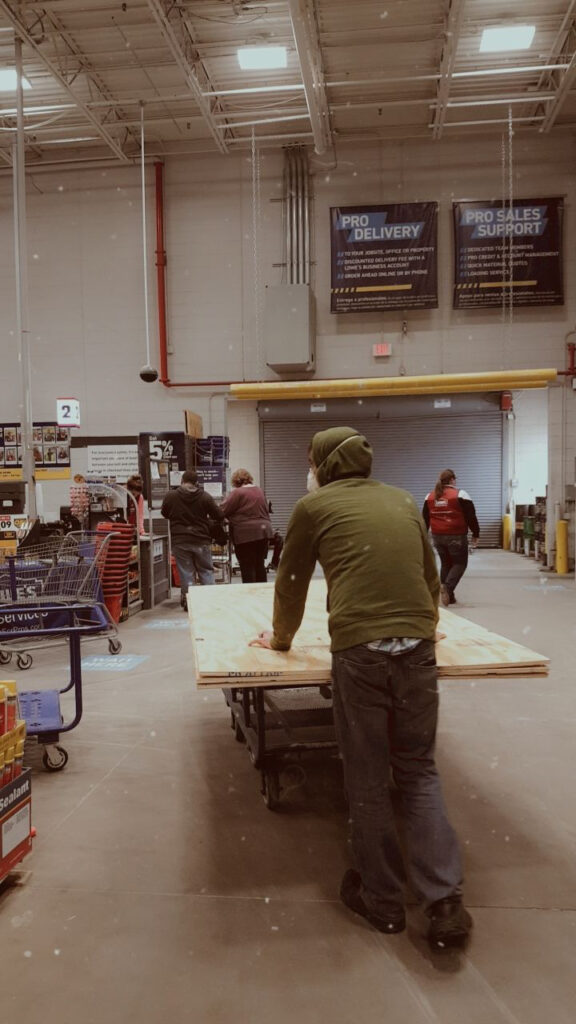
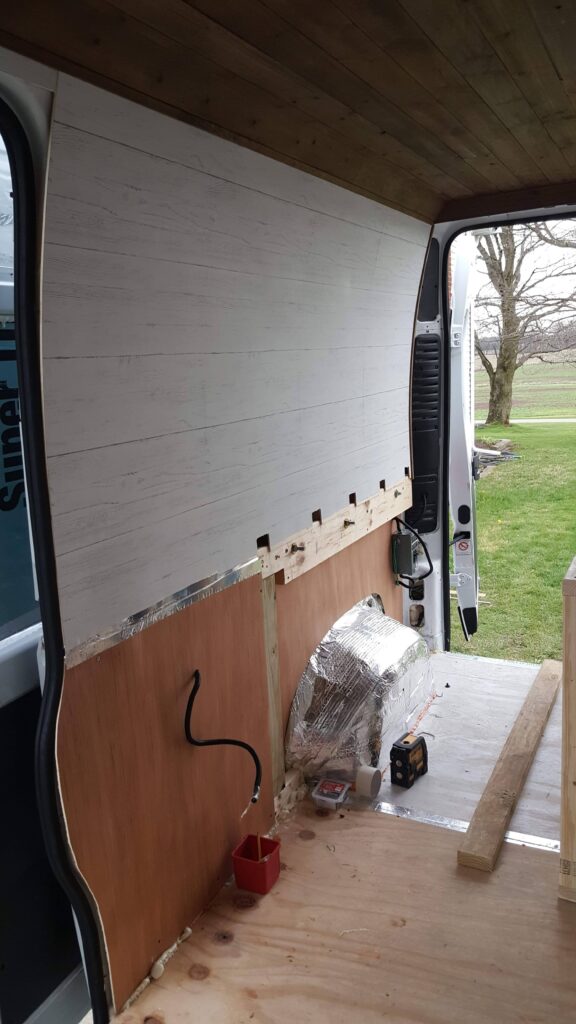
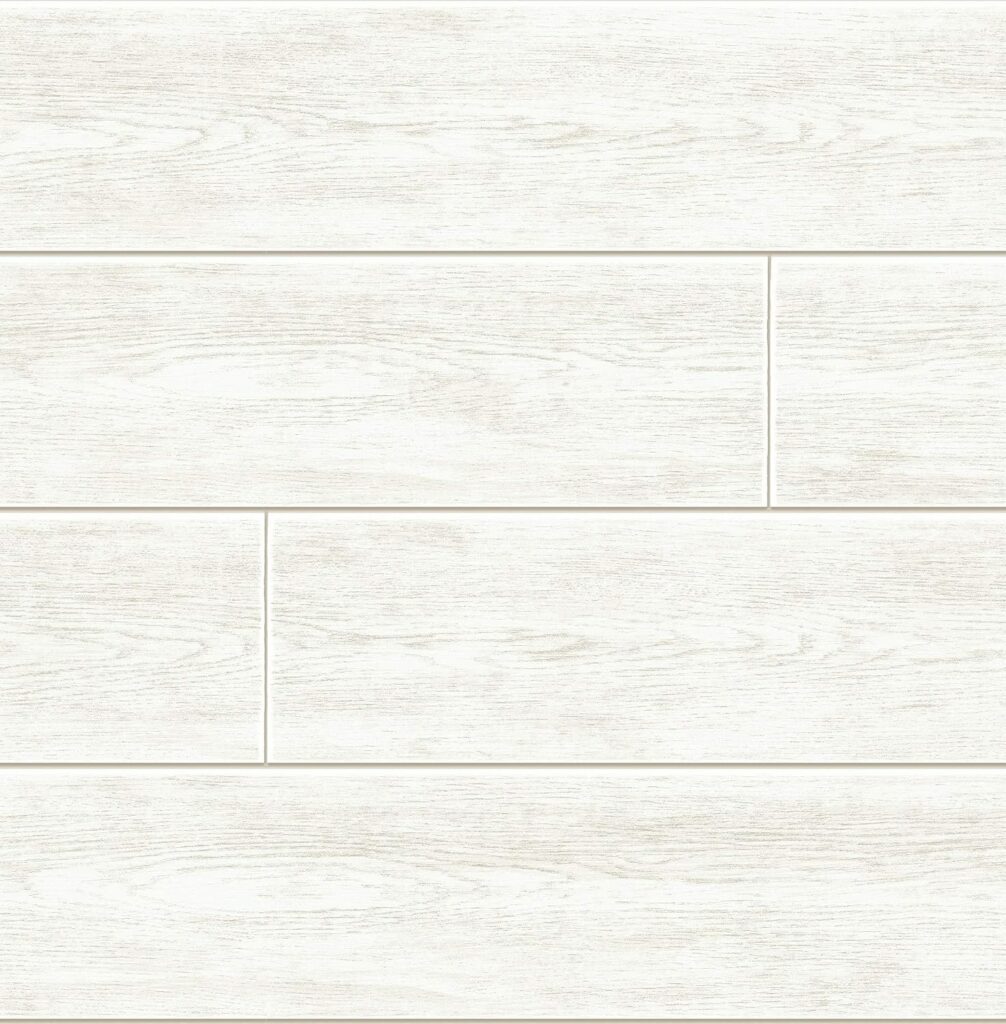
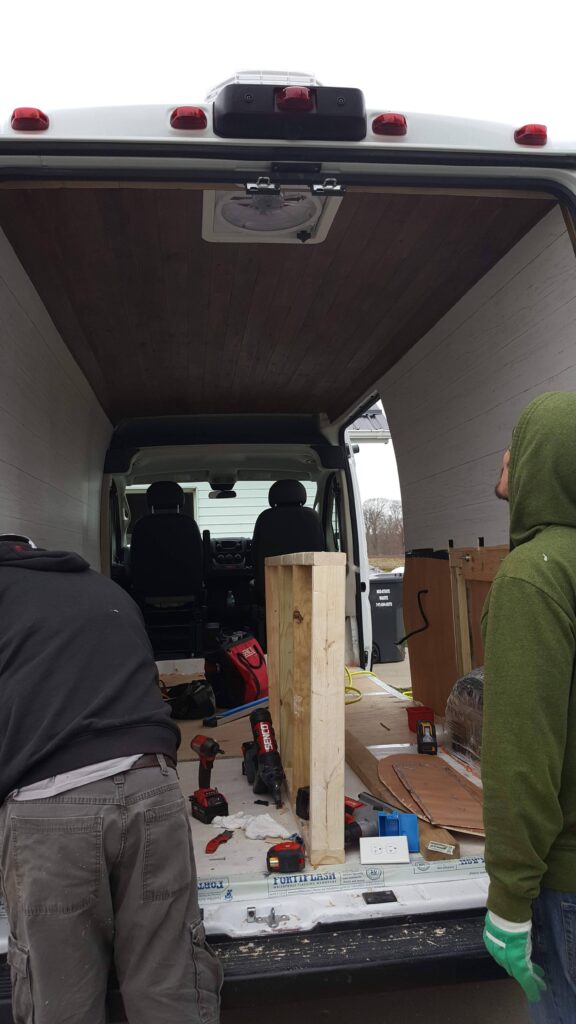
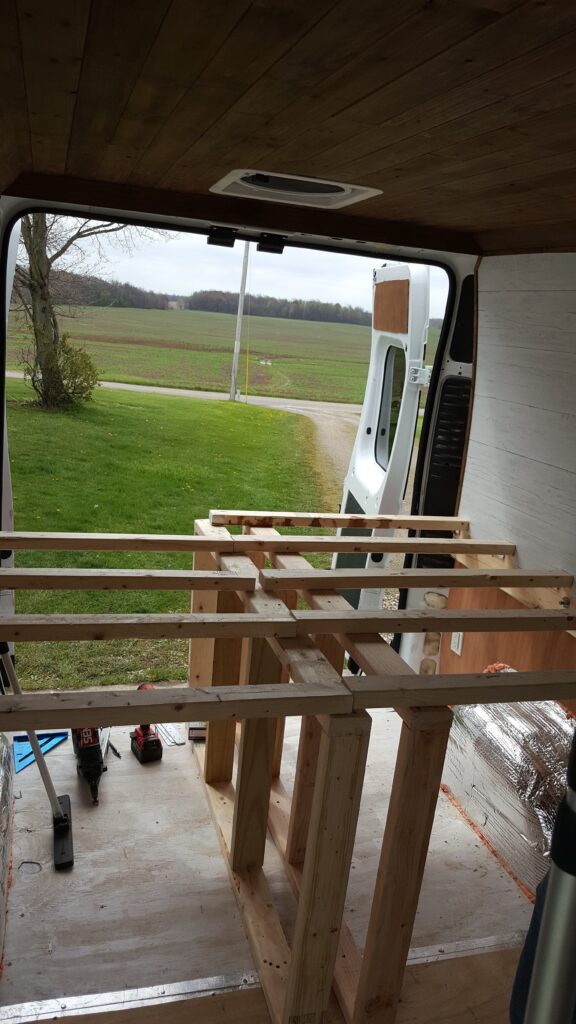
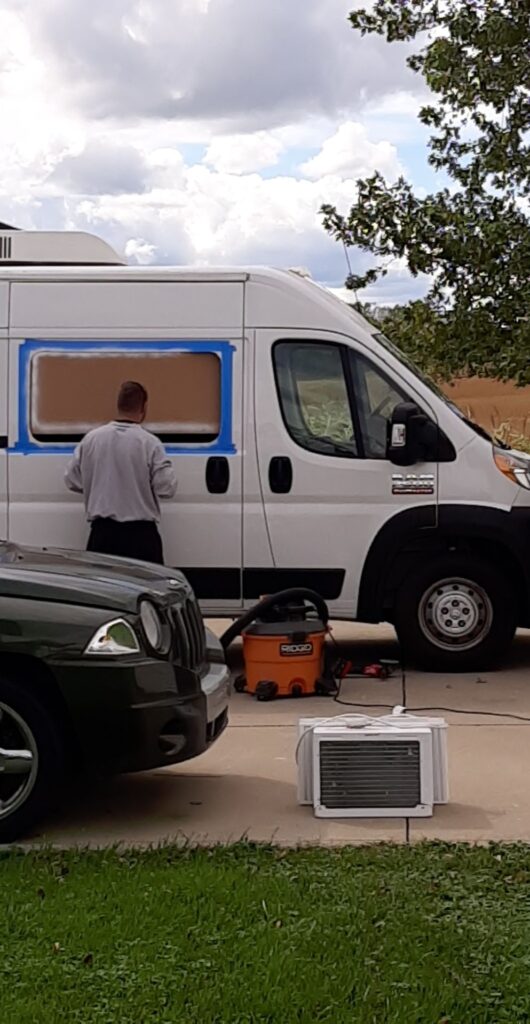
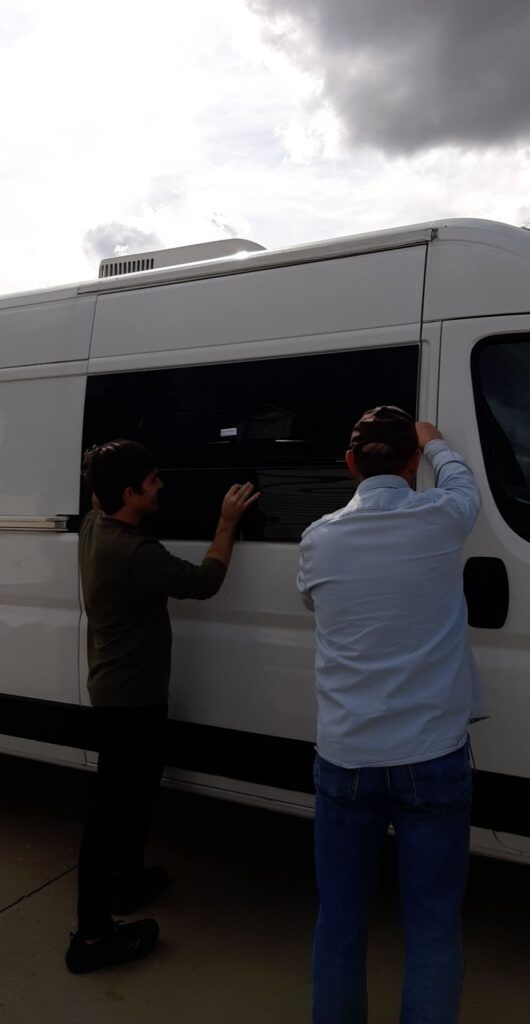
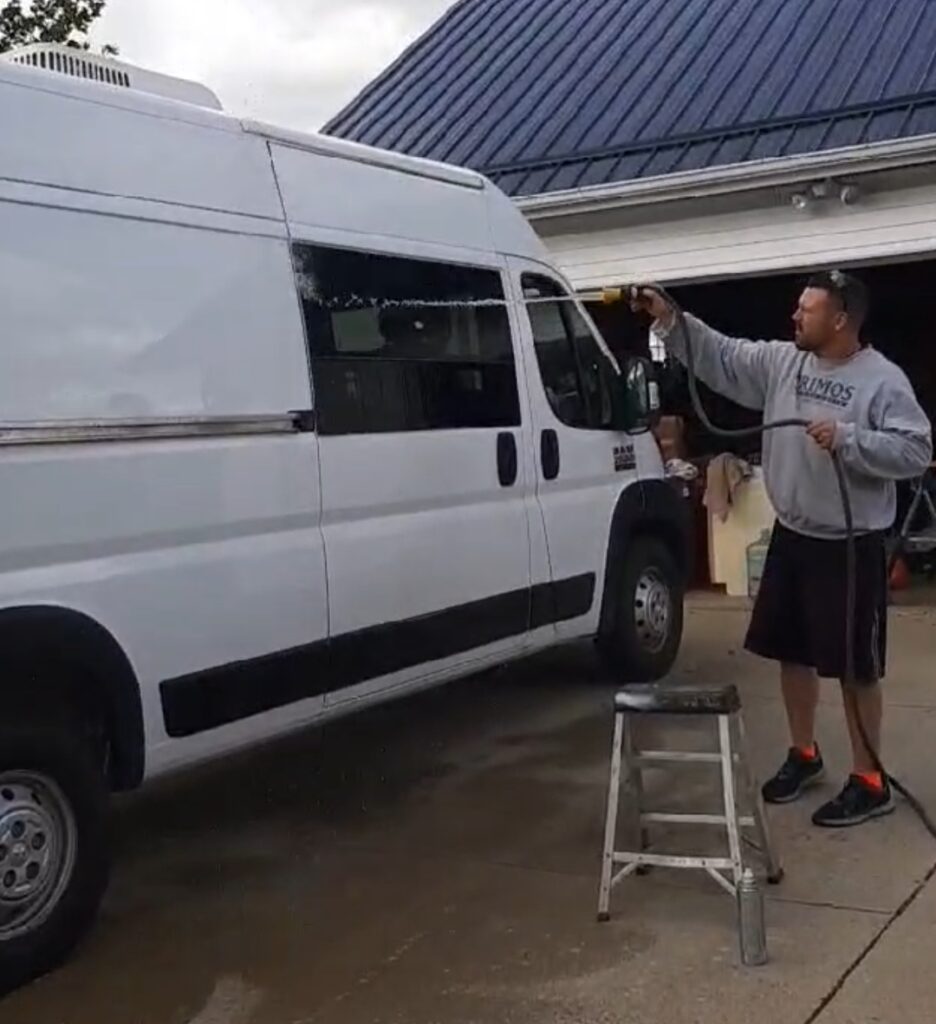
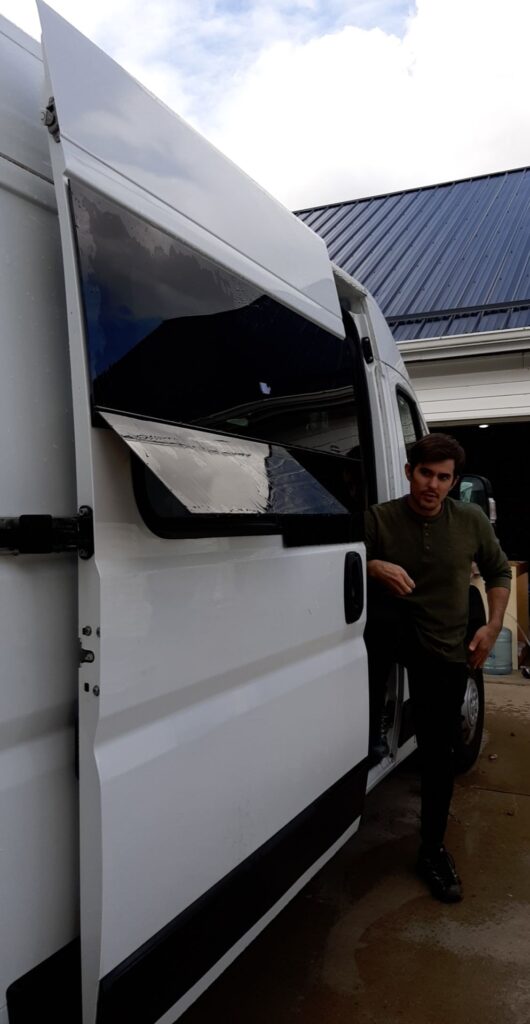
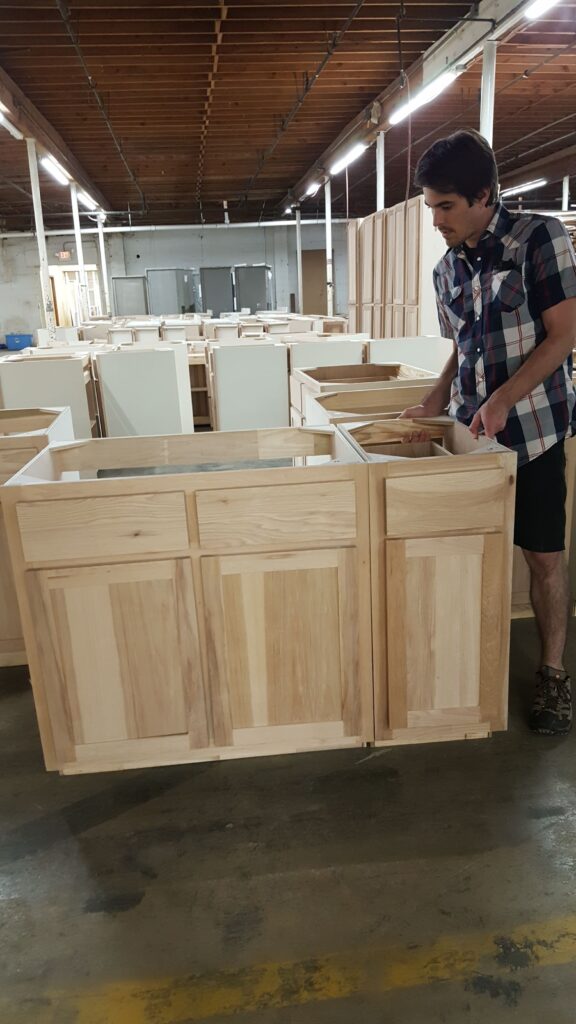
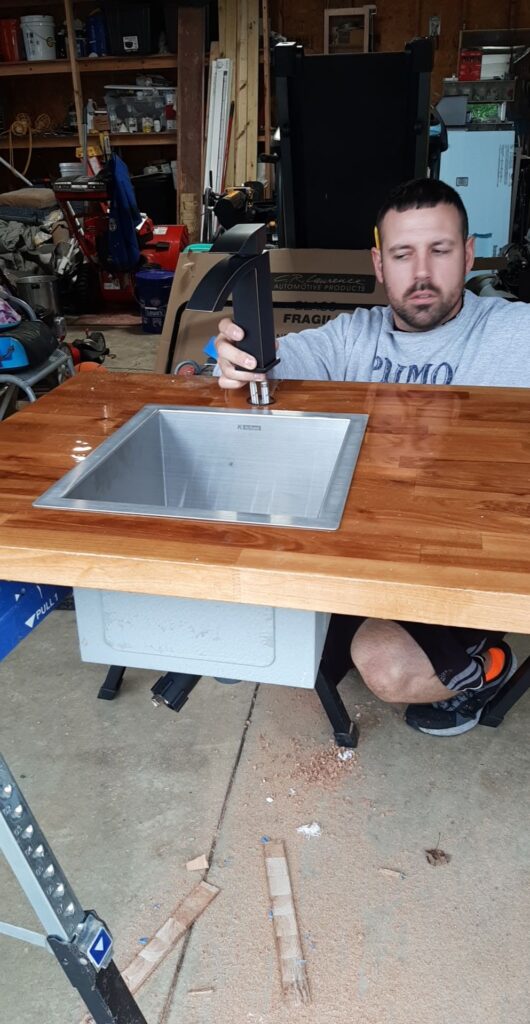
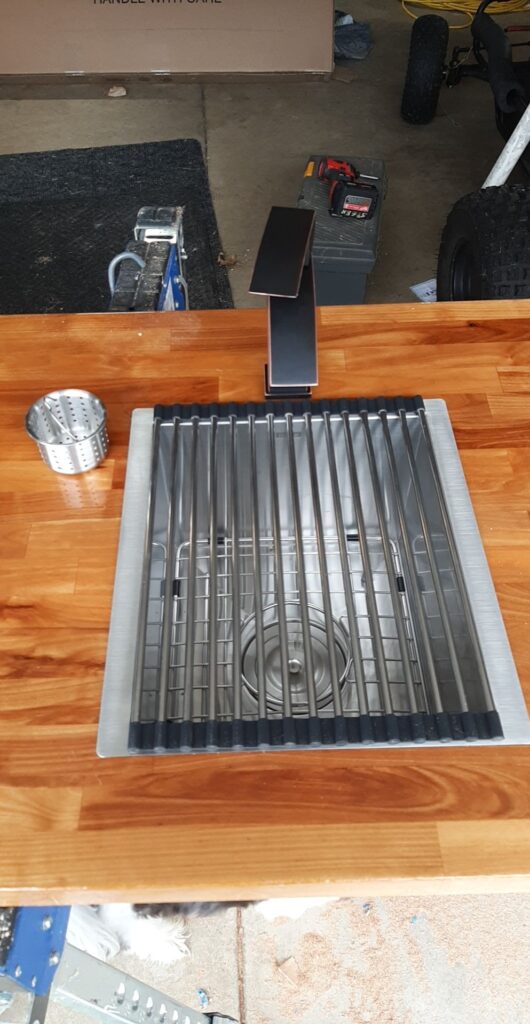
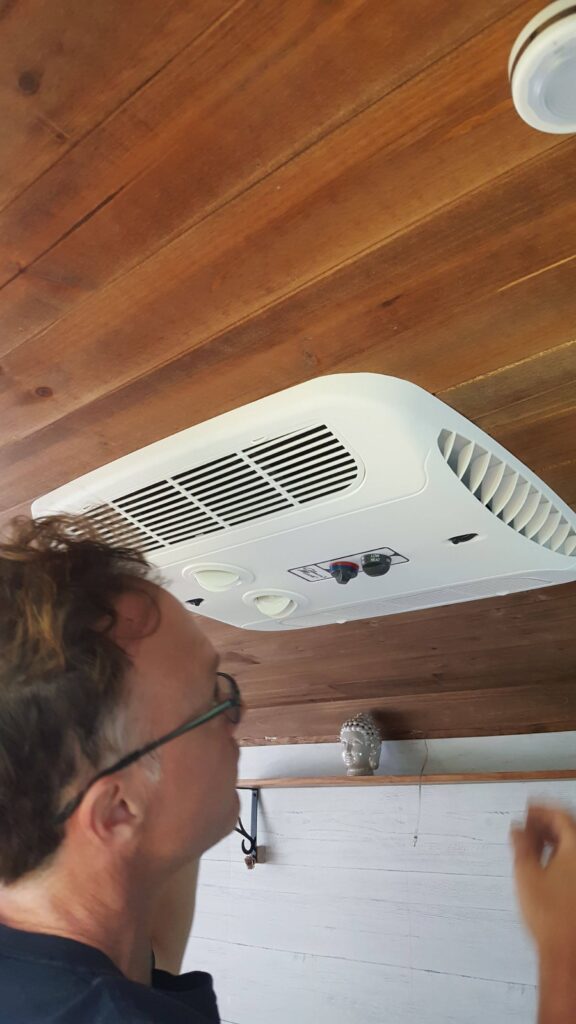
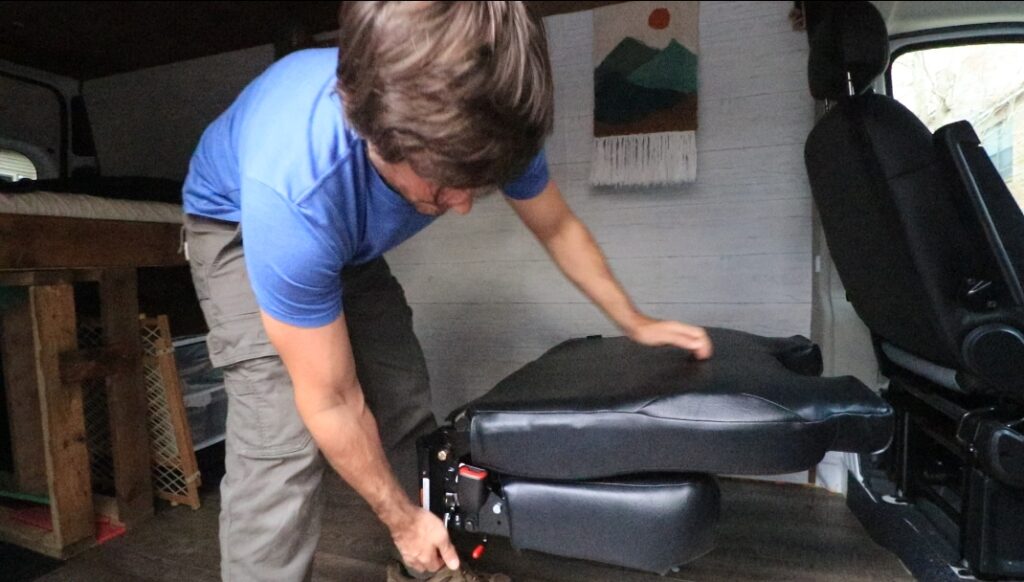
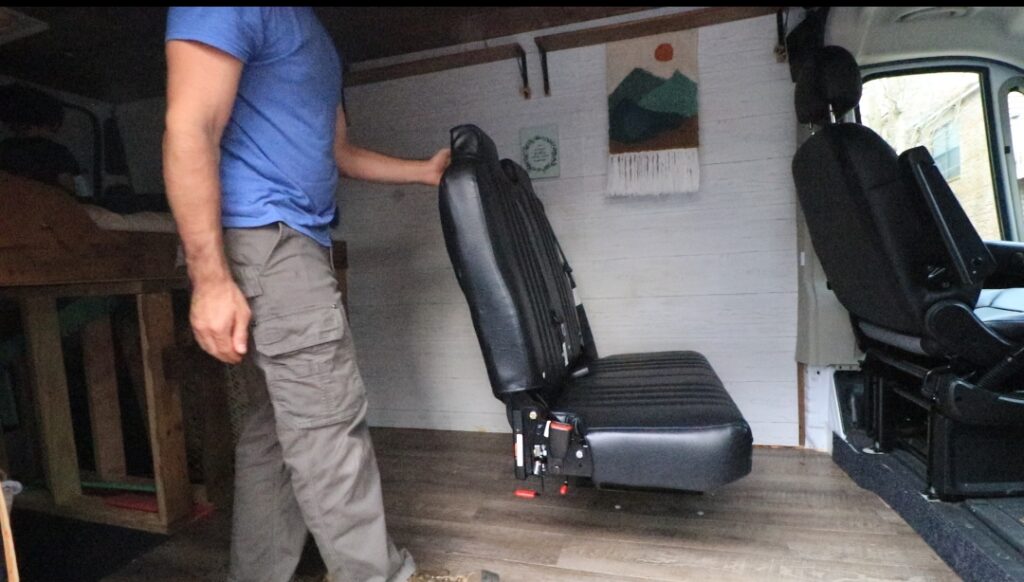
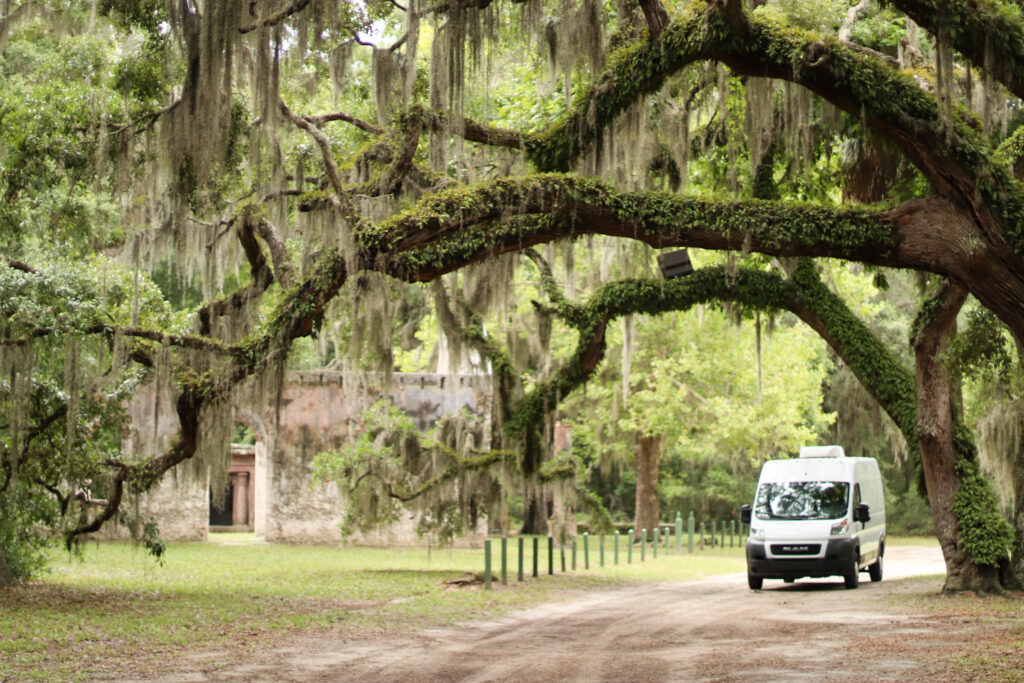
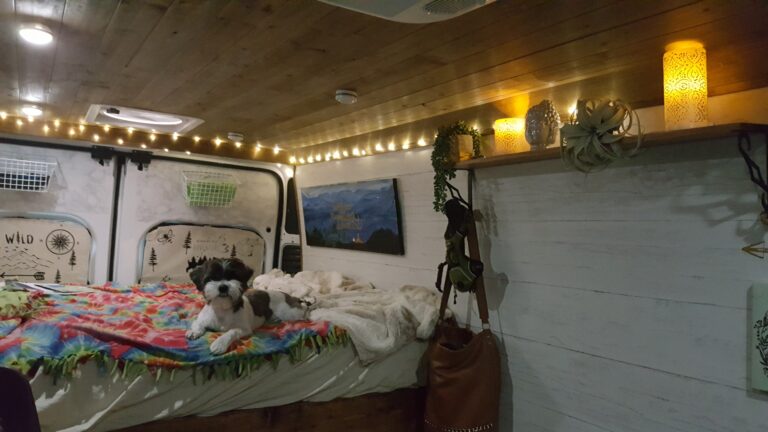
Our Camper Van Build

This article may contain links from my partners. I may receive a small commission if you make a purchase through a link. Please read my disclosure and how I make money here.

Last updated on March 26th, 2024 at 03:03 pm

Welcome to our camper van build that is constantly changing, while we update and change things that works the best for our family.

My husband and I bought our van at the start of the pandemic in early 2020. We heard a quote during that time that changed our perspective. 

“In the face of tragedy, find strength in resilience, for it is in the crucible of adversity that the seeds of positive change can sprout and bloom.” That is when we decided we did not want to waste our time being laid off of work and had to keep our minds busy, so we started on a project.

As we eagerly wielded tools and paintbrushes to transform our van into a cozy haven, little did we know that this nomadic abode would witness the growth of our family.

Before the pitter patter of little feet, we envisioned a life on the road, chasing sunsets and seeking the extraordinary.

Fast forward to welcoming our first son into this rolling home, our van became a vessel for not just travel but a channel for shared laughter, spontaneous discoveries, and the warmth of togetherness. 

Join us in this on going adventure, where the build is not just about crafting a mobile space but creating a life time of cherished family memories.

Disclosure: Some of the links below are affiliate links. This means that, at zero cost to you, I will earn an affiliate commission if you click through the link and finalize a purchase.

2018 Ram promaster

On the first night after purchasing our van, emotions ran wild- uncertainty, a touch of craziness and a resounding “what the heck are we doing?” echoed through our thoughts.

With no carpentry skills, the blank canvas of the van stared back at us.

Little did we know, that from that moment of doubt, a journey of self discovery, makeshift carpentry and unexpected success would unfold.

The first thing we did was sweep it out. It was used as a landscaping van – with lots of dirt in it. It had less than 20k miles on it. 

We covered all of the clipped paint with rust-oleum to prevent rust from occurring and then had to repaint with white to seal it in. 

Adding the wool to the floor

Our order of Havelock wool came in. We decided on wool because we wanted a lower toxic insulation option. 

Picking out electrical supplies and tubes

The many trips to Lowes, getting wood and supplies.

Putting the floor down, we have wool under this layer of wood - not seen here.
Installing the electrical box for outlets and shore power.
shorepower
Added shorepower outlet to outside.
install of wool

My favorite but most time consuming part was inserting the wool into every hole we came across. The wool smells so good and it was so easy to tear it was actually quite fun! We put wool on the ceiling by stringing it to the ceiling and putting more furring strips with flue tape over the boards to help keep heat in. 

Cut the hole for the Maxxair fan. We chose the Maxxair Deluxe because it has intake and exhaust compared to the basic Maxxair fan model.

Put the walls and ceiling up.
Put light cedar planks over the ceiling.
We put shiplap wallpaper up, it was easy and way lighter than adding more wood.
Creating the base for the bed.
Structure of our bed.
install of window
Cutting the hole for the window.
Holding the window in place while its being screwed in.
Testing for leaks.

We chose the C.R. Laurence T-Vent window. We love this window, it helps provide air flow with the maxxair fan running.

cabinet install
We chose our cabinets - hickory wood. From a local cabinet store.
This is the butcher block we chose.
Installed the sink/faucet.
camper van sink
Attached to the butcher block.
We chose this sink because it was deep and we wouldn't of had to build a frame around it to keep it in place.

We had our Coleman Mach 8 A/C and heater installed by Blue Ridge Adventure Vehicles.

We built a little bench. Also added peel and stick vinyl flooring.
Here is our layout.
A time we camped and enjoyed the bench area.
install of seat
install of seat
install of seat

We most recently added this double seat that folds and flips out of the way. It is from Freedman Seating.


After a few times of camping we already really appreciate the space it has created. 

This was a quick recap of our van build. We keep adding and redoing some things that I will keep updating on here. We have taken a few trips but plan to take a lot more in the coming year!


Stay Tuned!

Homemade Keto Strawberry Ice Cream Recipe

This article may contain links from my partners. I may receive a small commission if you make a...

Best Lemon Chicken Pasta

This article may contain links from my partners. I may receive a small commission if you make a...

The Best Basic Overnight Oats

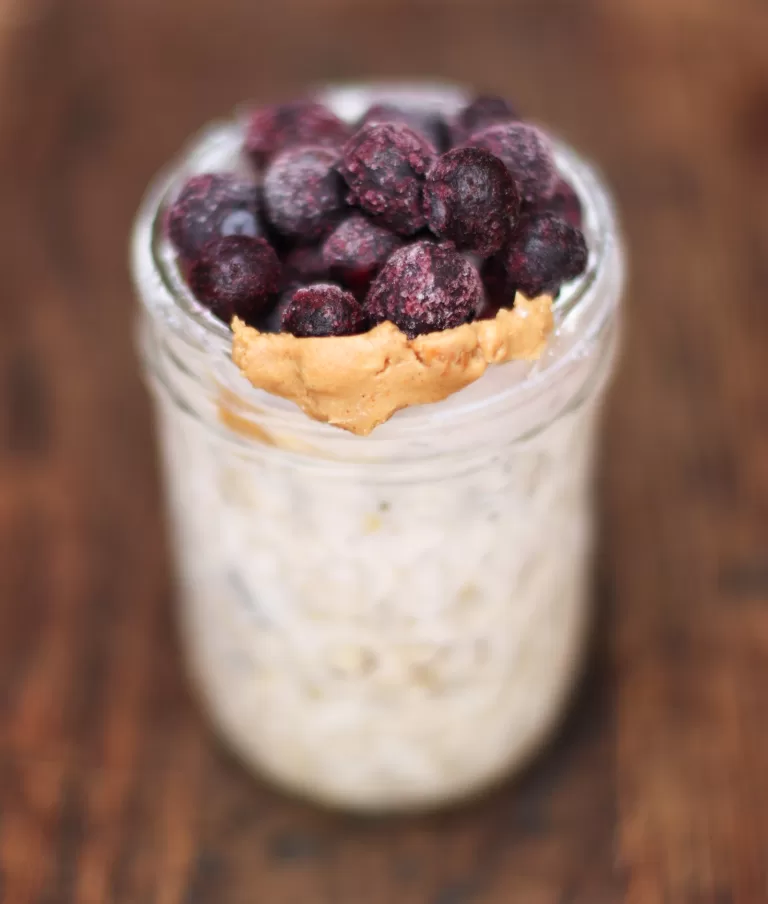
Healthy simple overnight oats that includes old-fashioned rolled oats, blueberries, peanut butter...

Van Life Essentials

This article may contain links from my partners. I may receive a small commission if you make a...

Kitchen Essentials Tools

This article may contain links from my partners. I may receive a small commission if you make a...

North Carolina Hikes

This article may contain links from my partners. I may receive a small commission if you make a...

Camping Snacks

This article may contain links from my partners. I may receive a small commission if you make a...

Easter Basket DIY

This article may contain links from my partners. I may receive a small commission if you make a...

Step-by-Step: How to Perfect Your Home made Chicken Pot Pie

This article may contain links from my partners. I may receive a small commission if you make a...

Similar Posts

Leave a Reply